
When you’re running solo with a mirrorless camera or compact cinema camera, the fight to keep shots steady can be a nightmare. You do not need an expensive gimbal to win this battle.
This guide immediately gives you 11 proven ways to get epic steady shots by mastering your stance, breathing, and low-cost gear.
Consistently steady shots take time and practice to achieve, not because the techniques are difficult, but because superior stability is always the result of establishing good habits.
Let’s get the obvious solution out of the way first:

Step 1: Image Stabilization
When you don’t have money for a Steadicam or 3-axis Gimbal you can still rely on the camera and lenses.
Some cameras like the Sony FX3 (Amazon, B&H), Nikon ZR (Amazon, B&H), Canon EOS R5 Mark II (Amazon, B&H), etc., have internal 5-axis image stabilization, and the results are surprisingly good.
Shoot with cameras or lenses that have image stabilization if you can. The combination of lens+sensor stabilization is best, but you can go in any of these three combinations, from best to worst:
- Sensor IBIS + Lens
- Sensor IBIS
- Lens
- None!
Canon lenses with stabilization are marked with an ‘IS’, Nikon with a ‘VR’, Sigma with a ‘VC’, and so on.
An image-stabilized camera and/or lens can go a long way in improving your shots. So always look for that options first.
But what if you don’t have that? Or what if you have it and still want to go better?
Step 2: Stand right
You must stand in the most stable way possible.
This is how your feet should be positioned:
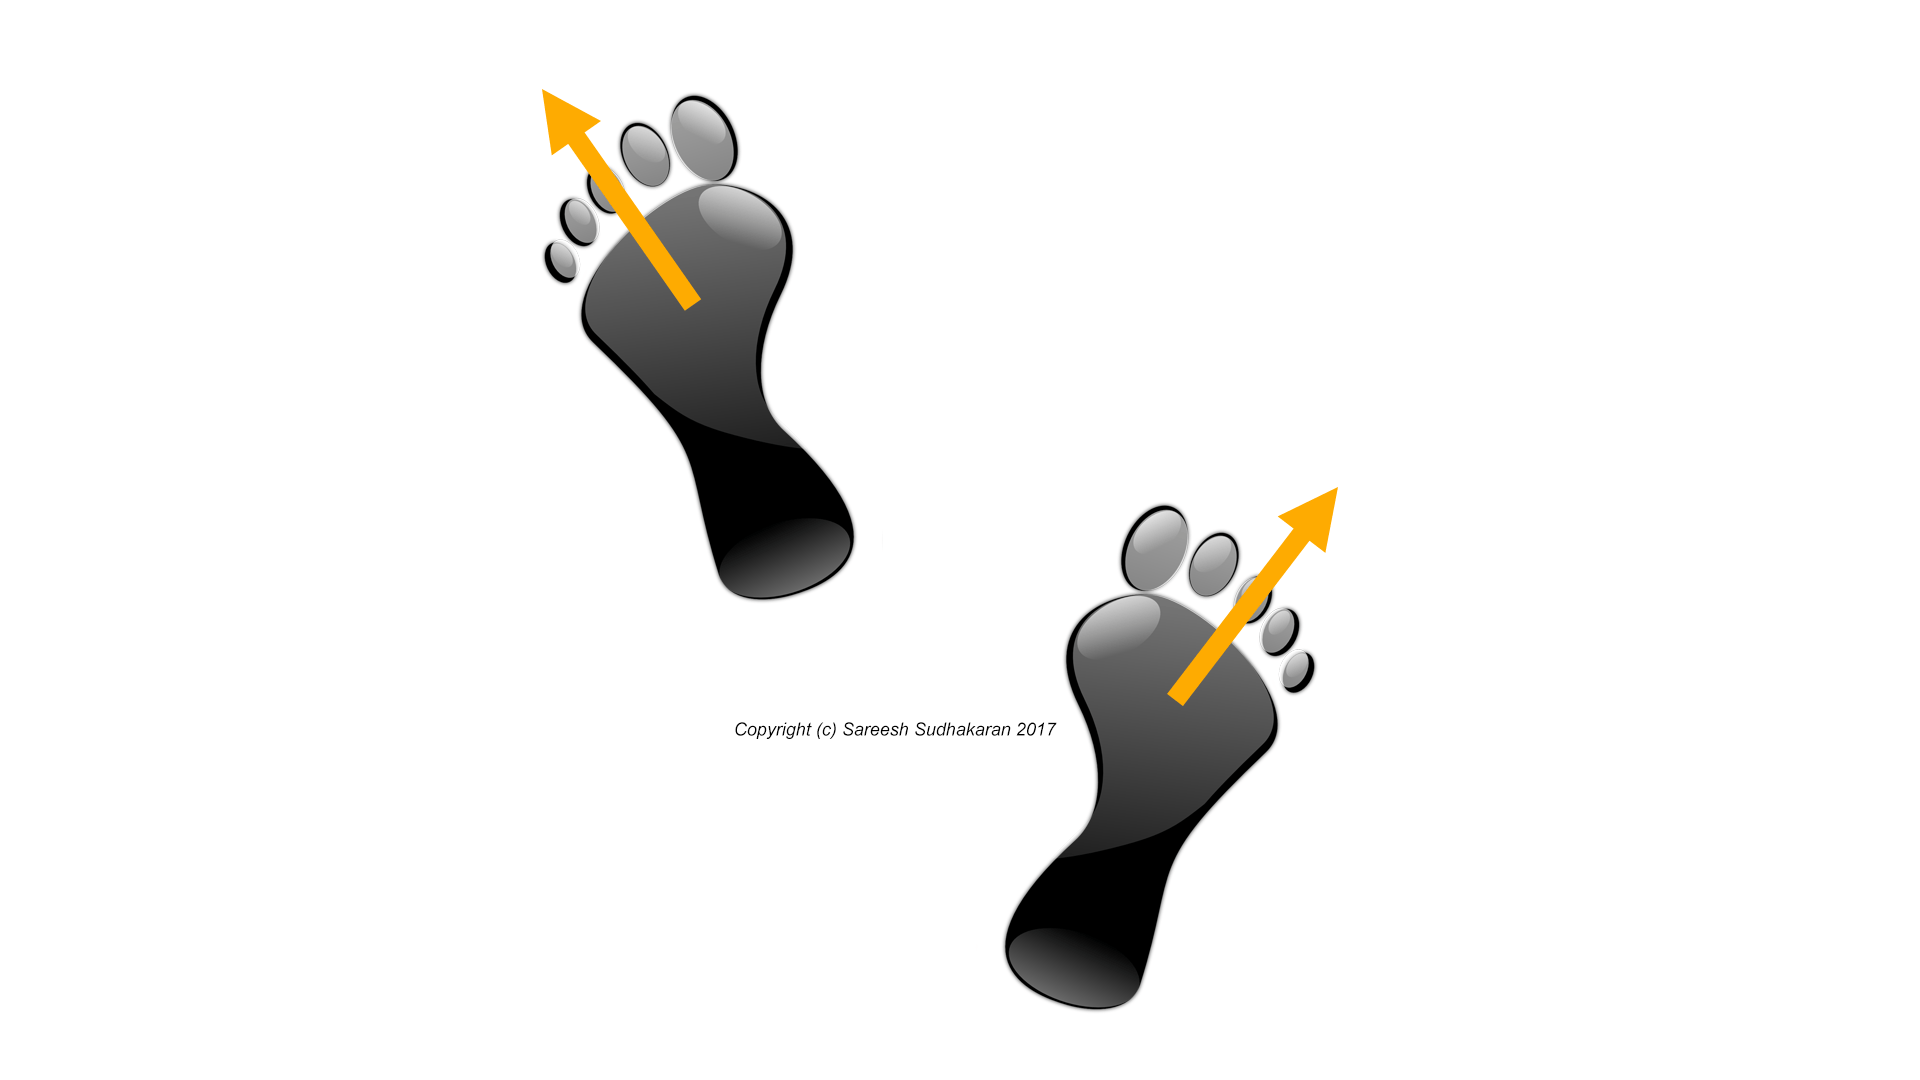
Bend you knees a bit (not a lot, just slightly). If you’ve scene karate fighters stand (their fighting stance), you’ve pretty close. No strain or aches anywhere. Just solid.
When you walk, cross your legs and walk – this is how soldiers are trained to walk with their guns. I learned this from the behind the scenes of Black Hawk Down! It keeps you as steady as possible even when walking.
Also, you need to keep your back straight (if you value it at all), and don’t lean forwards or backwards!
Even if you have a gimbal this technique helps to mitigate some of the up-down bobbing motion gimbals are notorious for.
Step 3: Be compact
The idea is to become as small as possible so your center of gravity is deep within. How do you do this?
Easy, tuck in your elbows and keep them as close to your ribs as possible. If your entire upper arm is touching the side of the chest that’s great. The closer everything is to your body the better:

Step 4: Breathe well
Take even breaths. You don’t need to breathe too deeply. What happens if you breathe too fast or heavily is you tend to exhale strongly, and you move more. It’s much better to just breathe evenly and steadily.
To do this you need to be healthy, and you need to learn how to relax. So before a shot, make sure you’re well fed (not stuffed), and take some time out to breathe and relax.
Also, stay in shape. Do your cardio if you’re not regularly working!
Step 5: Use Hips well
When you walk, keep your hips straight (as explained in tip 2). But when you want to pan, use your hips to turn. Don’t use your hands or feet.
To make a 180o turn: Stand and look straight. Then turn your hips 90o to one side and then complete the move at a 90o angle at the other side.
To make a 90o turn, turn your hips 90o to one side and then complete the move till you are straight.
Whatever you do, don’t spin around.
Step 6: Sit properly
To take low shots don’t kneel. Ever.
Either sit down completely with your legs crossed, or if you want greater mobility, learn to squat completely. To get up all you need to is stand up straight using your quad muscles.
This will also keep your back straight, and you can actually shoot while you get up. The stronger you practice your squats and lunges the smoother you can do this.
Your knees will thank you later.
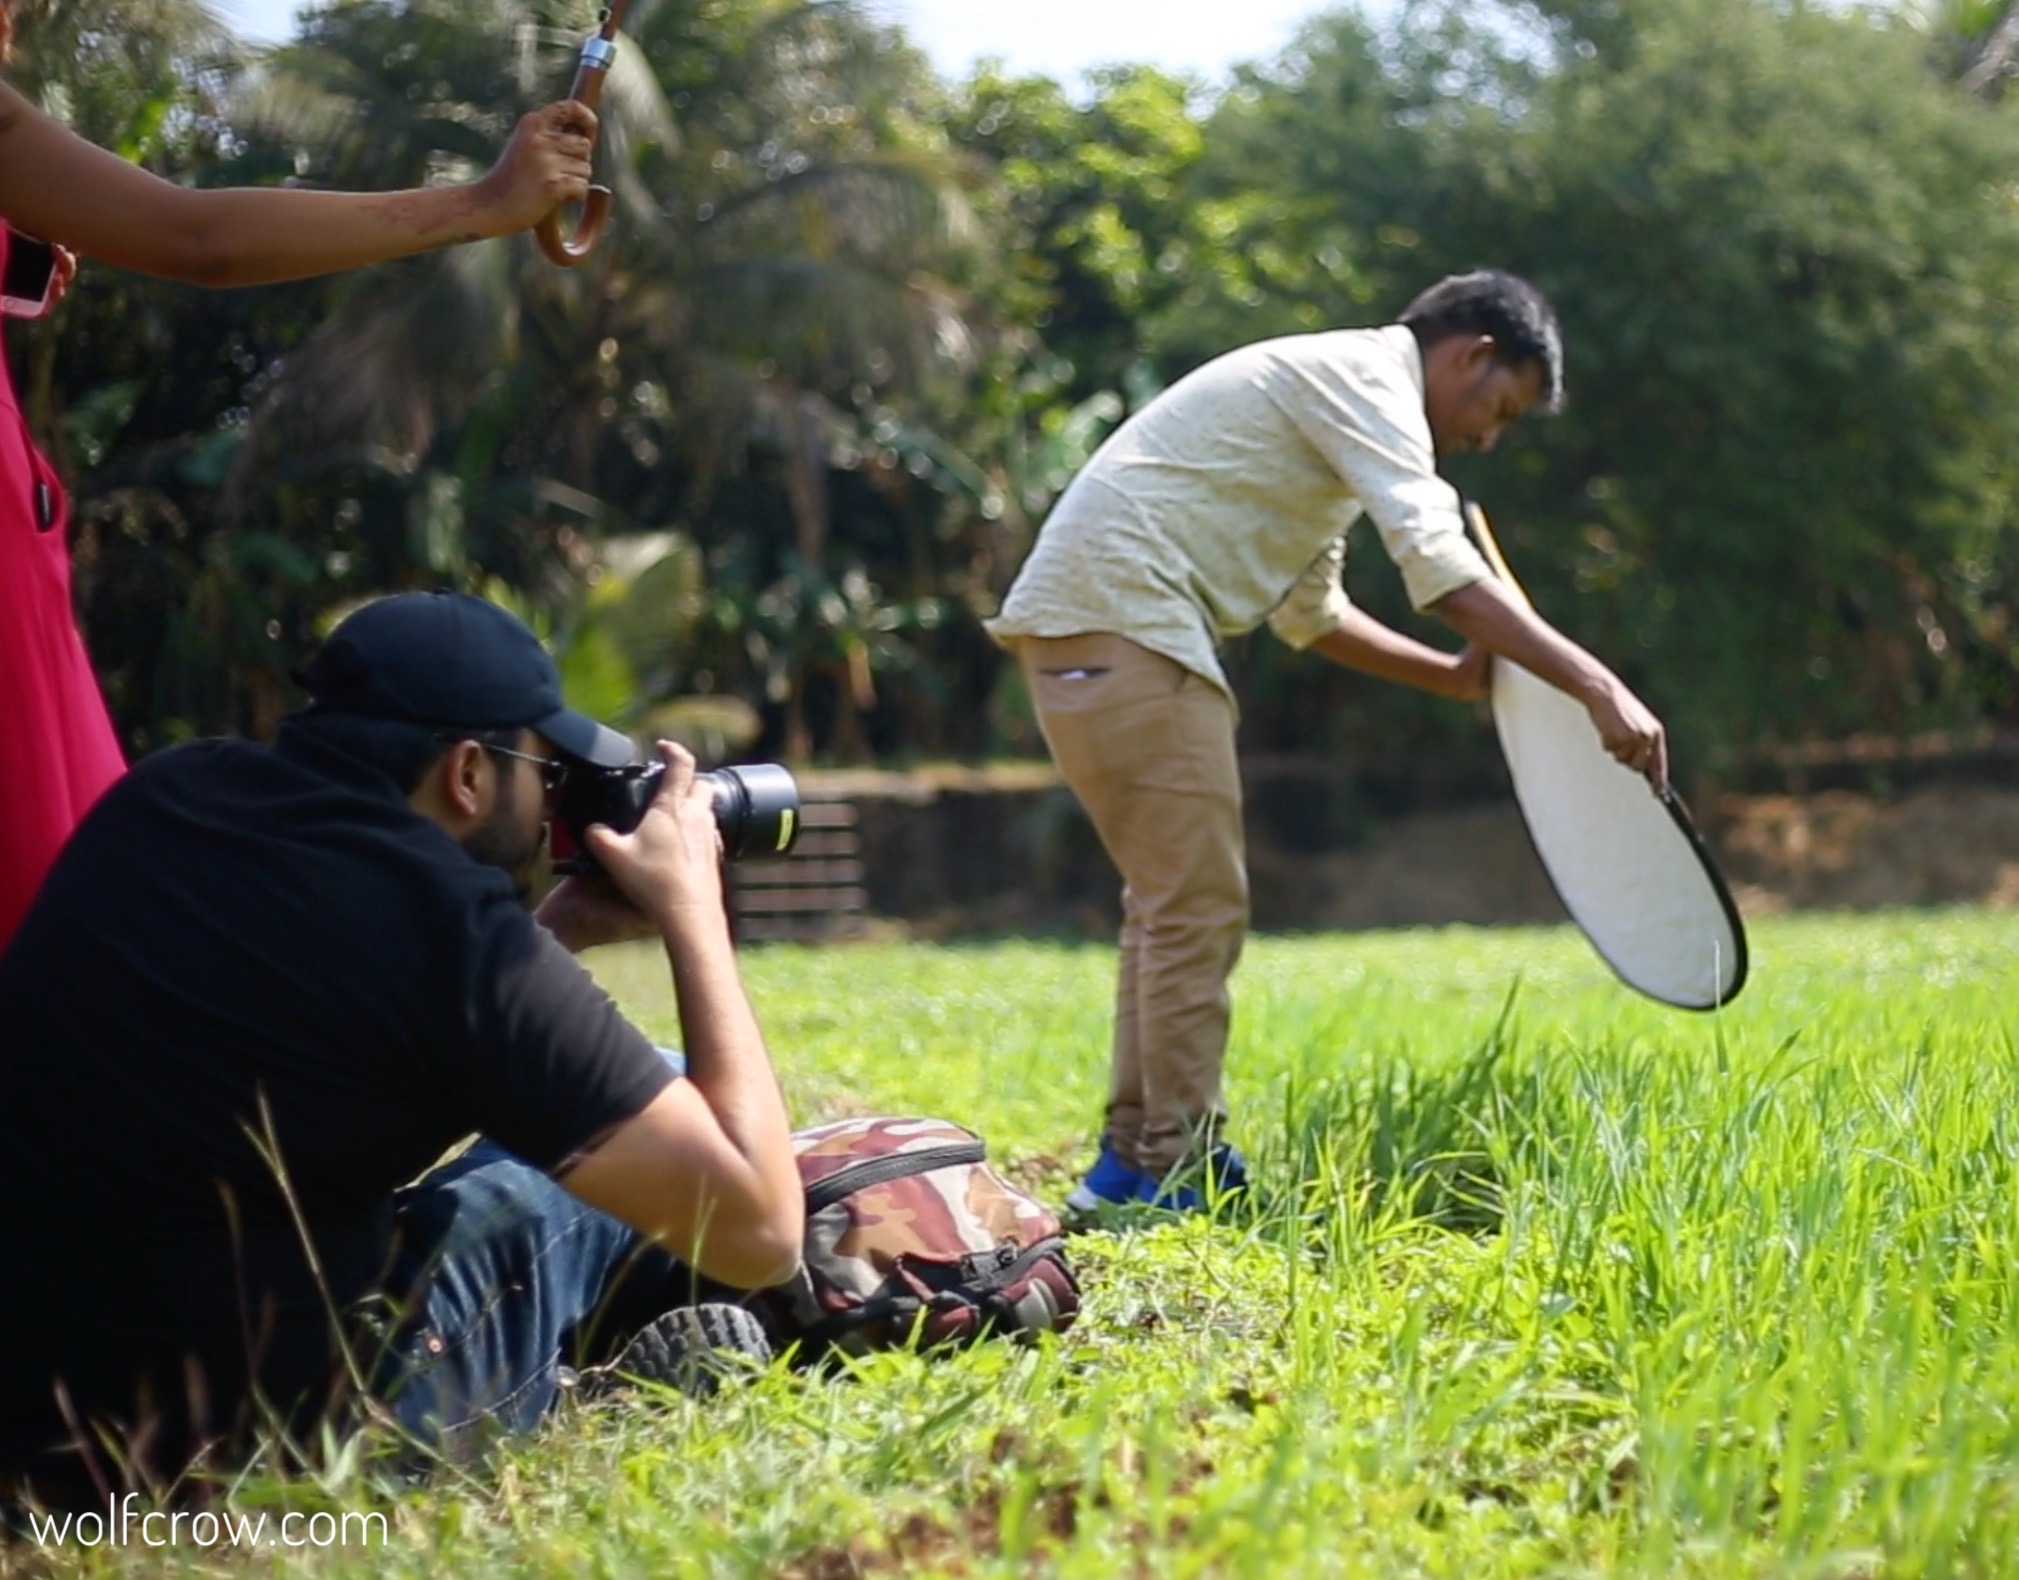
Step 7: Points of support
It’s always a great idea to support any unstable thing with the most number of contact points possible.
When it comes to handheld camerawork, there are two unsteady things:
- Your camera
- Your hands.
To increase the number of points on the camera, use both hands to hold the camera. If you tuck in your elbows that’s great too. To add a third point of contact, touch the viewfinder to your eye. I
This will increase stability drastically.
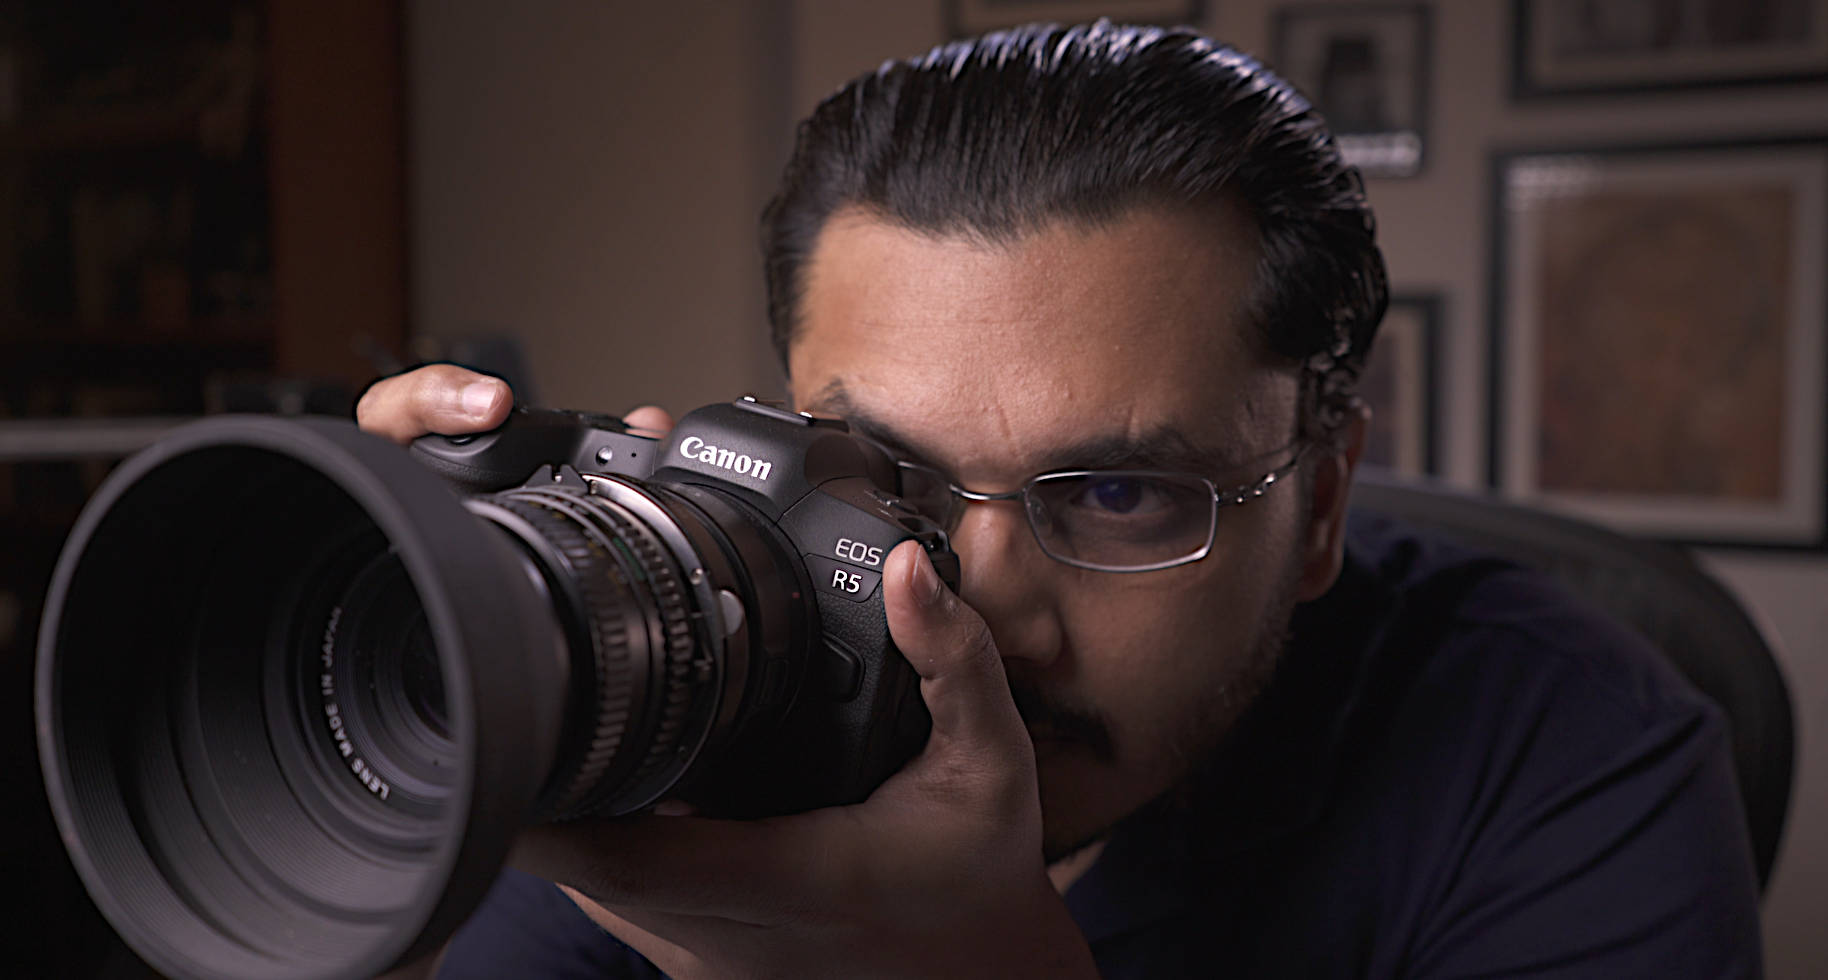
You stay steady with the right stance.
In addition to this, you can also lean against a wall, post, car, or whatever you have available to add a fourth point of contact (unless you have three legs).
Step 8: Keep it loose
Don’t hold the camera too tightly.
The tension in your muscles will lead to it getting fatigued quicker. Have a loose grip. This has the added benefit of your hands behaving like a shock absorber that can absorb some of the shakiness.
See how the small things matter? An additional accessory you can use is a wrist strap, which will reduce the strain on your wrist.
Step 9: Use a monopod
When you can’t carry a tripod get a monopod. You’ll be amazed how much fatigue you can reduce with a light monopod.
A cheap monopod is so light you won’t notice the weight, and it provides the all-important third point of contact for your body as well as the camera.
Important note: If you have internal camera stabilization or a lens with stabilization, it might fight the monopod and might result in weird motion artifacts. Test and see how it works out for your camera setup. If you’re using a monopod you don’t need stabilization turned on.
Step 10: Use your camera bag
When you want to get low, you can use your camera bag to support the camera. It also helps if you have a ledge, car, table, parapet or some other kind of support where you can place the bag and the camera over it.
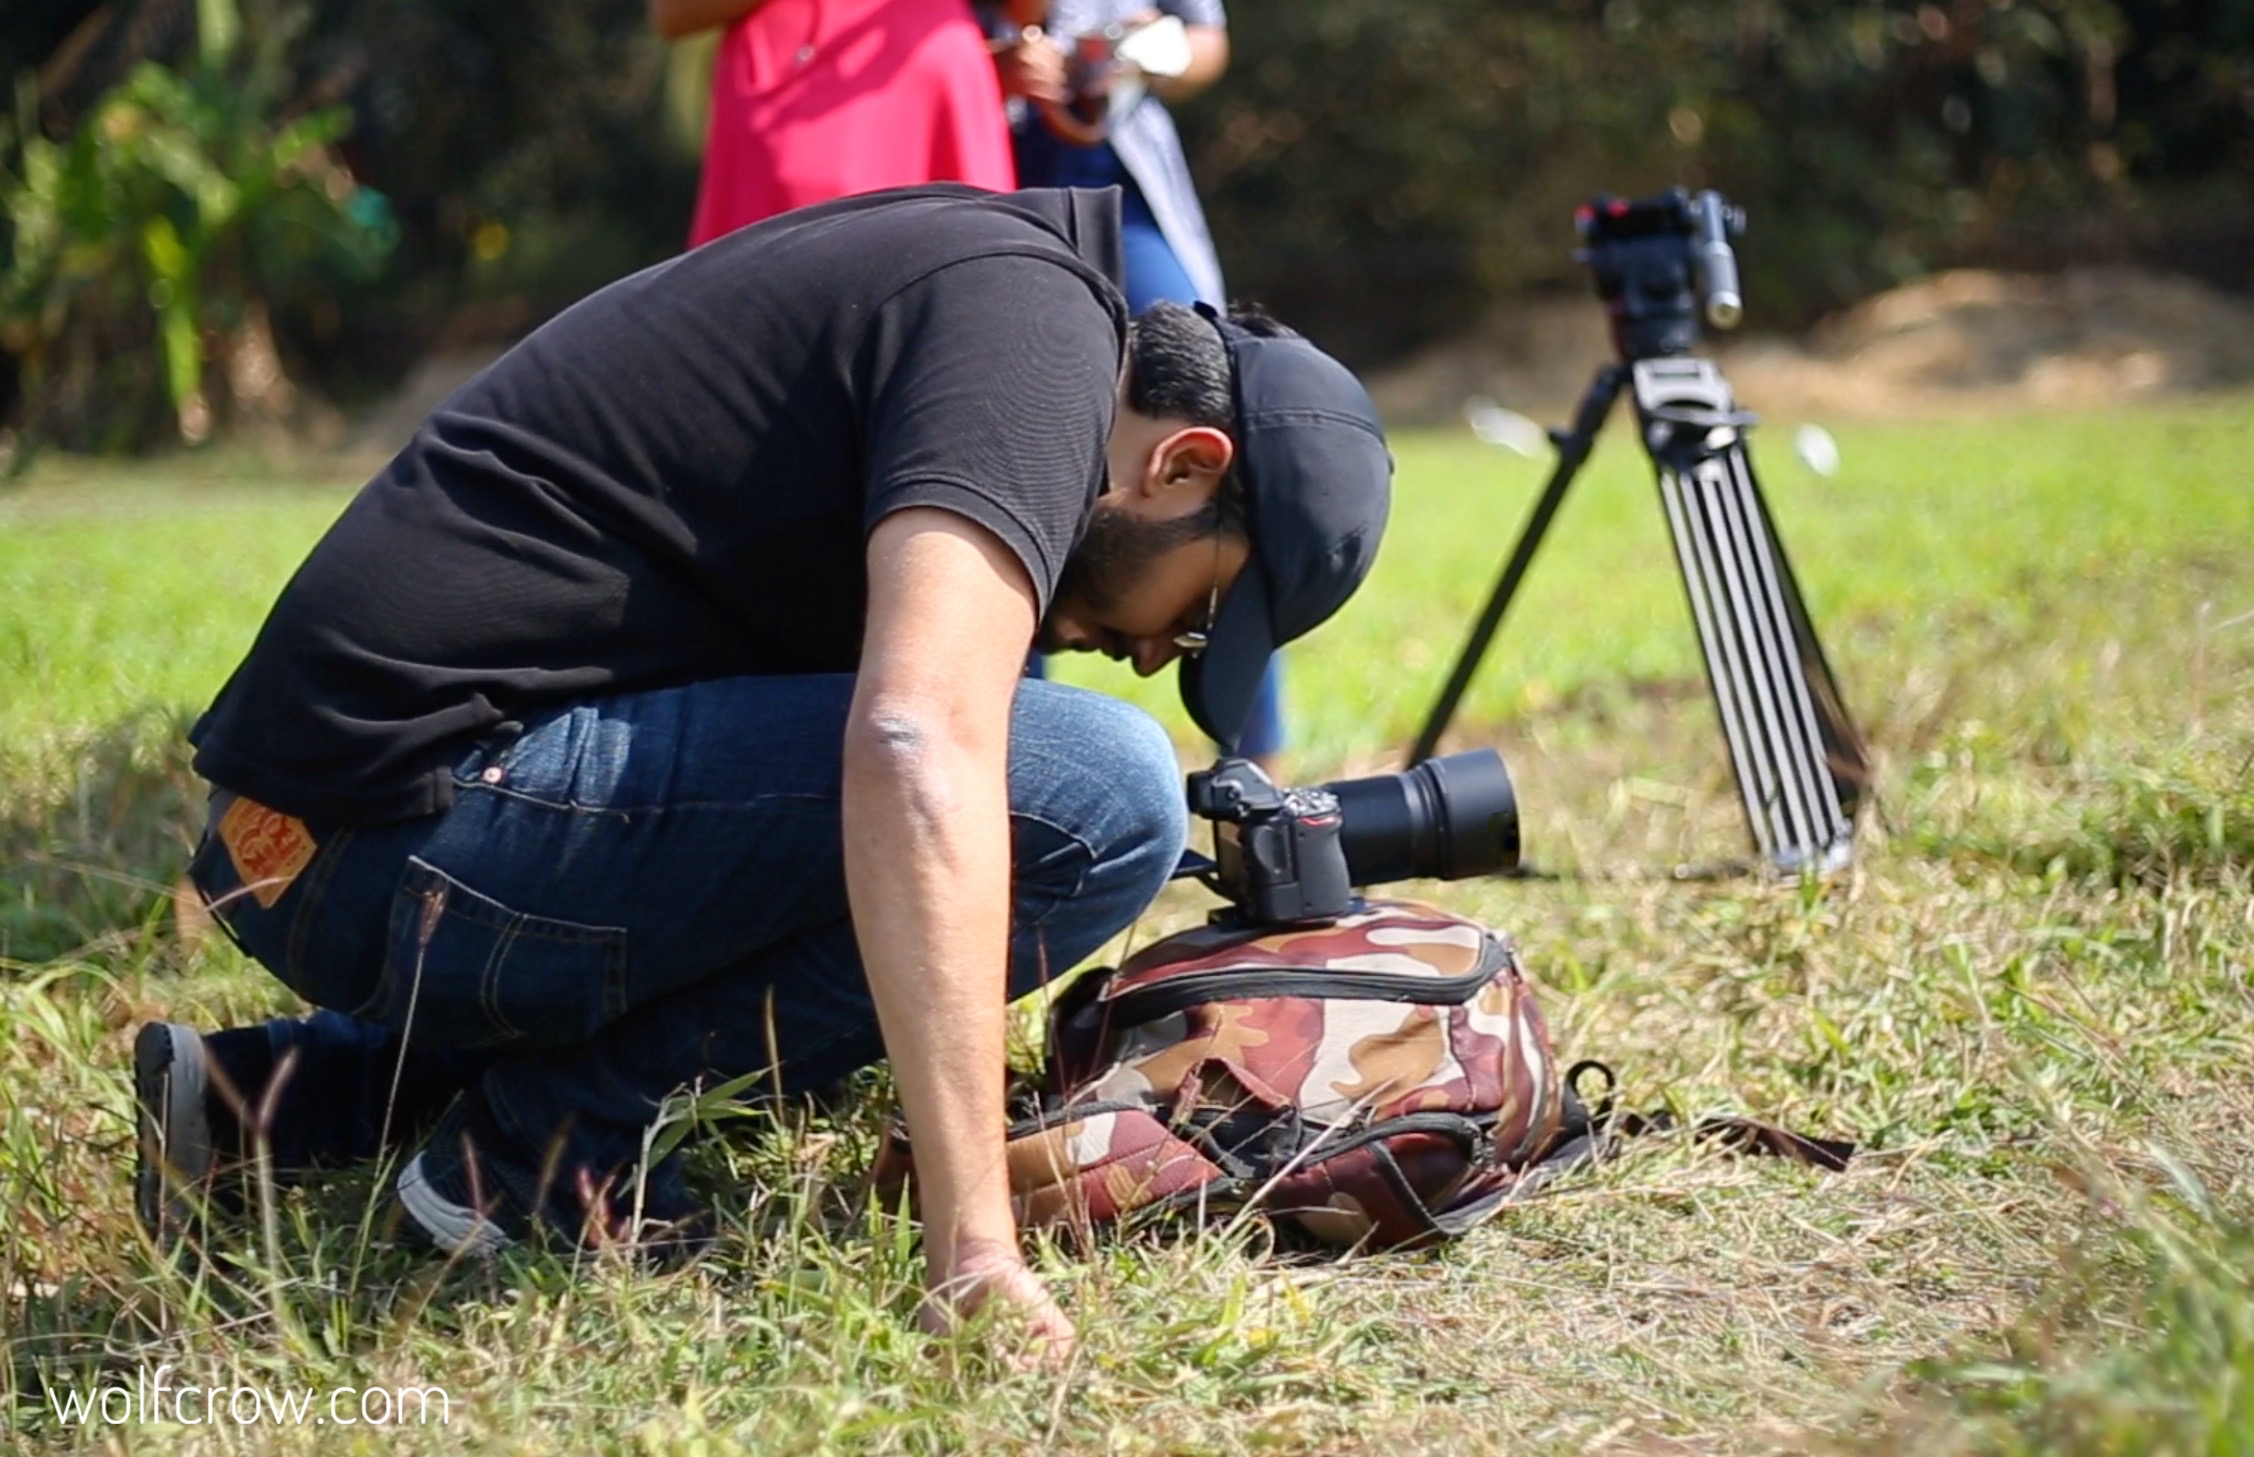
I love cloth bags like the Thinktank Retrospective series for this, but any bag with stuff in it will do.
Step 11: Shoot wide angle
So this one is a no brainer. Telephoto lenses amplify any camera shake. Wide-angle lenses, even without stabilization, tend to hide shaky camera work.
Go as wide as you can without distorting faces and you’ll be fine. That’s a simple little tip that works wonders.
That’s it!
But on the other hand, many of the tips I’ve shared are just good habits that you can incorporate right away. Soon you won’t even notice it, and others will wonder how your shots are so smooth.
TDLR;
- Step 1: Image Stabilization Use internal camera stabilization or stabilized lenses.
- Step 2: Stand right Stand stably, bending knees slightly, keeping your back straight, and crossing legs when walking.
- Step 3: Be compact Tuck your elbows close to your ribs to lower your center of gravity.
- Step 4: Breathe well Use even, steady breaths and relax before a shot.
- Step 5: Use Hips well Use your hips to pan and turn, not your hands or feet.
- Step 6: Sit properly For low shots, sit completely with legs crossed or squat fully; do not kneel.
- Step 7: Points of support Increase contact points by using both hands, touching the viewfinder to your eye, and leaning against a fixed object (like a wall or post).
- Step 8: Keep it loose Use a looser grip to absorb shakiness and prevent muscle fatigue.
- Step 9: Use a monopod Use a monopod for a crucial third point of contact when a tripod is unavailable.
- Step 10: Use your camera bag Use your camera bag to support the camera for low shots or on a ledge/surface.
- Step 11: Shoot wide angle Shoot wide-angle, as it hides shaky camera work better than telephoto shots.
If you have any tips let me know in the comments below. Now go film something steady!