Creating high-quality video content does not require a massive budget. Many creators fall into the trap of accumulating gear before they actually need it.
The kit I’ve used to create professional talking head videos, product shots, fashion films, and short films has evolved over many years. The tools listed here are affordable, tested, and reliable.
Before purchasing any new equipment, you should follow this golden rule.
You should only buy gear if your business or profession will return the investment in three months or less. This is a strict financial guideline.
If you purchase a camera for $3,000, that camera must generate an additional $3,000 for you within that three-month window. That’s a total of $6,000.
If you know that this return on investment is impossible, you should not make the purchase. This rule prevents you from wasting money on unnecessary accumulation.
Be smart about your resources especially when you are just starting out. With that being said, let’s look at my eleven tools and hacks.

1. A 500 Watt Work Light and Black Cinefoil
Lighting is the foundation of any video production, but it doesn’t have to be expensive. One of the most effective and affordable tools for this is a 500-watt LED work (or shop) light. Preferably dimmable, because 500W LED is a lot!
This is a tough floodlight designed for construction or outdoor use. It is powerful enough to light up any room or outdoors.
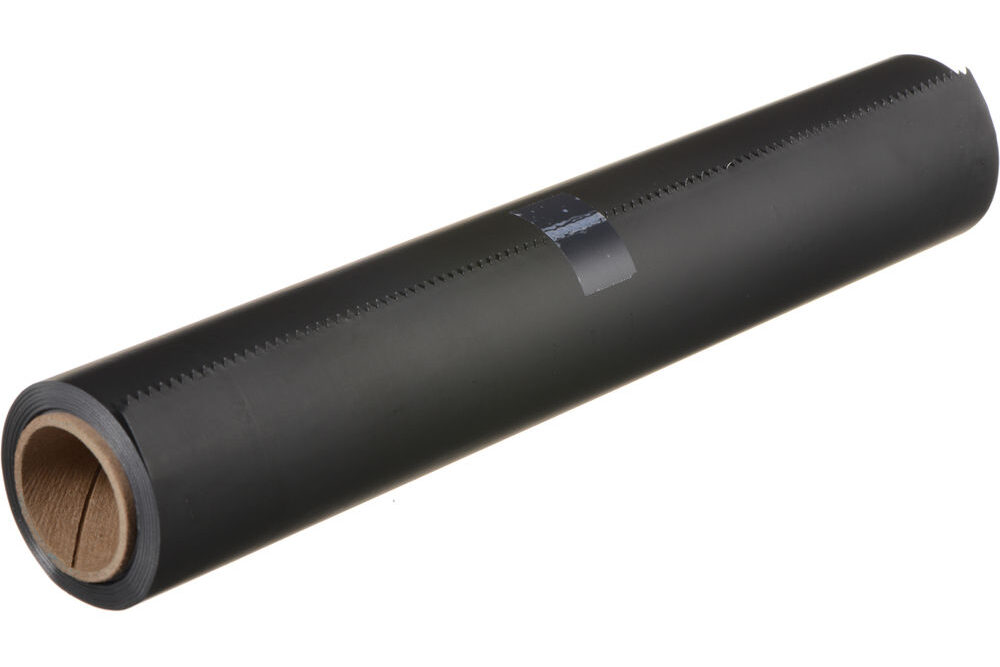
You must pair this light with black aluminum cinefoil. The typical work light has a wide beam angle and produces a lot of light spill that can be difficult to manage.
Cinefoil helps control this spill. It is also heat resistant. A standard roll of Rosco Cinefoil (Amazon, B&H) measures twelve inches by fifty feet.
If you can’t afford Cinefoil, get black paper. However, some LED fixtures can get very warm from the back so beware. Also, Cinefoil can be reused again and again. Paper isn’t that durable.
There isn’t a cheaper (or tougher) alternative for powering a large set. These lights are built to withstand outdoor conditions. You don’t get all the bells and whistles of a dedicated LED fixture, but sometimes you just need the light and nothing else.
When you have the money to upgrade, get a dedicated LED fixture with the following features:
- Fully dimmable from 1-100%
- Bi-color or RGBWW
2. A 4-Socket Lamp Holder with LED Bulbs
The second cheap but really practical tool is a 4-socket holder (Amazon, B&H) combined with LED bulbs.
This device allows you to screw in four separate household bulbs. It works with LEDs, fluorescents, and even tungsten bulbs, provided you watch the wattage limits. A holder with four sockets is good enough for most shooting scenarios.
You should pair this holder with a softbox for the best results. LED bulbs are highly recommended for this setup. You can find a light bulb anywhere in the world, and the adapter is usually made of plastic, so is extremely lightweight.
This setup works exceptionally well for close to medium shots with a softbox. There are no cheaper alternatives that provide this level of soft light.
Of course, the next step up is a dedicated LED floodlight with a softbox.

3. A 1×1 Bi-color LED Panel
The 1×1 bi-color LED panel (Amazon, B&H) is a staple for modern video production. The term “1×1” refers to the size of the panel, which is one foot by one foot.
These panels are available in various sizes, but this form factor is easy to pack and transport. You can use this light as a key light or a fill light or whatever.
A major advantage of this light fixture is the ability to use battery power. This makes it portable for location shoots. The bi-color feature allows you to manipulate color temperature to match your environment. RGBWW is even better, but more expensive.
You’ll also find the same form factor in more expensive panels, but they are not necessary for the typical YouTube work.
As long as you don’t use those dreaded ring lights!
4. A Softbox with Honeycomb Grid
Soft light is flattering for subjects. A softbox (Amazon, B&H) provides a large, soft source of light that makes subjects look good. It is especially useful for making “aesthetically challenged” individuals appear their best on camera.
Good news for any YouTuber, right?
The addition of a honeycomb grid is crucial. The grid helps you control the light spill. It ensures the light is directed exactly where you want it, which makes your subject stand out from the background.
Note that using a grid will reduce the total light output.
There is no versatile alternative to a softbox with a grid on a budget. You could try bouncing light off walls or ceilings, or you could tape muslin to the walls. However, those methods require more work, more space, and often the help of an assistant.
The softbox is a bread-and-butter tool for videographers. A good starting size is twenty-four or thirty-six inches. The square shape is what I recommend if you are unsure.
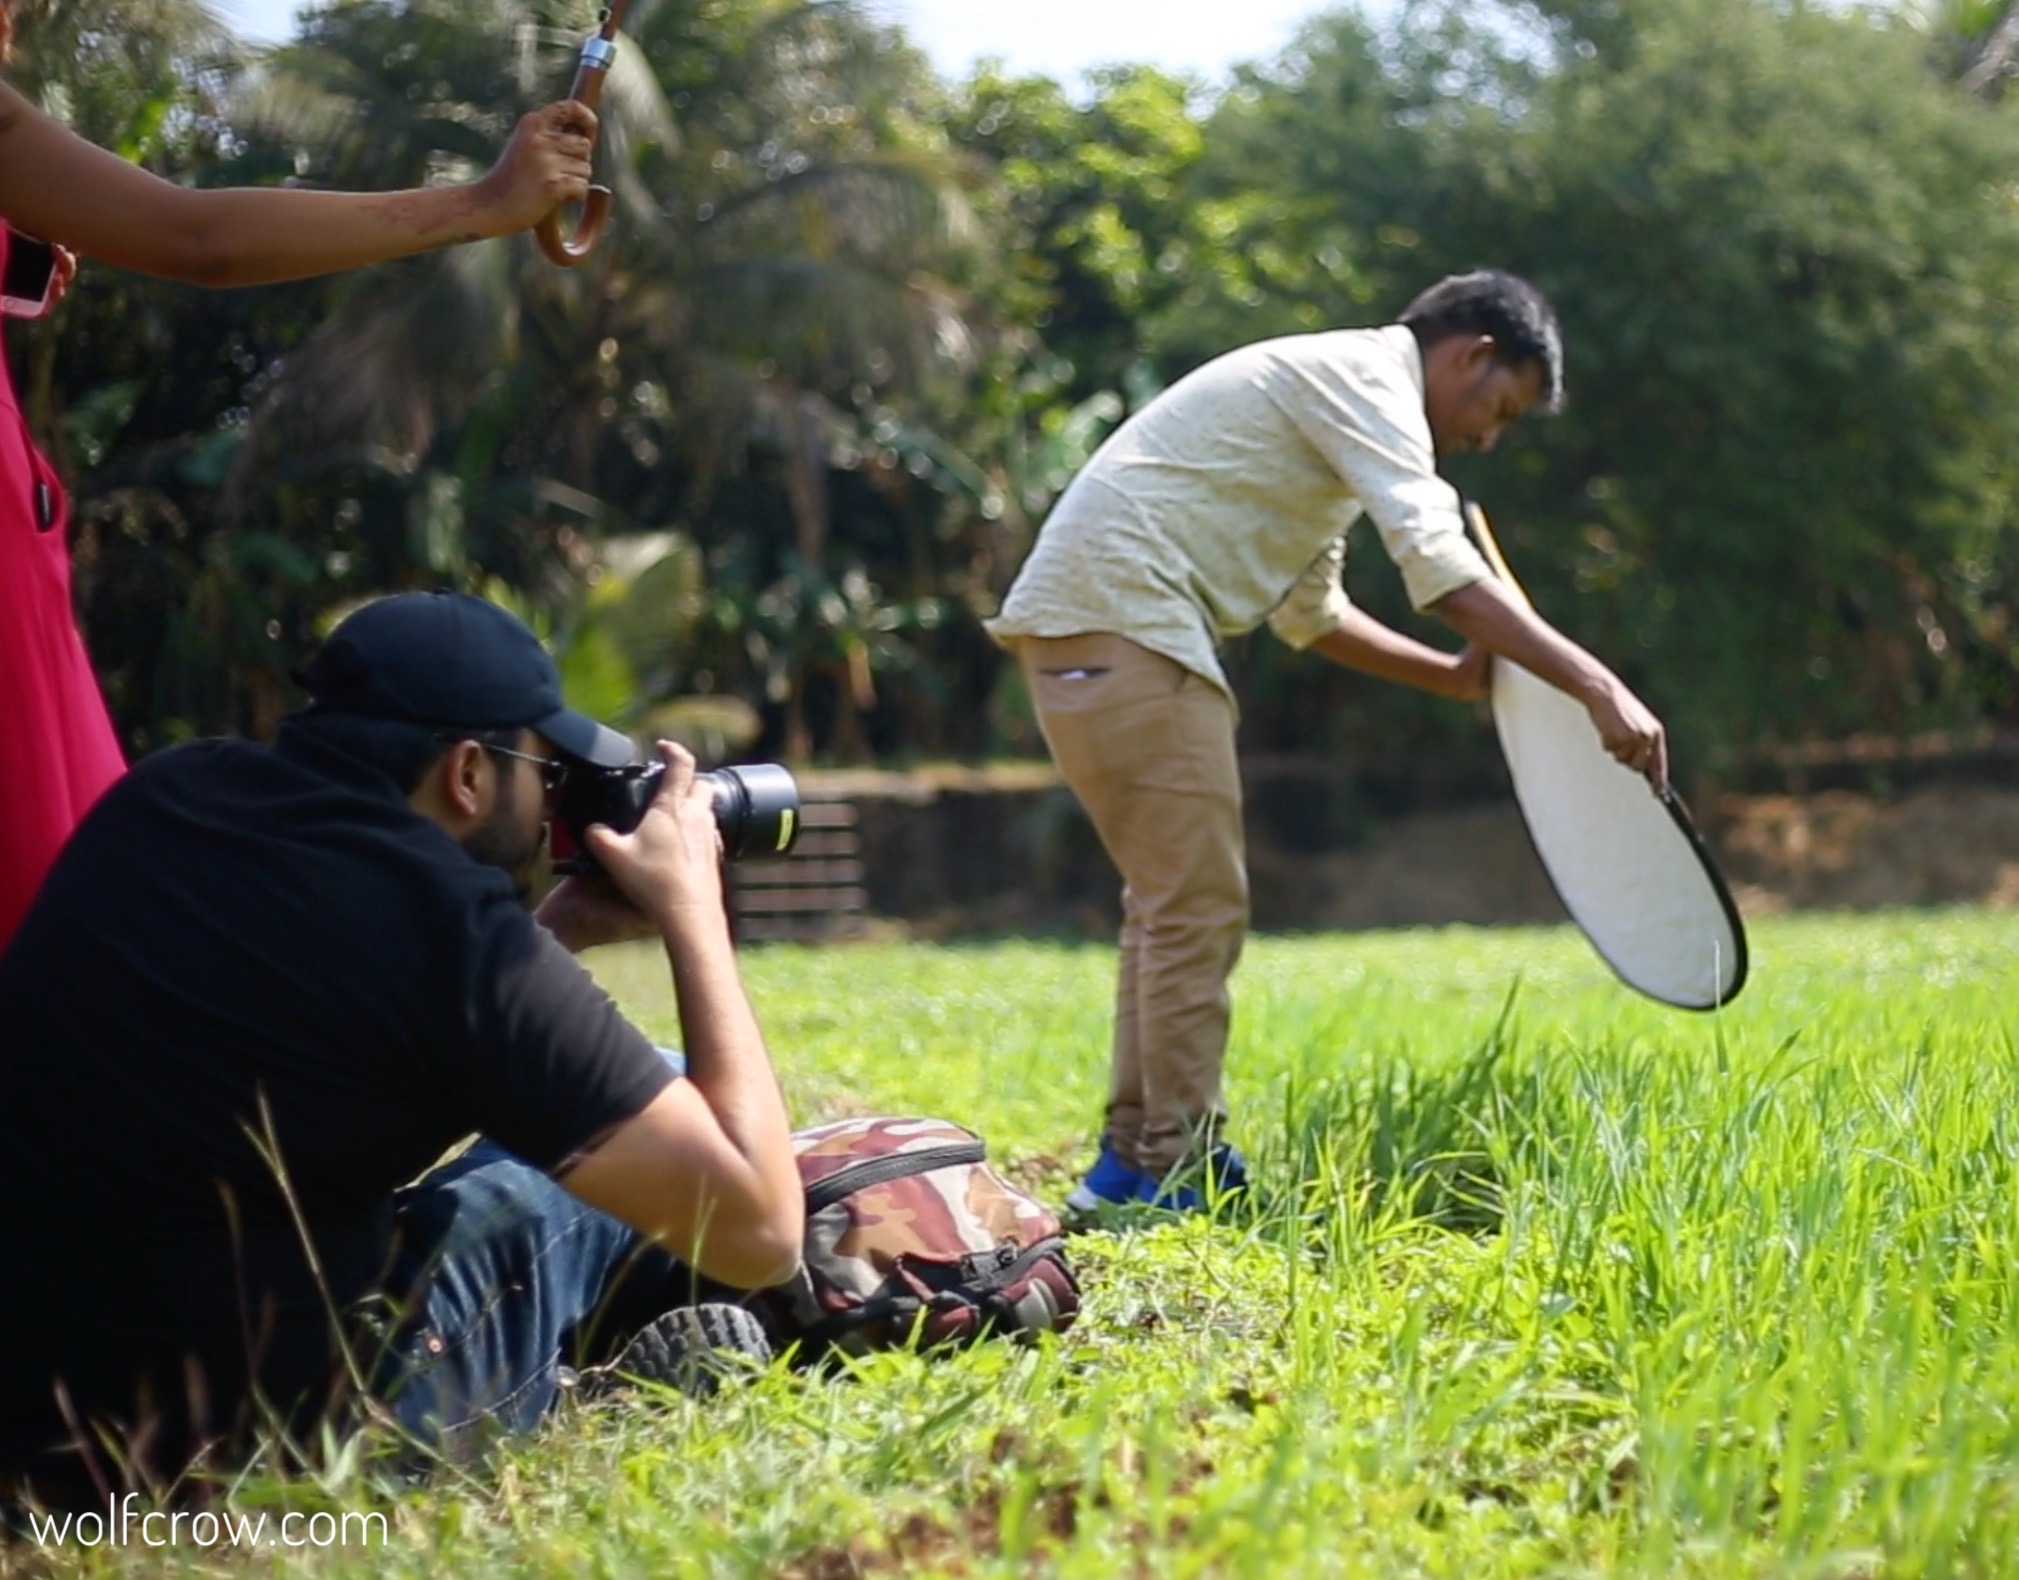
5. A Collapsible 5-in-1 Reflector
The collapsible 5-in-1 reflector (Amazon, B&H) is a mandatory item for any lighting kit. It typically features five different surfaces: white, black, silver, gold, and translucent. It folds up neatly, making it perfect for travel.
Learning to fold it back into its pouch is a rite of passage for new filmmakers!
Each surface serves a distinct purpose. The white surface reflects light back onto the subject without changing the color. The black surface blocks light and acts as a “negative fill” to create contrast.
The silver surface bounces back more light than the white surface and produces a harsher specular quality. The gold surface functions like the silver one but warms up the light significantly.
Finally, the translucent surface is used to shoot through. It acts as a diffuser or a scrim to block direct sunlight from falling on your subject. Put it in front of the LED work light or 4-socket holder to further diffuse the light.
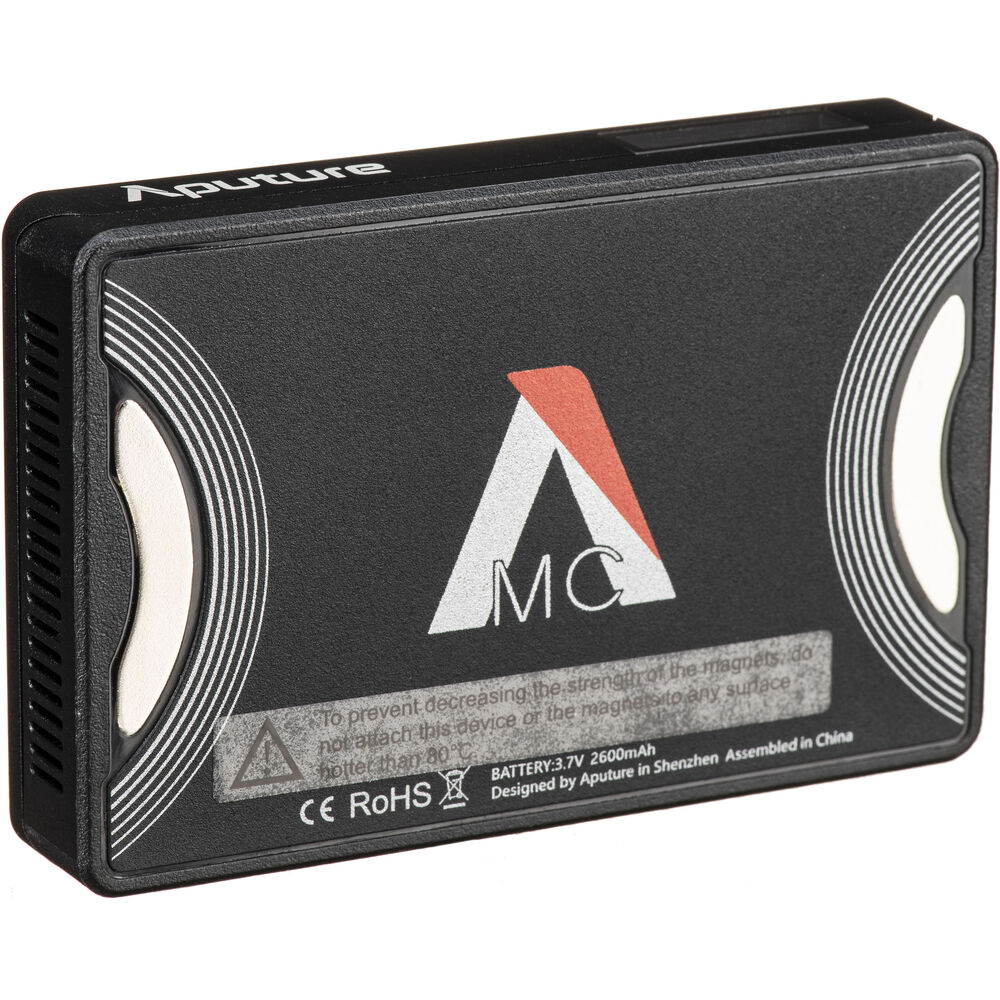
6. An On-camera Pocket LED light
An on-camera pocket LED light (Amazon, B&H) is a small panel roughly the size of a large candy bar.
You can perch this light on top of your camera or hold it in one hand, or position it in tight spaces where other lights cannot fit. It is perfect for shining some fill light onto a subject’s face in cramped quarters.
Also great for lighting small products and creating interesting effects.
Nothing can truly replace it for portability and convenience. It is a life saver in difficult lighting situations.
Which one should you get? Here’s a helpful guide:
7. A DIY LED Light Bank
An LED light bank (Amazon, B&H) uses multiple LED tube fixtures together.
Together, they provide a soft, diffused light without the need for additional modifiers. It is excellent for interviews and general lighting for short films or documentaries. Major Hollywood productions use these tools on a regular basis.
It belongs on this list because it is one of the cheapest and easiest ways to generate soft, even light. You can buy LED (or fluorescent) tube lights anywhere in the world.
If you’re going DIY you must ensure the unit is wired correctly and grounded. It is highly recommended that you get a qualified electrician to build these for you. The construction process usually takes only a couple of hours.
8. An Articulating (Magic) Arm
The articulating arm (Amazon, B&H), often called a “magic arm,” is a mechanical arm that can twist in any direction. The entire mechanism is controlled by just one locking knob.
A typical arm usually comes with a 1/4″-20 screw thread at each end. You can also find versions with cold shoe mounts or 3/8″ threads.
When starting out, you should acquire two sizes: a smaller six or seven-inch arm and a larger ten to twelve-inch arm. The utility of this tool is immense.
Why? Imagine you need to place a light or monitor or microphone in a specific angle while shooting from the ground or from high up. The magic arm allows you to reposition the monitor anywhere securely. You can even use it to hold a “flag” to block light from entering the lens.

9. A Macro Extension Tube Set
Don’t have money for dedicated macro lenses?
A macro extension tube set (Amazon, B&H) attaches between your camera lens and the lens mount. Its function is to help you focus your lens closer to the subject. These sets usually come in three sizes. You can attach them separately or stack them in pairs to vary the length.
Roughly speaking, the longer the extension, the closer you can focus.
You will lose a small amount of light, but you can still create great images you wouldn’t have been able to without macro lenses. Also remember that adding a macro extension tube eliminates your ability to focus to infinity.
In my early reviews, I’ve used macro extension tubes to get great camera and fixture shots.
10. A 216 Diffusion (or Shower Curtain)
Diffusion materials are used to soften a light source. “216” refers to a specific kind of tough white diffusion material.
The number 216 is its worldwide identity in the film industry. Another popular number is 251. There are also other kinds of diffusion, but a typical YouTube needn’t waste time after any of that. You hang this material off a C-stand or a rod and shoot light through it.
The quality of light produced by 216 diffusion is beautiful. It is generally much better than what you get with a cheap softbox or a 5-in-1 reflector. A sheet or roll of 216 is not very expensive. It allows you to create the same high-quality light that professionals get on a film.
If you don’t have the money, a muslin sheet (I recommend unbleached to start with) or shower curtain can work too, but just won’t give you the same effect.
11. A Light Stand and Sandbags
The light stand (Amazon, B&H) is a tool that holds and positions your light. It essentially replaces the need for a human assistant. Using a stand is cheaper than paying for an assistant and their potential medical bills.
You have a choice between a simple photo light stand and a C-stand. The photo light stand is lighter and easier to transport. The C-stand is heavier and does not fold up as neatly. However, the C-stand is much more stable. It can hold a boom arm and support much heavier lights.
To know more about light stands, check this out:
You must pair your stands with sandbags. This is a safety requirement. Sandbags prevent your precious lights from falling over and breaking. You can fill these bags with sand, water, or even clean mud.
You cannot effectively light a scene without stands. While you might get away with makeshift solutions occasionally, you need your lights to stay put for consistent results.
12. Gaffers Tape
No kit is complete without the glue that holds everything together: gaffers tape (Amazon, B&H). This is not an ordinary duct tape. Gaffers tape is designed to leave no sticky residue behind when it is removed.
This tape helps you attach cinefoil to your lights. It allows you to fix broken gear on the fly. You can use it to tape muslin backgrounds to walls or floors. It helps you accomplish countless tasks that can save your shoot and your career.
It is a consumable item that every videographer and YouTuber must have in their bag.
13. An Expensive Lapel or Lavalier Microphone
This goes against the grain of this article, doesn’t it? But as of now, cheap audio still sounds like cheap audio.
I know a lot of YouTubers love to use their wireless clip on microphones (Amazon, B&H), and many successful YouTubers swear by them.
However, if you can afford an expensive lapel microphone, the audio quality will be that much better. You can clip it onto a person’s clothes and get the microphone close to the source of the sound.
Also, you can hide the damn thing.
Cheap lapel microphones often lack EMI shielding. Without this shielding, the microphone will pick up unwanted sounds and interference, even when the environment seems quiet. This background noise can ruin your audio.
Whatever you do, don’t use the camera microphone for YouTube videos.
If you want to go wireless, here are my pics:
And for wired lavalier microphones, here are my pics: