
Here are 8 simple steps to get the correct white balance in camera, with tungsten, daylight or even mixed lighting sources:

What is white balance in camera?
White balance is the setting in your camera that tells the camera what white is.
If you put a white piece of paper in front of your camera and then shine a tungsten light source at it, it’s going to look yellow.
You know the paper is white. The camera doesn’t. You need to do something – adjust something – and that is the white balance setting.
For the definition of white balance read this article:
By following these 8 steps you will be able to handle any lighting situation, even if you can’t afford an expensive white balance card.
1 What color is the light?
To correctly nail white balance every single time, ask yourself:
What color is the light?
If it’s tungsten, set your camera to tungsten. If it’s daylight, set it to daylight. This is the first and simplest step.
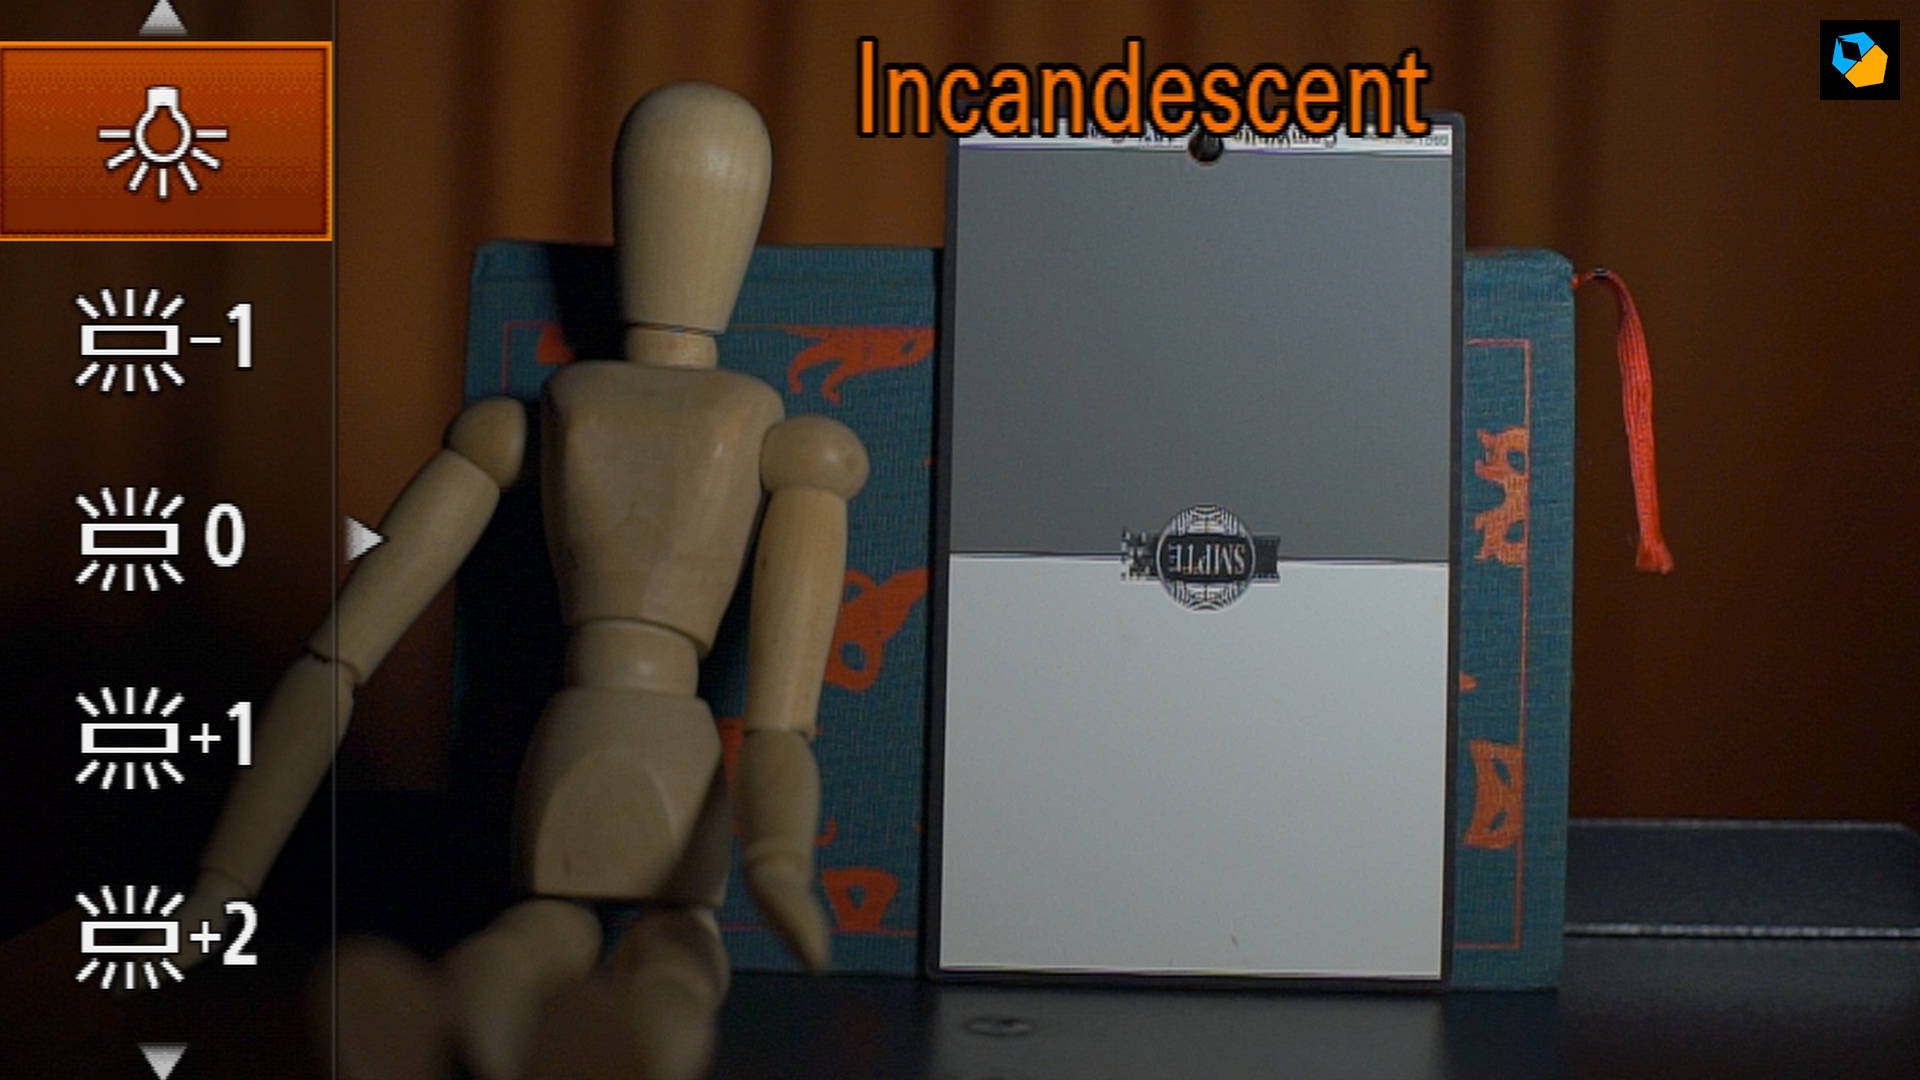
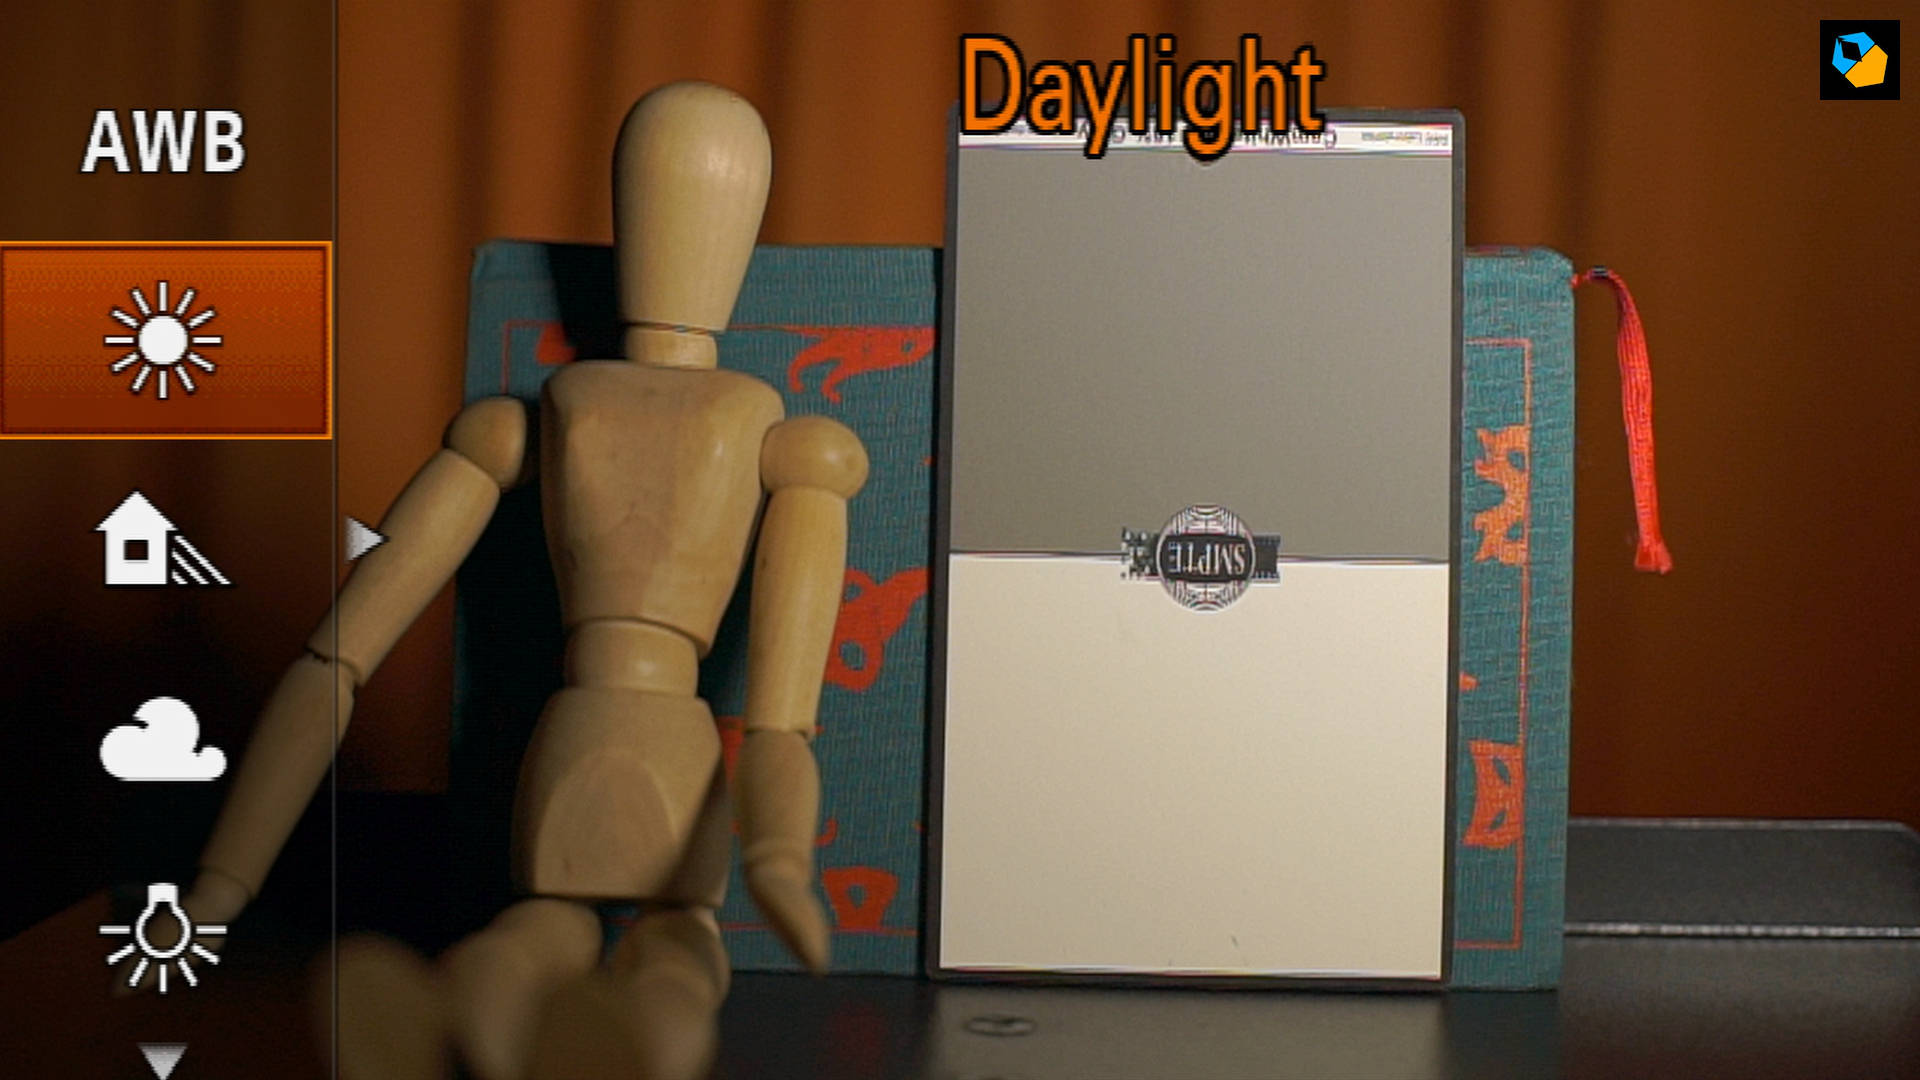
Note: Cameras always have trouble white balancing really warm tungsten sources because they can vary between 2500K to 3500K. That’s why the default settings don’t match.
White balance is measured in Kelvin (K). It’s just Kelvin, not degree Kelvin. It’s actually a unit of measurement for temperature, used by scientists. It’s hot outside, it should be 3200K, or it’s cold today, must be 5600K. The higher the number, the bluer it gets.
Just remember these two numbers:
Tungsten is 3200K and daylight is typically 5600K, but it depends.
2 How to white balance with bicolor LED lights
A bicolor LED light goes from tungsten (warm) to daylight (blue). What if you set the color rating in the middle, to say 4500K? That’s between 3200K and 5600K.
You follow the same step, ask yourself:
What color is the light?
You set the white balance to the number on the light.
It’s 4500K, so the white balance is set to 4500K:

3 How to use a grey card to white balance
Purchase a grey card. Here are the only two cards I recommend at the moment:
Please don’t get the cheap paper cards or knock-offs, because you might as well use plain white paper instead of these. Good grey cards are expensive because it’s really hard to print completely neutral and perfect colors, and they have to last a few years without fading.
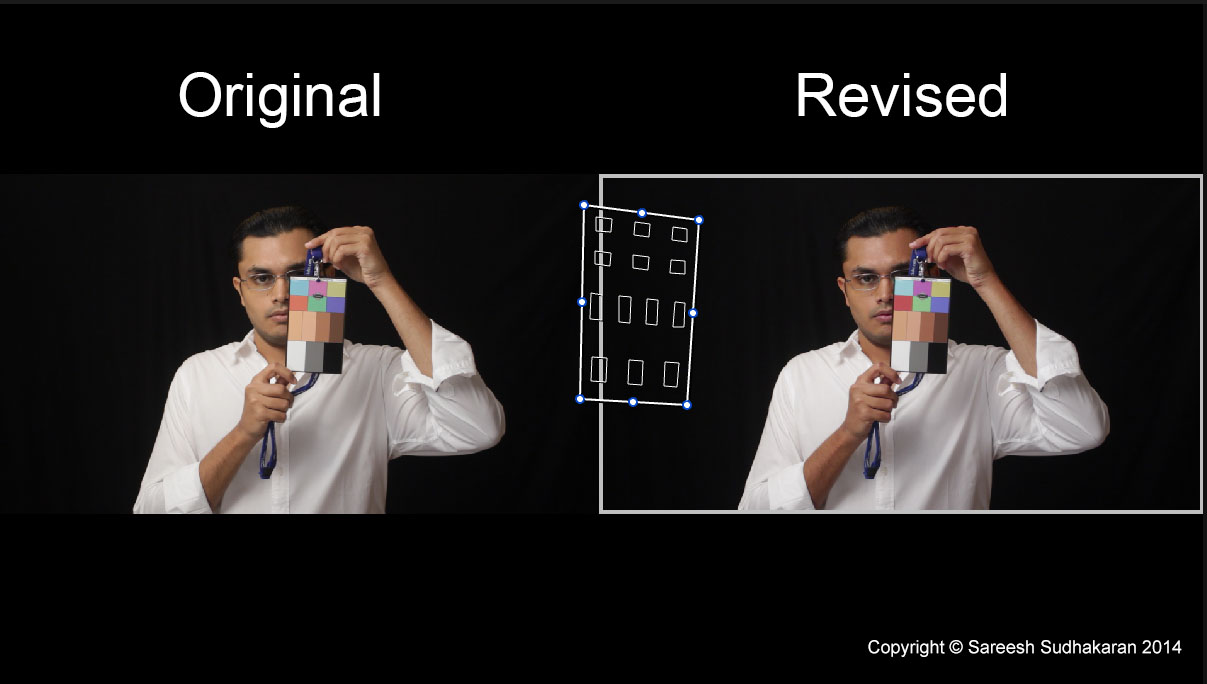
The trick to using a grey card correctly is to place the card in the light you want to balance.

If the light is shining on your subject, don’t place the card somewhere else. If you are shooting with a telephoto lens and your subject is far away, don’t put the card in front of your camera. If you can’t reach the subject, you don’t need a grey card.
How do you use a grey card?
In most cameras you have to point the camera at the card, fill up the circle in the middle, and click. The camera will give you the right white balance, and you just choose this setting.
4 When to use auto white balance correctly
Did I say the camera didn’t know what white is? Well, it does, or at least it thinks it does. There is a clever algorithm inside cameras that tell it what white is, but not all the time.
This is auto white balance. You just turn it on, and the camera guesses.
How accurate is it? Not very.
It’s easier if you place simple charts or walls in front of the camera and fill up the frame. But anytime there’s mixed colored lights in the shot, it gets confused.
You’ll never see big cinematographers using auto white balance. Why not?
Cinematography is about matching shots. In one close up the actor is wearing blue, and the camera gives you one white balance value. In the reverse shot the other actor is wearing red, and the white balance is different. Put them together, and you have a ruined scene:

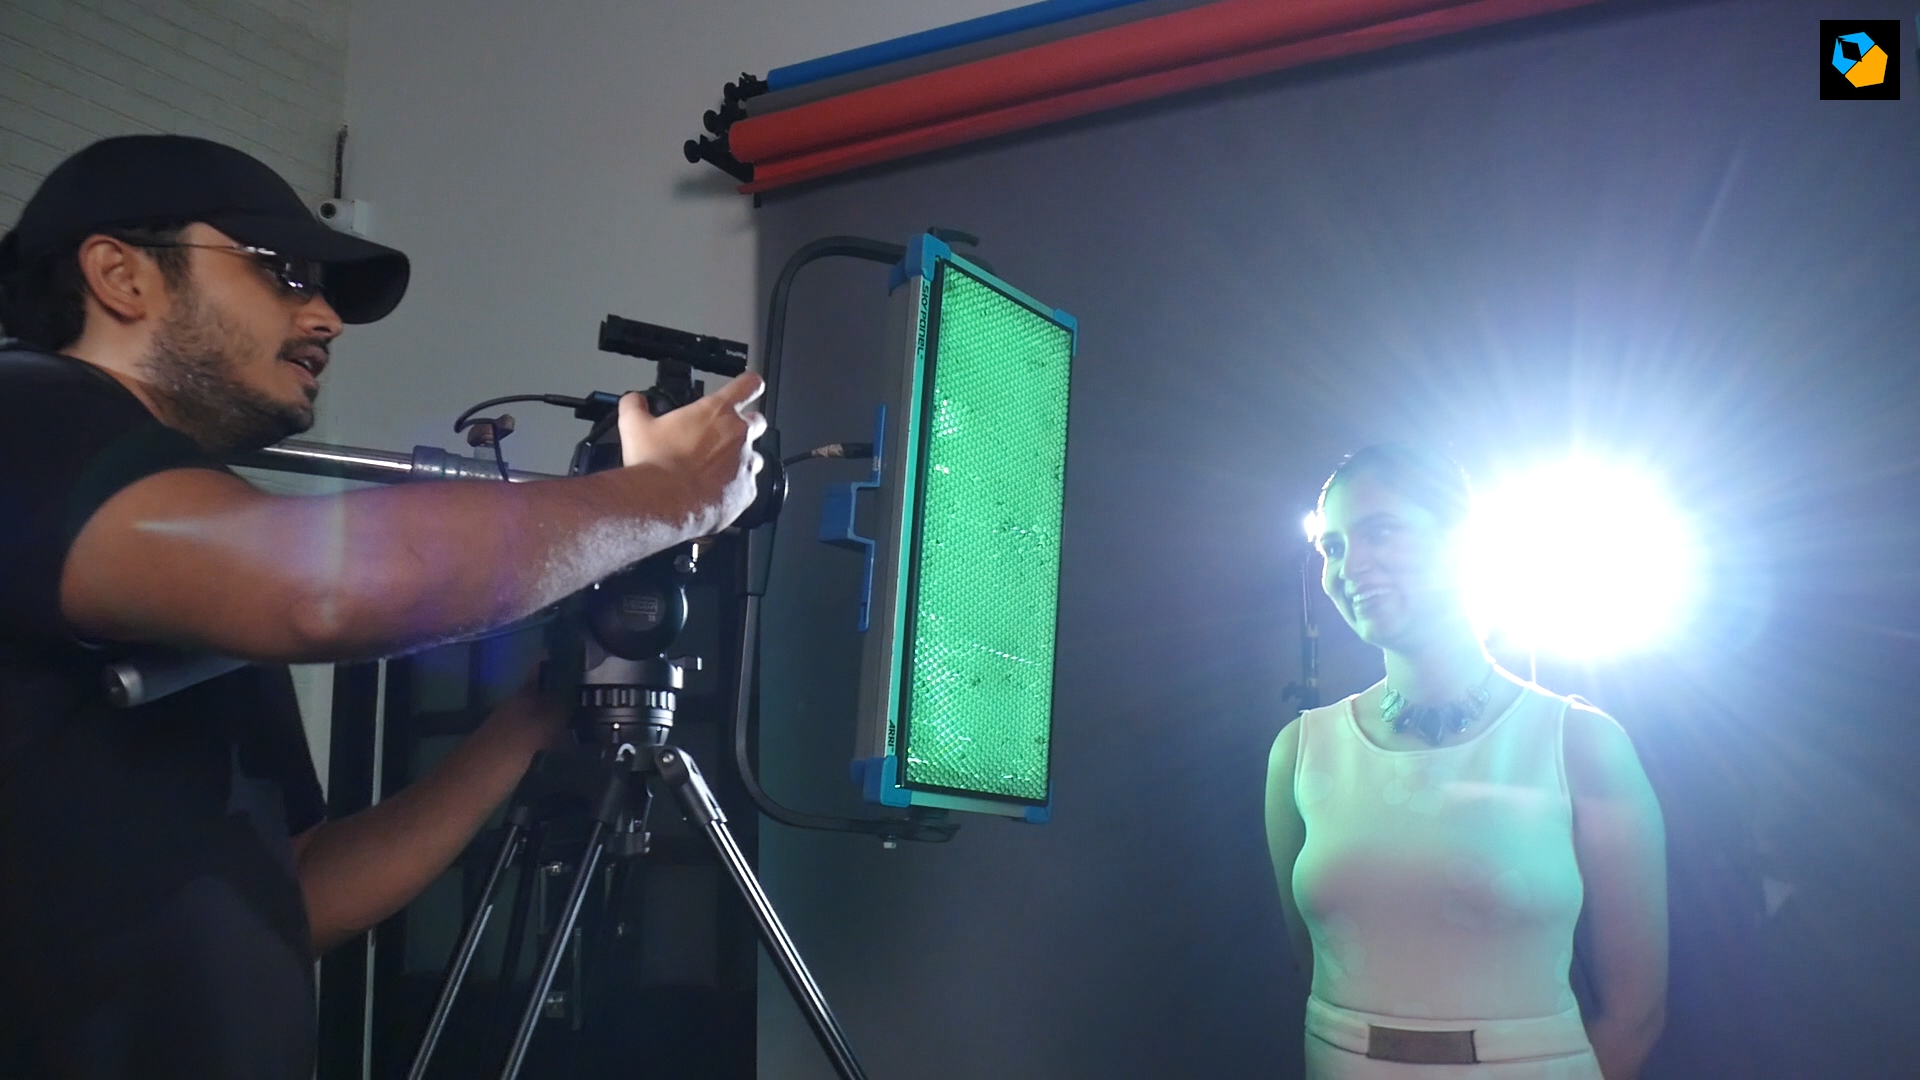
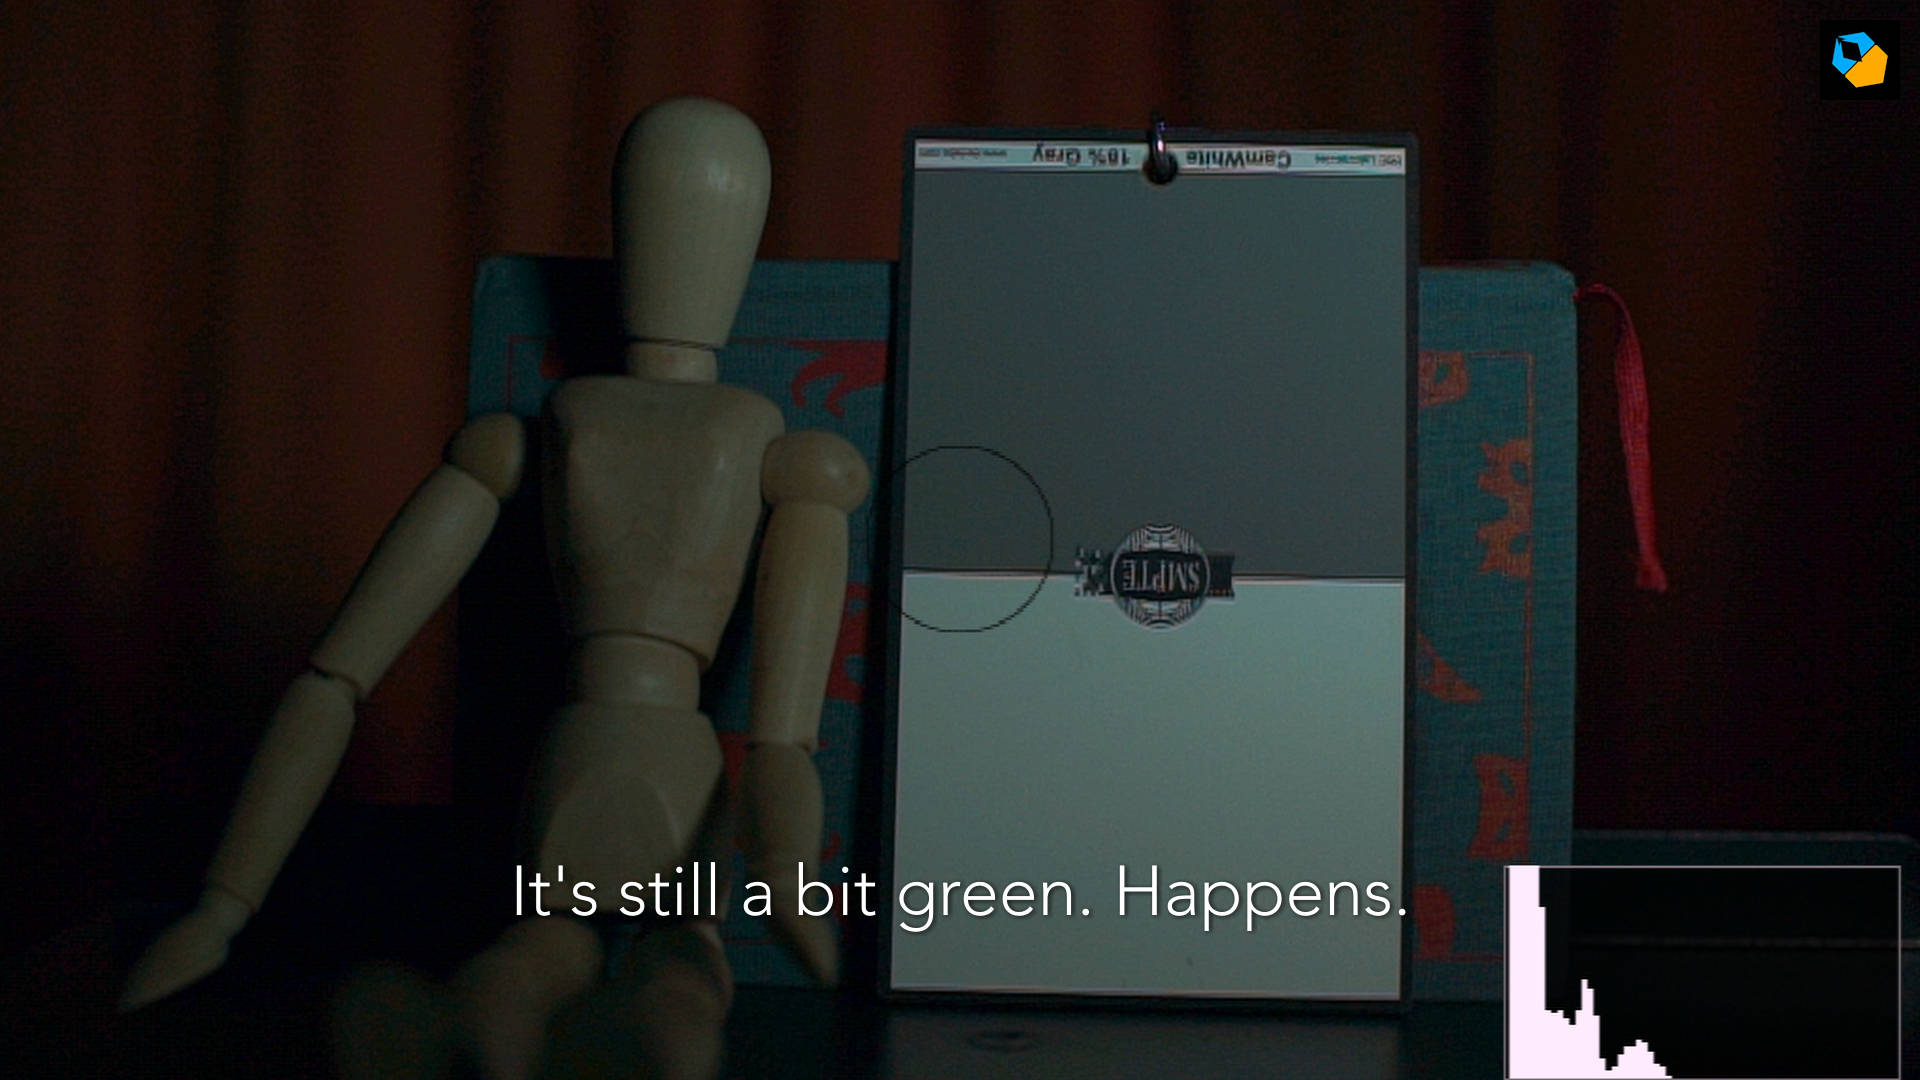
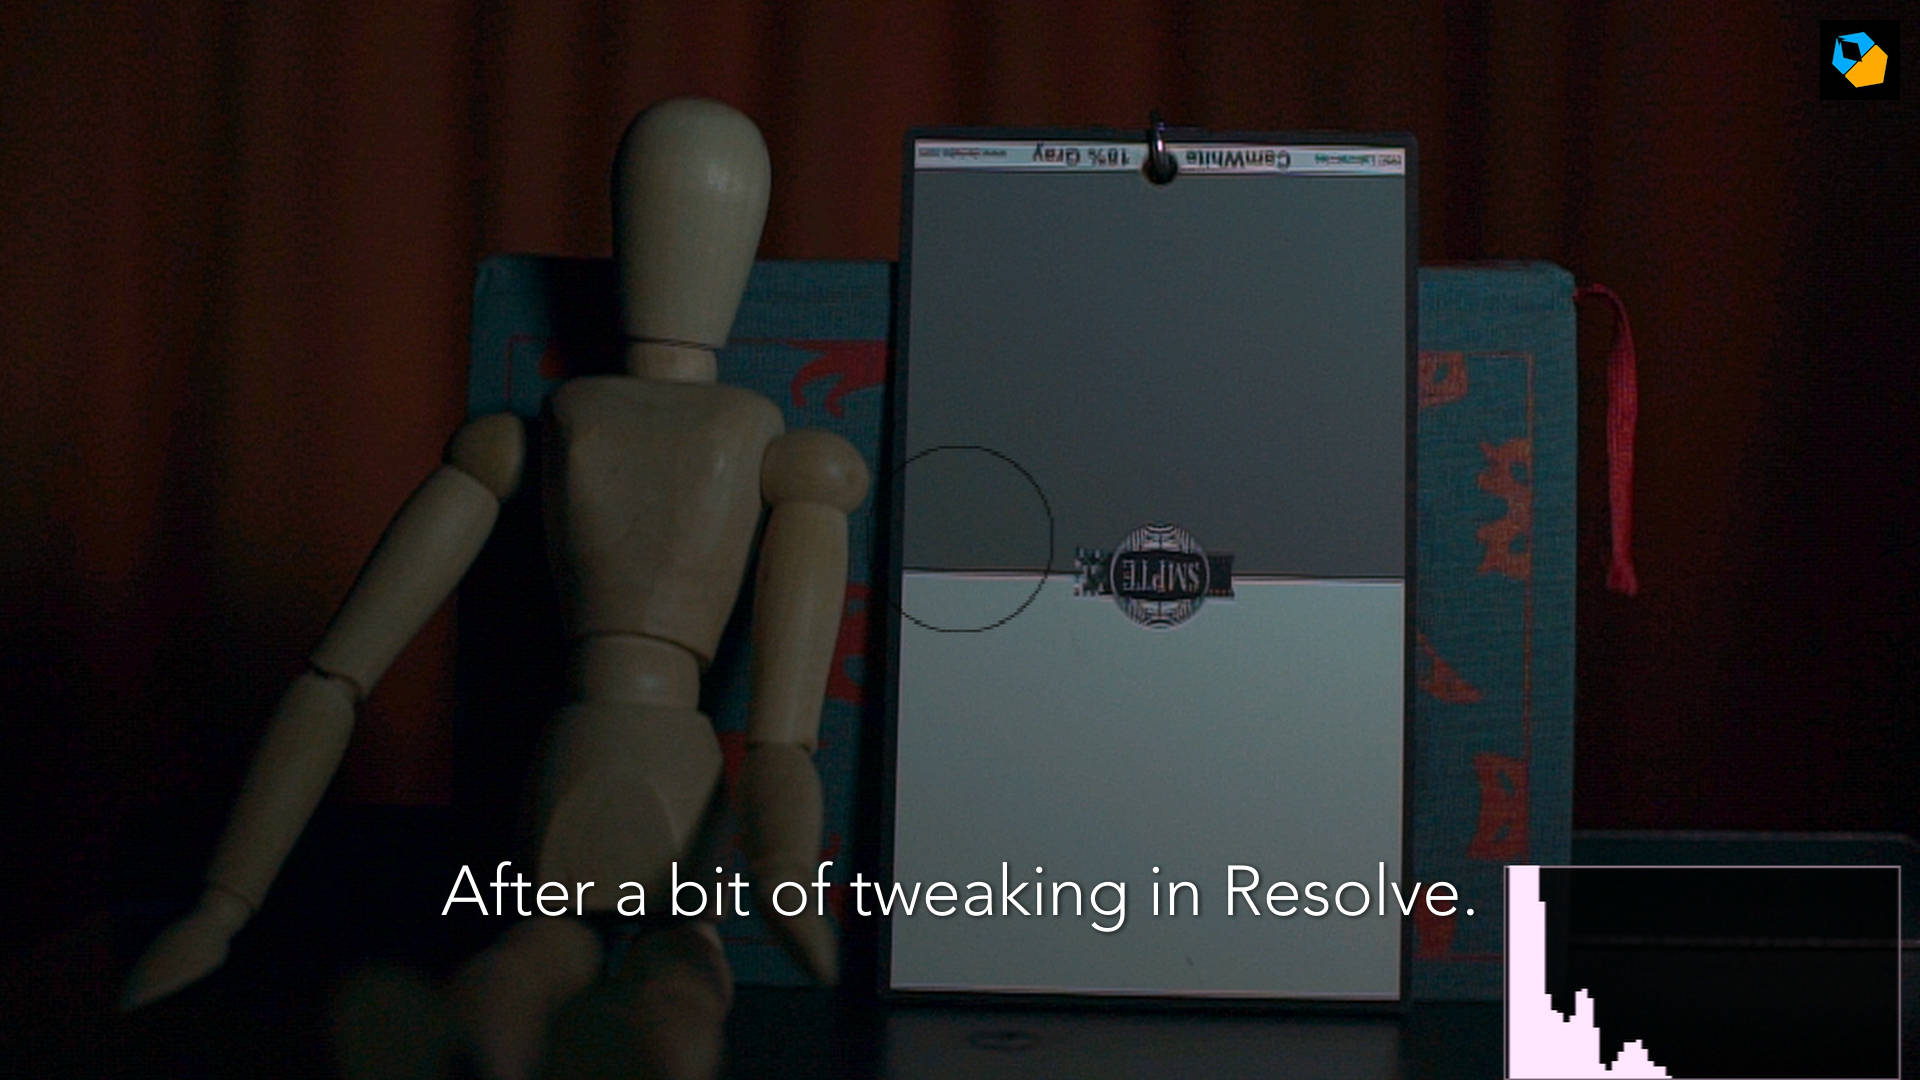
5 How to use white balance to eliminate the green tinge on skin tones
Some lights have green spikes in them. Cheap LEDs and fluorescent tubes might be rated at 5600K, but when you set the camera to 5600K the skin looks green:

A simple white balance can’t fix this. You can solve the problem in two ways:
- the correct way, or
- the easy way.
The correct way is to use Minus Green gels (Amazon, B&H). These “gels” are actually pieces of plastic that look magenta. Why magenta? Because they are the opposite of green:
These specially created gels remove the green from the lights while maintaining other colors. Of course, this is only practical if you are using lights or have access to them, and if you are already advanced in your cinematography.
Or you could just do it the cheap way.
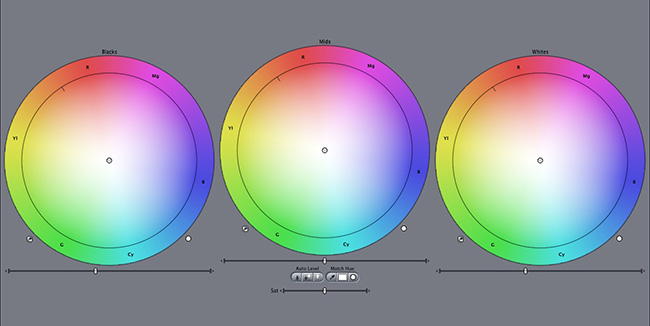
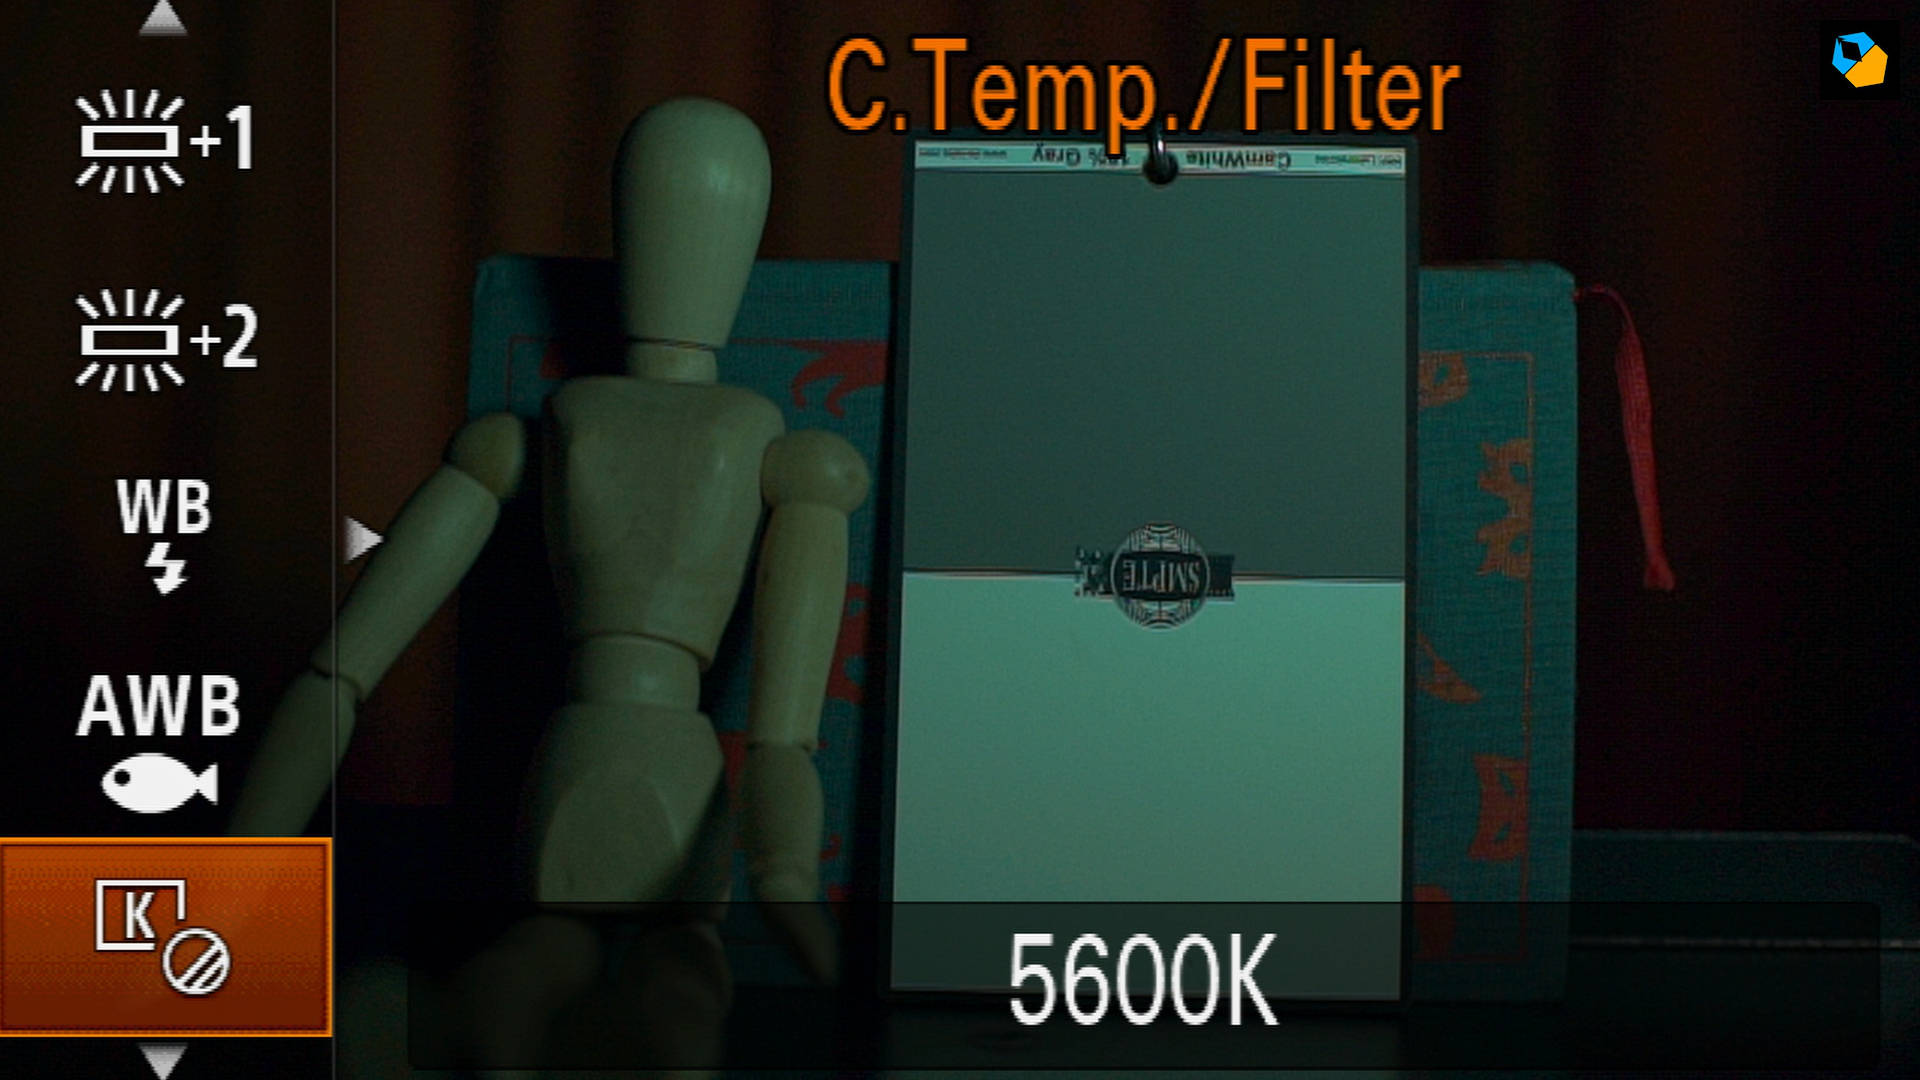
There’s a setting in the camera, along with the white balance. You have to go to custom white balance to see it. Along with the kelvin number rating there’s also this colorful box you get that will help you move the point a bit towards magenta to remove the green tinge:

But the problem is, everything else has an extra does of magenta added to them:
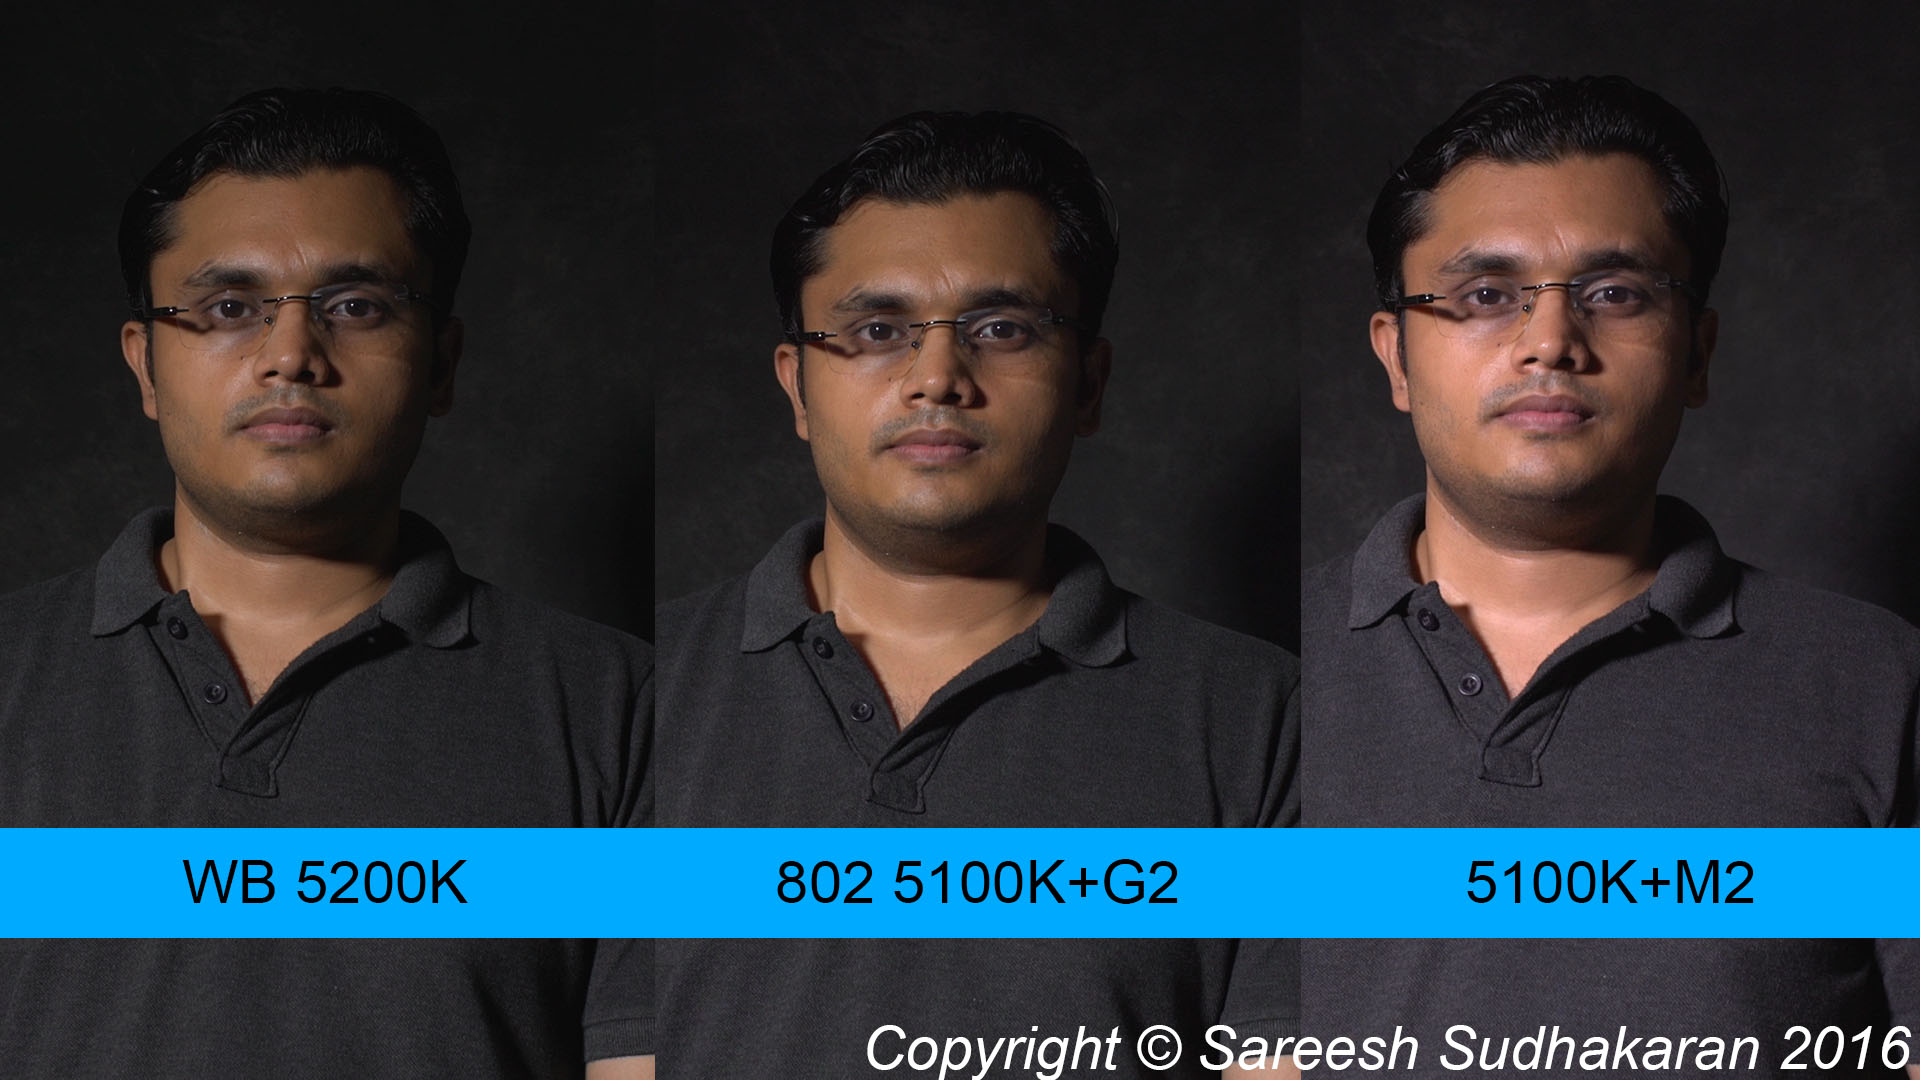
The first image is just white balanced. The second is with a minus green gel (802), and then custom white balanced (G2 is two steps in the green direction). The third is just Magenta added (M2 is two steps in the Magenta direction)
With gels, you get very accurate results, but with the custom white balance feature, you have a cheap and easy way to at least make skin tones look good.
6 How to permanently forget about white balance
One way to completely get white balance off your back is to shoot RAW. The great advantage of RAW is you can change white balance later in post production.
No matter the software, you can use the white balance color picker and it usually does a decent job.
If I want really accurate colors I can shoot a color chart, bring it into Davinci Resolve, and it has this nifty feature that just matches the entire clip to the chart in one click:
Perfect colors.
7 How to white balance correctly in mixed lighting situations
Let’s assume you don’t have any grey cards. You’re shooting weddings or events. There’s all kinds of colored lights, called mixed lighting.
You can’t pick auto white balance, because the camera will get different looks according to the light that you’re closest to. You have to manually take a decision.
Let’s say the DJ has set up red blue and green lights, and they turn on and off at will.
Take a guess: What color should it look like in real life?
The colors should look like the colors they are in real life! Red should look red on camera, blue should look blue and green should look green.
Imagine if only that colored light was turned on. If Red light is turned on, what should your white balance setting be, so the camera sees red?
Tungsten light on white paper will look yellow if your camera is set to 5600K. The same applies to any color.
Red will look red at 5600K.
Any color will look like the color it is if the camera is set to 5600K.
You can have green lasers, colorful fireworks, and dresses of any color – all together if you like – they will look like themselves if you set the camera to 5600K.
The magic number:
5600K
8 How to white balance under colored sheets
What if you have a blue or green or other colored sheet above people’s heads, and now they are all looking like the hulk?
Do you want them green? No. This is a situation where you don’t want them green. You want to remove the green or blue or whatever that ugly color is.
What do you do?
Let’s assume you don’t have a grey card. Grey cards are cool, but in weddings or events you really can’t dive into the action for every single shot. It’s just not practical.
You use custom manual white balance. As shown in the above image, you can start by setting the custom white balance to 5600K. Then go to the finer color control:
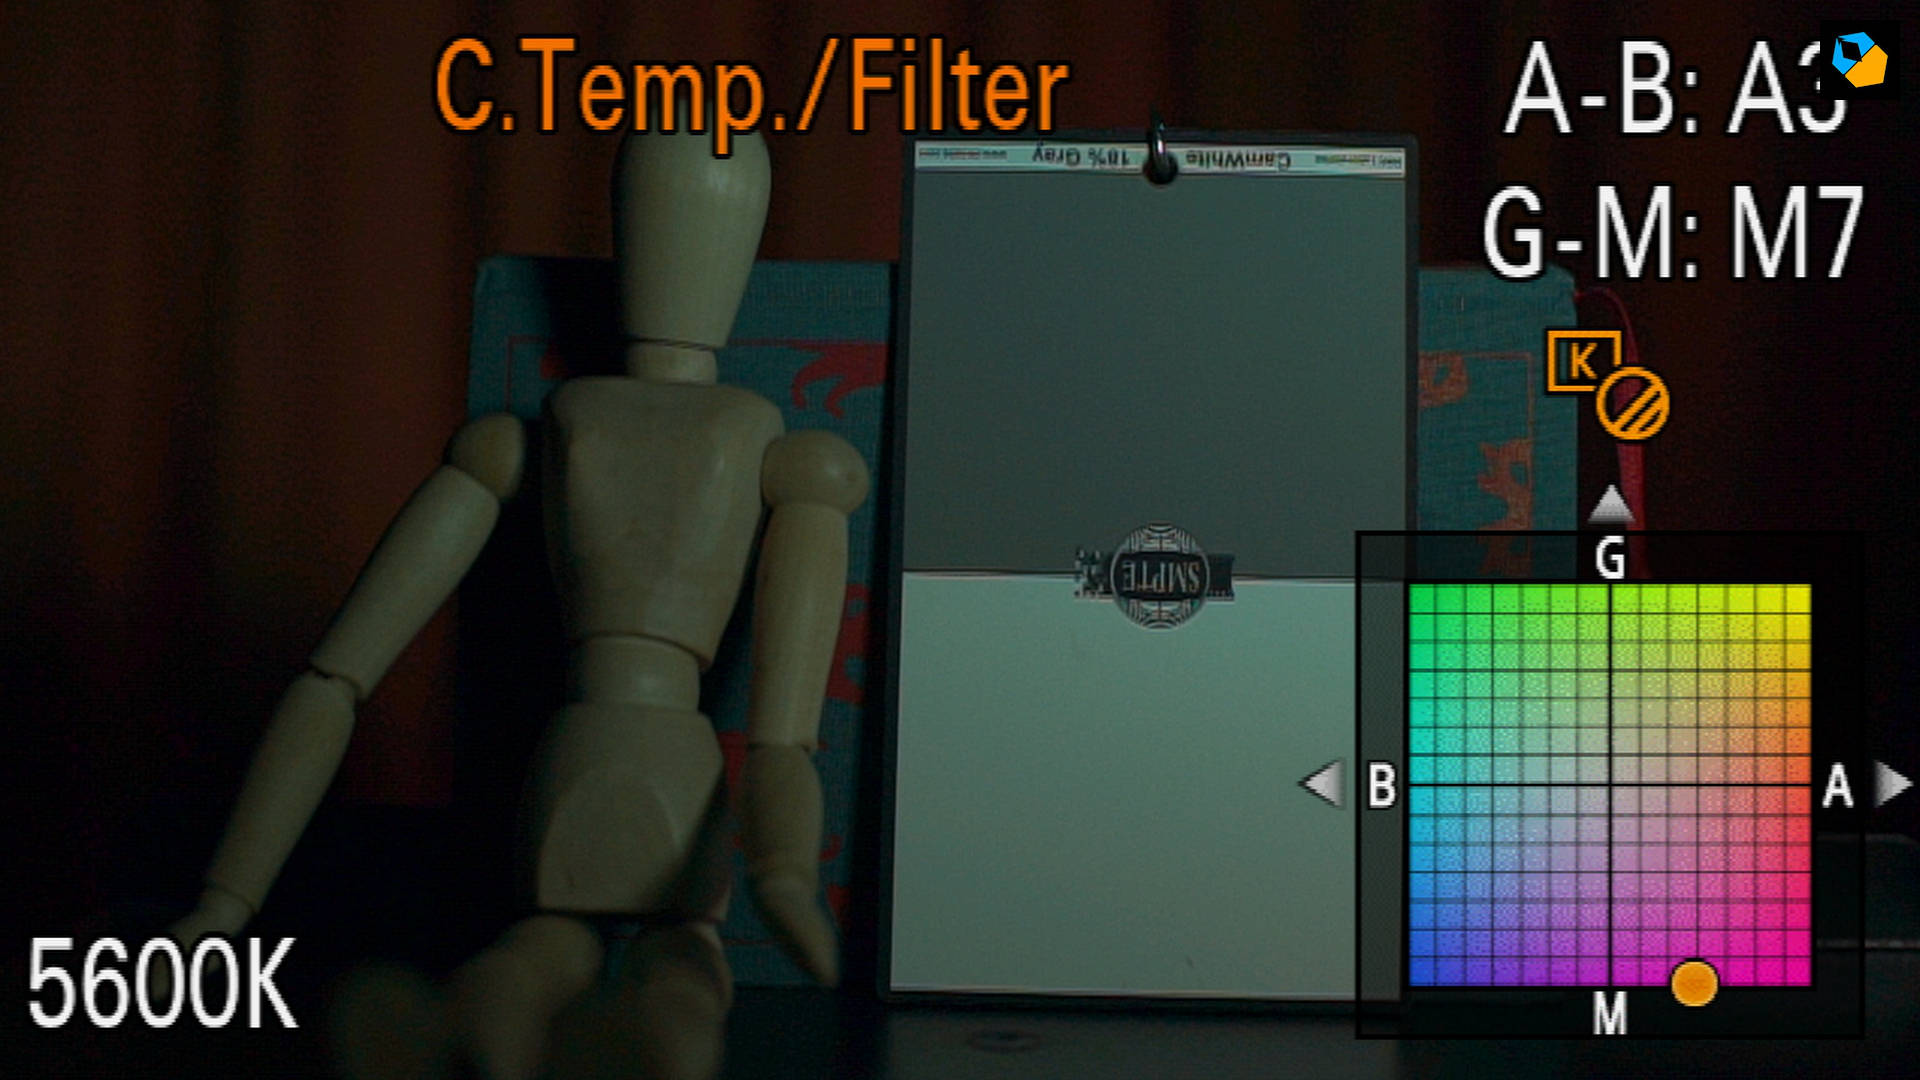
Look for the offending color. If it’s an ugly green shade, then find it in the box. Now look for the exact opposite color, and move the point to that. Look at the viewfinder until you’re satisfied the color tinge is gone.
Sometimes the green (or other color) is just too strong. It happens. Which is why you have post production:
Here’s what the tungsten one looked like:
The exposure is different because the green sheet reduced the output of the light. What is important are the skin tones and general colors. The more severe the effect, the more you’ll have to grade to get them to an acceptable level.
A grey card would definitely have helped here, and you should try to carry one for such situations.
That’s it!
This is how you correctly and consistently white balance every single time, in real world practical situations.
I hope you found it helpful!
Thank you for the great articles.
You’re welcome!
This article was really helpful!!!! Thanks a lot
You’re welcome!
this was a great session, I enjoyed it
Thank you!