If only things were this simple:

This guide covers:
- What to think about when picking camera batteries.
- What a battery system is and why it’s important.
- How to choose batteries that last long enough for your filming needs.
- How to pick a battery system that can power multiple devices on your setup.
IMPORTANT! Tinkering with electricity and batteries is dangerous, and can be fatal to you or your gear if you don’t know what you’re doing. Instructions presented here are just broad informational suggestions and are not to be copied. I’m not responsible if you follow my suggestions and something bad happens.

How cameras are rated for power
Look at any camera’s specifications, and you’ll see its power rating listed. For example, here’s an example from a couple of cameras:
| Camera | Power | Rated Voltage DC | Battery Voltage |
|---|---|---|---|
| Canon C80 | 14.5 Watts* | 23.7 to 25V | 14.4V |
| Arri Alexa 35 | 90 Watts | 20.5 – 33.6V | 24V |
In addition, you might also encounter these terms:
- Ampere draw (mAh), and
- Power consumption (Wh)
Let’s get to it!
What is Voltage and what is Current?
Imagine your enemy running through the forest, and you dig a ditch to trap him. The bigger the ditch, the easier it is for him to fall in.
This ditch is voltage. It has the potential to trap your enemy.
The bigger the ditch, the greater the potential, or greater the voltage.
When your enemy falls into it, he generates current. Current flows.
The ditch (voltage) allows the possibility of current (fall). If you want to generate a current, your best bet is to ensure there is a voltage ready somewhere. A wall socket is one such ‘voltage-ready’ point in space, waiting for some device to be plugged in (enemy) so current can flow.
An electrical device needs current to work.
Pull out the device or switch off the socket (in other words, break the circuit) and the current stops flowing. The device stops working.
The wall socket waits for the next device.
The voltage at any point is measured in Volts (V). Current is measured in Amperes (A).
The most important thing to know about V and A is that they are different for DC (batteries and DC generators) and AC (portable AC generators and mains electricity). Both are measured in Volts and Amperes, but the way they are measured is different, and sometimes finding a one-to-one correspondence is impossible.
In this article, we will only refer to DC power, because that’s what camera batteries run on.

What is Power?
If your ditch is big enough, you can trap a larger enemy or more enemies at once. This gives you power over them. But if the ditch is too small, you have no power.
In the same way, power means the ability to do work.
A horse has power to pull a cart. Steam engines and planes have power to move heavy loads. Electricity also has power – it can run fans, trains, computers, and even your thoughts!
This power, the ability to move things, is measured in Watts (W).
Power, voltage and current are related like family:
Power (W) = Voltage (V) x Current (A)
Most cameras specify the rated power clearly. Some include the power that additional devices can draw, besides the basic camera body. E.g., the Arri Alexa 35 is rated at 90 Watts, but it can deliver more power via the ARRI Power Distribution Module PDM-1 (Four 24V and two 12V outputs), depending on the battery and devices connected.
Sometimes the power rating is different for different recording modes, as with the Canon C80. When in doubt, take the highest rating specified just to be on the safe side.
Just because one power rating is specified doesn’t mean the camera will constantly draw that. Current varies according to how you’re using the camera. The minimum current rating will be during ‘idle’ or ‘standby’ mode, and the maximum current will be drawn when all the circuits in the camera are running simultaneously.
The only way to know how much power your camera is actually drawing is to test it with a multi-meter but it’s overkill for most filmmaking needs.
A battery has limited power, after which it is drained out. This supply is its ‘juice’. Think of it as trying to generate flames by burning logs. If you want more fire, you need more logs. It’s the same with batteries.
If you want more power, you need more chemicals, therefore bigger batteries.
Battery technology is always evolving. The good news is, you just need to pick what’s already available from the camera manufacturers or reputed third-party manufacturers. You don’t need to know the science behind these things.
Energy consumption
The energy (juice) a camera battery can deliver is measured in either:
- mAh, or
- Wh
‘h’ stands for hour. It’s typically saying: How many Watts or Amperes can this battery give me per hour? It works the same way as our home electricity meters, which are rated in KiloWatt Hours (KWh).
A few examples will make it clear. Here’s a chart that shows how some batteries are rated:
| Battery | Volts | Capacity mAh | Capacity Wh |
| Canon BP-970G | 7.2 | 7200 | – |
| Sony BP-GL65 | 14.4 | – | 65 |
| Anton Bauer Dionic 90 | 14.4 | – | 90 |
| Switronix PB70 | 14.8 | 4800 | 70 |
You need to know the Wh. If the battery specifies consumption in mAh (like the Canon, for example), the easiest way to figure out the Wh is by using the Power formula:
- Wh for Canon BP-970G = Voltage x Ah = Voltage x mAh / 1000 = 7.2 x 7,200 / 1,000 = 51.84 Wh
- The same applies for the Switronix PB70. Wh = 14.8 x 4,800 / 1,000 = 71.04 Wh (It is officially rated at 70 Wh)
If you want to find the power capacity in mAh from the rated Wh and Volts, you use the same formula:
- mAh for the Dionic 90 = (Wh * 1000) / V = 90,000 / 14.4 = 6,250 mAh
- mAh for the Sony BP-GL65 = 65 x 1,000 / 14.4 = 4,514 mAh
As long as you know the rating of the battery and the power consumption of your camera, you can estimate the run time.
How to calculate the run time of a battery and camera
Using either Wh or mAh, and the camera power rating, you can find the approximate run time for each battery.
The formula to find the number of hours of operation is:
Hours of Run time = Battery Capacity in Wh / Camera Power Rating in Watts (W)
There are many factors that reduce the rated energy capacity of a battery. There is discharge, charging cycles, battery life, current draw, etc. Therefore, the above formula is not entirely accurate. Our cameras don’t consume power evenly. E.g., if you switch on your camera you consume X, but when you hit the record button you consume X+Y (more). You really don’t need to make it complicated.
As a rule of thumb, if you absolutely have to depend on batteries and charging stations are scarce, then deduct the number of calculated hours by 20%.
Our final formula is:
Hours of operation =
[Battery Capacity (in Wh) / Camera Power Rating (in W)] x 0.8
Here’s how you calculate with a practical example. Let’s take a Canon C80 as an example. Let’s say you want to record 6K in 24 fps.
- The battery that comes with it, the Canon BP-A30N, has a rating of 3200 mAh.
- The voltage of the battery is 14.4V.
- From 1 and 2 above, you can calculate the battery capacity in Wh. It is 3200/1000*14.4 = 46.08 Wh.
- The power rating of the C80 in the recording mode we want is 14.5 Watts.
- From 3 and 4, we can calculate the theoretical run time to be 46.08/14.5 = 3.18 hours.
- We need to take into account the 20% reduction, so the final estimated run time is 3.18 x 0.8 = 2.54 hours.
- That’s 2 hours and 32 minutes. Or 152.4 minutes.
Are we right? Canon rates the run time at 170 minutes. Even though we might be tempted to use the higher number, remember, battery life can change due to age and another factor.
Temperature.
The effect of temperature
Li-ion discharges (power lost when the battery is sitting idle, twiddling its thumbs) faster at higher temperature. E.g., at 40oC, it discharges at 15%. It charges faster and works better at lower temperatures, typically between 0oC and 45oC (32-113oF).
What about sub-zero temperatures? Li-ion batteries start losing their energy capability below 0oC.
One of the main issues that occur under sub-zero conditions is that battery life is greatly reduced. The cold conditions affect the electrochemical processes within the battery as the temperature drops. The chemical reaction within the battery which produces the power slows down and results in the battery being exhausted much quicker than if it was warm. Under sub-zero conditions keeping one or two batteries in an inside pocket of your coat etc so that the battery is warmed by your body heat and swapped regularly with the battery in the camera will assist in keeping the temperature of the battery in the camera up to a good working condition.
Nikon
Keeping aside sub-zero temperatures as a special case, Li-ion batteries are okay for all other conditions between 0oC and 45oC (32-113oF).
Why do camera batteries have weird voltages like 7.2 V and 14.4 V?
Li-ion batteries are designed in standard voltage-sized cells. The most typical is 3.6 V or 3.7 V.
This is why you have these weird voltage ranges:
- 7.2 V (3.6 x 2)
- 7.4 V (3.7 x 2)
- 14.4 V (3.6 x 4)
- 14.8 V (3.7 x 4)
If cameras have a battery compartment and batteries, why do they include a DC port?
The DC port exists to deliver current from a wall unit (converted to DC, of course). However, it also serves an additional purpose, which is to allow users to use larger batteries to power more than one device on a rig.
To power devices with the same battery, the operating voltages of accesories should be within the same ‘zone’ as the camera’s. Is it so?
E.g. check out voltage ratings of some devices:
- Convergent Design Odyssey7Q – 6.5-34V
- Alphatron EVF-035W-3G electronic viewfinder – 6.8-12V
- SmallHD DP7 PRO OLED monitor – 10-28V
Camera accessories are always designed to operate in the same “region” as cameras. Usually they average around the 12 V mark, but that’s oversimplifying things.
Of course, this only applies to cameras that can also output power, or a battery that can output power in addition to the cable running to the camera, like an additional D-tap and so on.

What is the ideal battery size for cinematography?
I’ll give you my methodology, and you can decide whether it works for you.
I always plan for each battery to run for 4 hours, including intermittent recording and standby time.
Why 4? Is it an astrological thing?
Nope, just an old-fashioned idea that advocates meal times to be spread four hours apart (8am breakfast – noon lunch – 4pm tea – 8pm dinner). In a production environment, each battery will last for the entire session between meals or breaks. Make sense?
Of course, if you’re not planning on feeding your crew, this might not matter.
On slower film shoots with larger cameras, you could get by with just 2 hours. That’s because the set up time is usually longer and actual shooting time is less. On most other productions I’d stick to the 4 hour mark.
Obviously, you’ll also need backup. Here’s my rule of thumb for maximum reliability:
Always have 24 hours worth of power in hand.
This is for maximum reliability. Assuming I have one battery that supplies 4 hours, I’ll have maximum reliability with 6 batteries (6 x 4 = 24 hours worth of batteries).
Do you think this is too much? Here’s the system spelled out:
- The first two batteries will give you an 8-12 hour shooting day.
- The third battery is for when shooting is pushed to 12-16 hours.
- The fourth battery is a backup in case one battery fails or if someone forgot to charge a battery overnight.
- Shooting for more than 12-16 hours? Charge the first two batteries. If you can’t find a charging point for some reason, then you need 6 batteries.
- The two extra batteries will also save your life if you can’t charge for one day, or if a battery or two dies out. It also protects you from temperature variations.
See how the 24-hour rule makes sense? You might feel bad about having a battery or two extra in your bag, but it’ll save your ass one day. Even if I had one battery that can last a whole day, I’d still have a minimum of two batteries (probably three).
How many battery chargers do you need for cinematography?
Ideally you need a charger that can charge two batteries at a speed of at least 1:1. This means a 4-hour battery will charge in 4 hours or less.
Is one charger enough?
No. Please no.
Let’s say you have six batteries, and each battery takes 4 hours to charge. If you have only one charger over a 10-hour sleeping window, where one assistant is responsible for charging all batteries, he or she can only charge 2.5 batteries. And, they don’t get much sleep because they have to wake up twice to change batteries.
Oh. What about two chargers or a dual charger?
Over a 10-hour sleeping window, you can still only charge 5 batteries, and the assistant will still have to wake up twice.
Oh no. What about three chargers? Can work, but ideally, you’d need four chargers.
This way you can charge batteries throughout the day as they die out, and charge four batteries at night and let the assistant sleep.
I hope you get the idea. You know your camera and its battery life, and you know your batteries. Make these calculations so you have enough batteries for every shoot day. On a long feature film, there will be times when people forget to charge, or they are too tired to charge, or the electricity dies out.
It’s all happened to me before.
The battery “system”
It’s one thing to use a battery for a DSLR or mirrorless camera, and yet another to use an entire system on a large cinema camera to power multiple accessories.
A ‘system’ by definition is a collection of parts. There’s the battery, and then there are other things.
Core parts of any battery system
Here are the basic building blocks of a battery system. First, the battery:
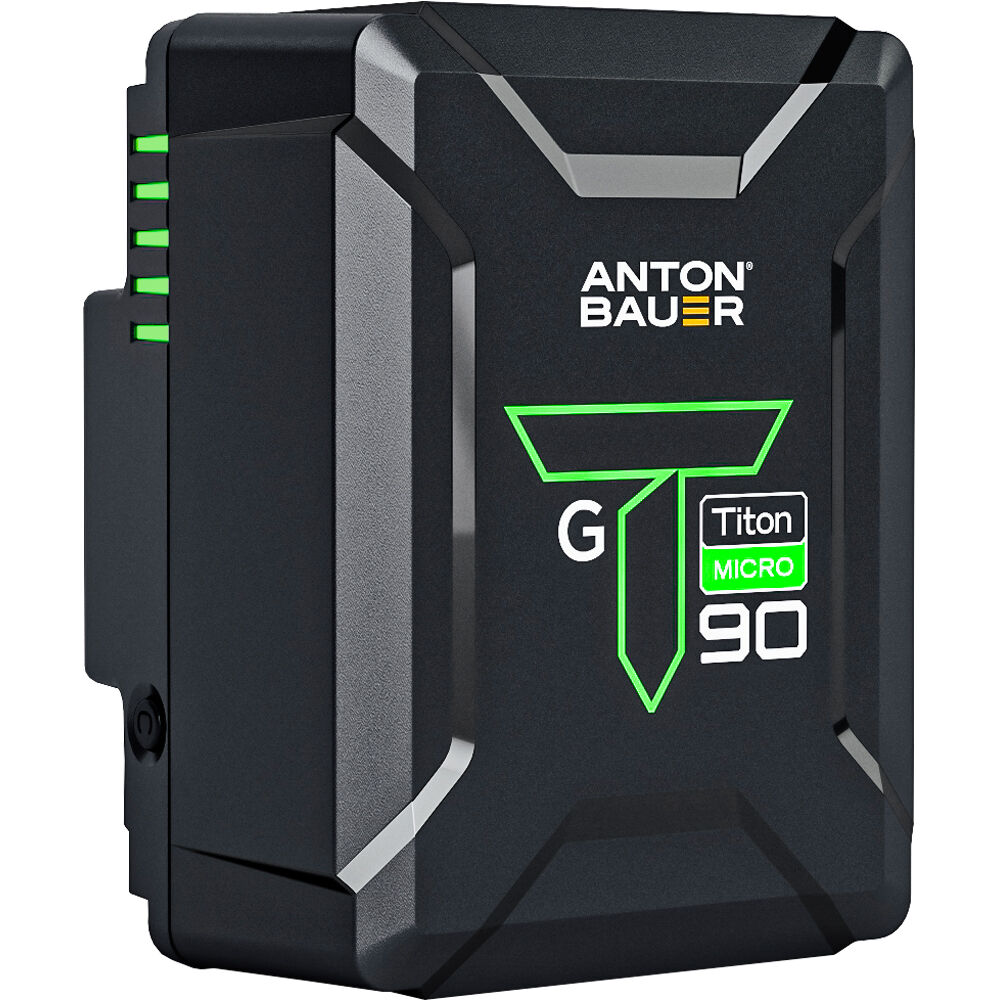
Some call this kind of battery a brick, because it looks like one. It also has a sleeve to protect the battery from the weather, bumps and daily use. It is heavy, of course, but acts like a counterweight at the back end.
Such bricks come in various standard mounts. The most common are:
- V-mount
- Gold mount (Anton Bauer AB mount)
- B-mount
The mounts look different:

Some cinema cameras come with one of these mounts as standard. Others might not, so you can pick the mount you want.
In that case, the battery is mounted on a battery plate (or bracket, convertor or adapter).
Here’s an example of a V-mount to Gold-mount adapter:
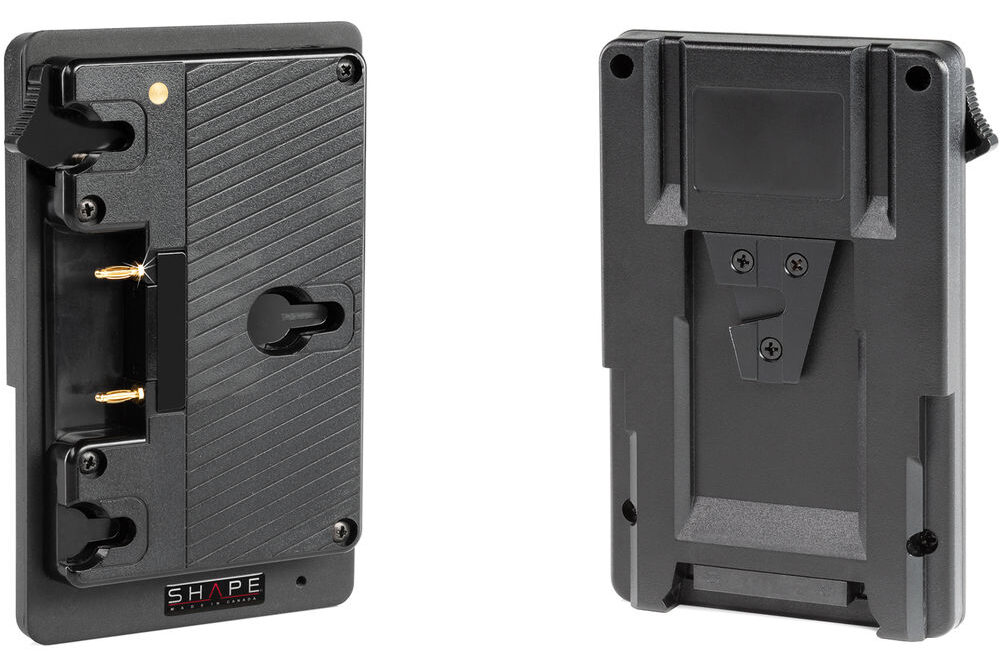
The camera might have a V-mount and you use something like the above to convert it into a gold-mount. Now you can use gold-mount batteries.
A battery system allows a battery manufacturer to produce standard batteries and different plates or adapters for different cameras. A race car changes tires depending on track conditions – you don’t change the whole car every time you need to change tires!
Sometimes, you need to add an expansion module to get more functionality. We mentioned the Arri Power Distribution Module earlier:
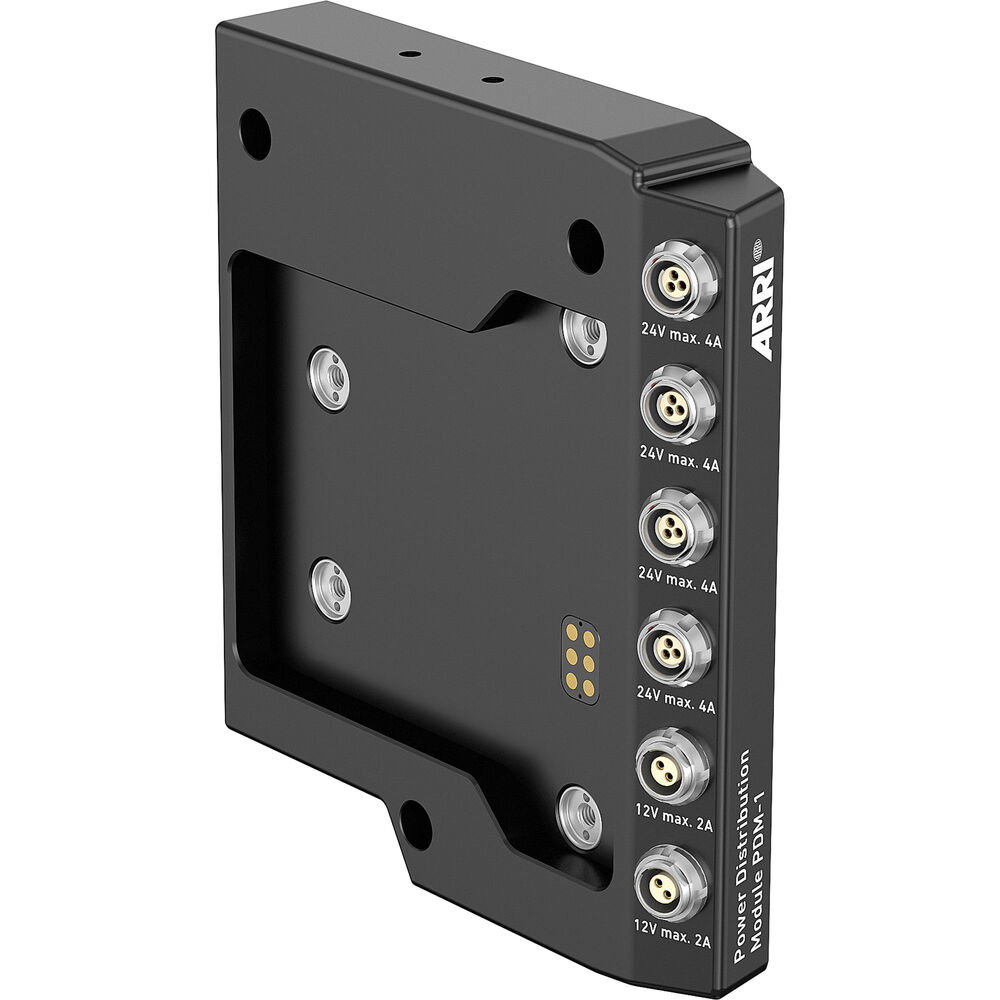
This comes between the camera and battery typically.
Now that you have batteries, you’ll need a charger to charge them:
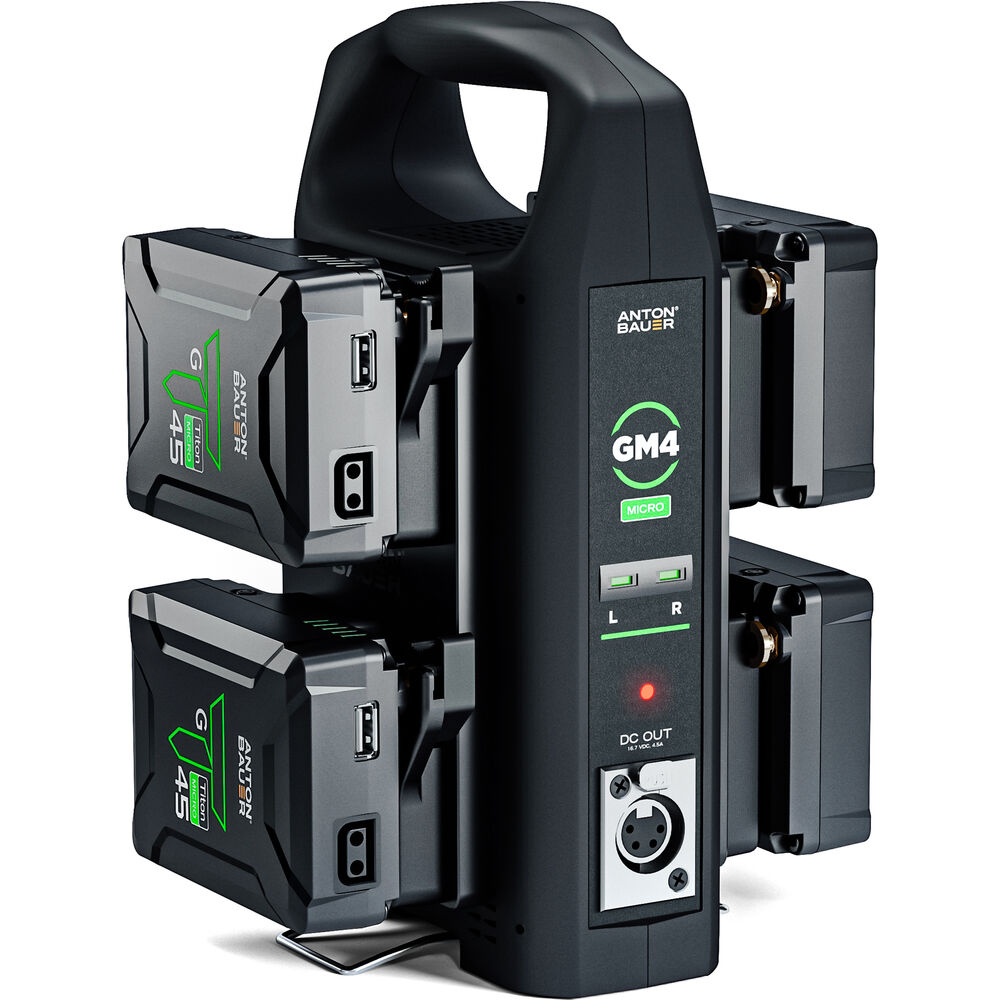
This Anton Bauer Quad charger can charge four batteries at the same time. A 94Wh Micro battery charges in about three hours. A 4-pin XLR output lets you power devices while charging. This charger includes a cooling fan, safety features to protect your gear, LED charge indicators, and an integrated stand for convenience.
For a professional battery system, it is wise to have a dual (two batteries) or quad (four batteries) charger that can charge all batteries plugged in at the same time.
You may also need cables to connect the expansion module or camera body to your accessory. These cables are camera-specific and could include proprietary pin adapters, D-tap, XLR, or other types, depending on your setup.
This is how the battery system works:

Accessories – Cables/Connectors – Camera – Connectors – Expansion Module – Adapter – Battery + Charger – AC Adapter
Only the camera, battery and charger are mandatory. The others are optional, depending on your needs:
- Accessories are connected to the camera or expansion module directly via connectors or cables. Accessories can also be powered directly from the battery via a separate cable (if the battery or plate has such an option); or directly via its own battery or AC power.
- Expansion modules are usually connected via a standard or proprietary connector. You could use cables but the goal is to reduce the number of cables, so that would be sort of counterproductive.
- A camera system can also be powered with an AC adapter directly. This is actually the best option to deliver continuous power in most countries, but isn’t very practical because cinema cameras don’t like being tethered to a wall outlet.
If you need to upgrade batteries, you can, without changing everything else. The charger can take many brands of batteries, too. When you change your camera, all you might need to do is change an adapter cable or plate.
How to find the ideal battery system for your camera gear
Ideally, the battery system should:
- Power other devices on the camera rig
- Balance the front-heavy load of the camera and lens
- Provide a constant voltage for as long as possible
- Be rugged enough to withstand the production environment (temperature, heat, shock, etc.)
- Come with a fast and robust charger
Don’t take the ‘power other devices on the camera rig’ too literally. Sometimes it’s just not possible to power every device with one battery system.
Sometimes it doesn’t make sense and it might be simpler to keep track of different batteries than troubleshooting electrical problems or dealing with too many cables. Remember, a set is a place to tackle creative problems, not technical ones – create a system that is easy to fix and control, and you’ll be most productive.
Doing things in a convoluted way might seem cheaper and smarter but you’re really shooting yourself in the foot.
I also am a firm believer in a battery that balances load on a camera rig. Even if it’s on a tripod, it makes balancing the system easy on a tripod head.
To find the ideal battery system for your gear, follow these steps:
- Make a list of all the items in your rig that need power.
- Write down the power draws, voltages and ampere draws of each accessory, as I have shown.
- Against each accessory note down the kind of connector it needs to draw power – is it a DC jack, XLR, D-tap, LEMO input, USB, or custom pin?
- Look at the battery systems you are interested in and figure out how many devices it can support.
- Imagine scenarios where you might have to add or remove devices on the fly – is the system capable of being adapted conveniently? Don’t forget to factor in special setups and circumstances like gimbals, jibs, cranes, handheld work, etc. What is the simplest setup possible?
- After filtering down your list you will be left with a few options, or at least one option. If you don’t have any options you’re expecting too much and you might want to rethink your battery system. You can always have two or more battery systems if that will make you the most productive.
- Stick to the manufacturer that offers the best value for money and service. Consider the manufacturer’s pedigree in video and cinematography. When in doubt, choose the more conservative option. Price should not be your first consideration. There are also things like replacements, service and support, etc.
Should you go for a single battery system or separate batteries?
The biggest choice you’ll probably have to make is to go for one system to power all your accessories or power them separately.
What are the most common accessories on a cinema camera rig? Here are a few I use often:
- Follow Focus and zoom motors
- Wireless transmitter
- On-camera monitor
- Viewfinder (depending on the camera it might have its own connector and power)
You could power them separately, but you’ll have to decide which is the lesser of two evils. Either way you’ll have to charge batteries overnight, so the questions you might want to ask are:
- Which option will give me the simplest setup that will work for most situations?
- Which option will give me the lightest setup?
- Will the cables come in the way of shooting? Will it get caught in the clothing or other accessories when panning or tilting the camera system?
- Will charging get too complicated? If there are too many different types of batteries, cables and chargers, it might be hard to keep track of everything. Someone might forget to charge something, or the loss of a cable might bring the whole thing to a halt.
- Which is the cheapest setup, and is that cost savings in danger of being wiped out by wasted time on set?
- Which system is easiest to replace in the particular shoot you’re going for? Some parts might not be readily available. If they fail, what will happen to your shoot?
- Is weather and temperature going to be a concern?
Even if your camera is being rented you need to ask these questions. Maybe you might have the time to test out everything before going into production. When in doubt take the advice of the rental company. After all, it’s highly likely they’ve encountered shoots like yours.
Some things that happen on set that affect time and money:
- Do you have to change camera setups often? E.g., from a tripod setup to a gimbal setup and back continuously?
- Do you have enough outlets and manpower to charge and keep track of everything?
- Do you have to trek or walk a lot with your gear and batteries?
- Do you have enough crew members on your camera team?
In my experience I’ve found it’s the height of stupidity to be rigid about your choices. This is not a philosophical choice, but a pragmatic one. Sometimes one system makes the most sense. Sometimes different batteries for each thing makes the most sense. And sometimes it’s a combination of both. Occam’s razor is your friend.
Which battery brands do I recommend?
The gold standard for batteries is Anton Bauer (Amazon, B&H), but they also tend to be expensive. If you’re looking for a cheaper brand, I’ve had good success with FXLion (Amazon, B&H). There are tons of battery brands that are not available in India where I live, so it’s hard to give suggestions. Ask around!
I hope these ideas have shown you how to assemble the right battery system for your film. It is worth your while to map out everything and give it a good hard think.
Let me know what you think in the comments below.