
We’ve all been there. The pressure of the situation gets to us, and we “forget” how to cover a scene, an interview or a piece of action. But don’t worry; there’s help!
This guide contains three bulletproof systems you can carry on your mobile phones to get those juices flowing when your mind goes blank.
Let’s get started!

The BBC System + 1
The BBC developed a system to train its video crew quickly on how to cover a story. This specific “5-shot method” was invented and pioneered by Michael Rosenblum.
The system uses shots, but I’ve added one more. So you’ll need a total of six kinds of shots to cover any scene.
The objective of “coverage” is to get enough shots to give you choices in the editing room to tell a story properly. The last thing you want to do is find out you don’t have enough shots.
These are the six shots:
- Close-up
- Over the shoulder
- Focus on Action
- Wide shot
- Another perspective
- Inserts
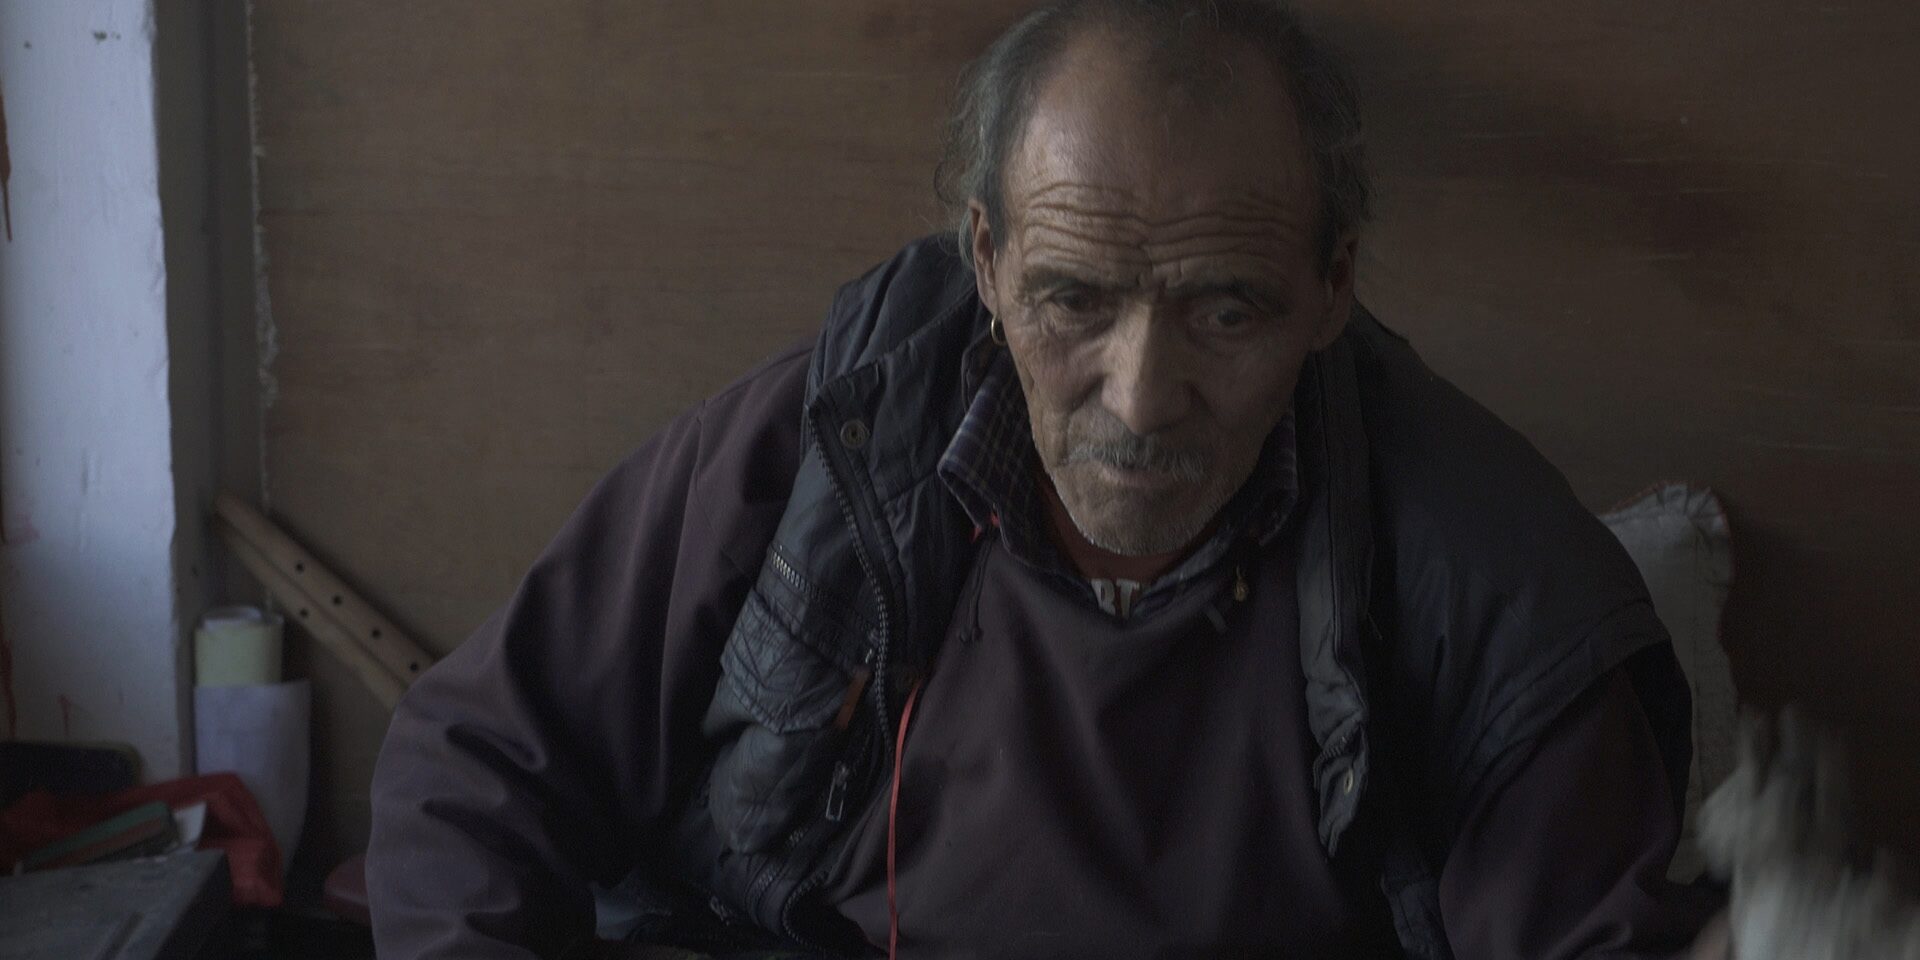
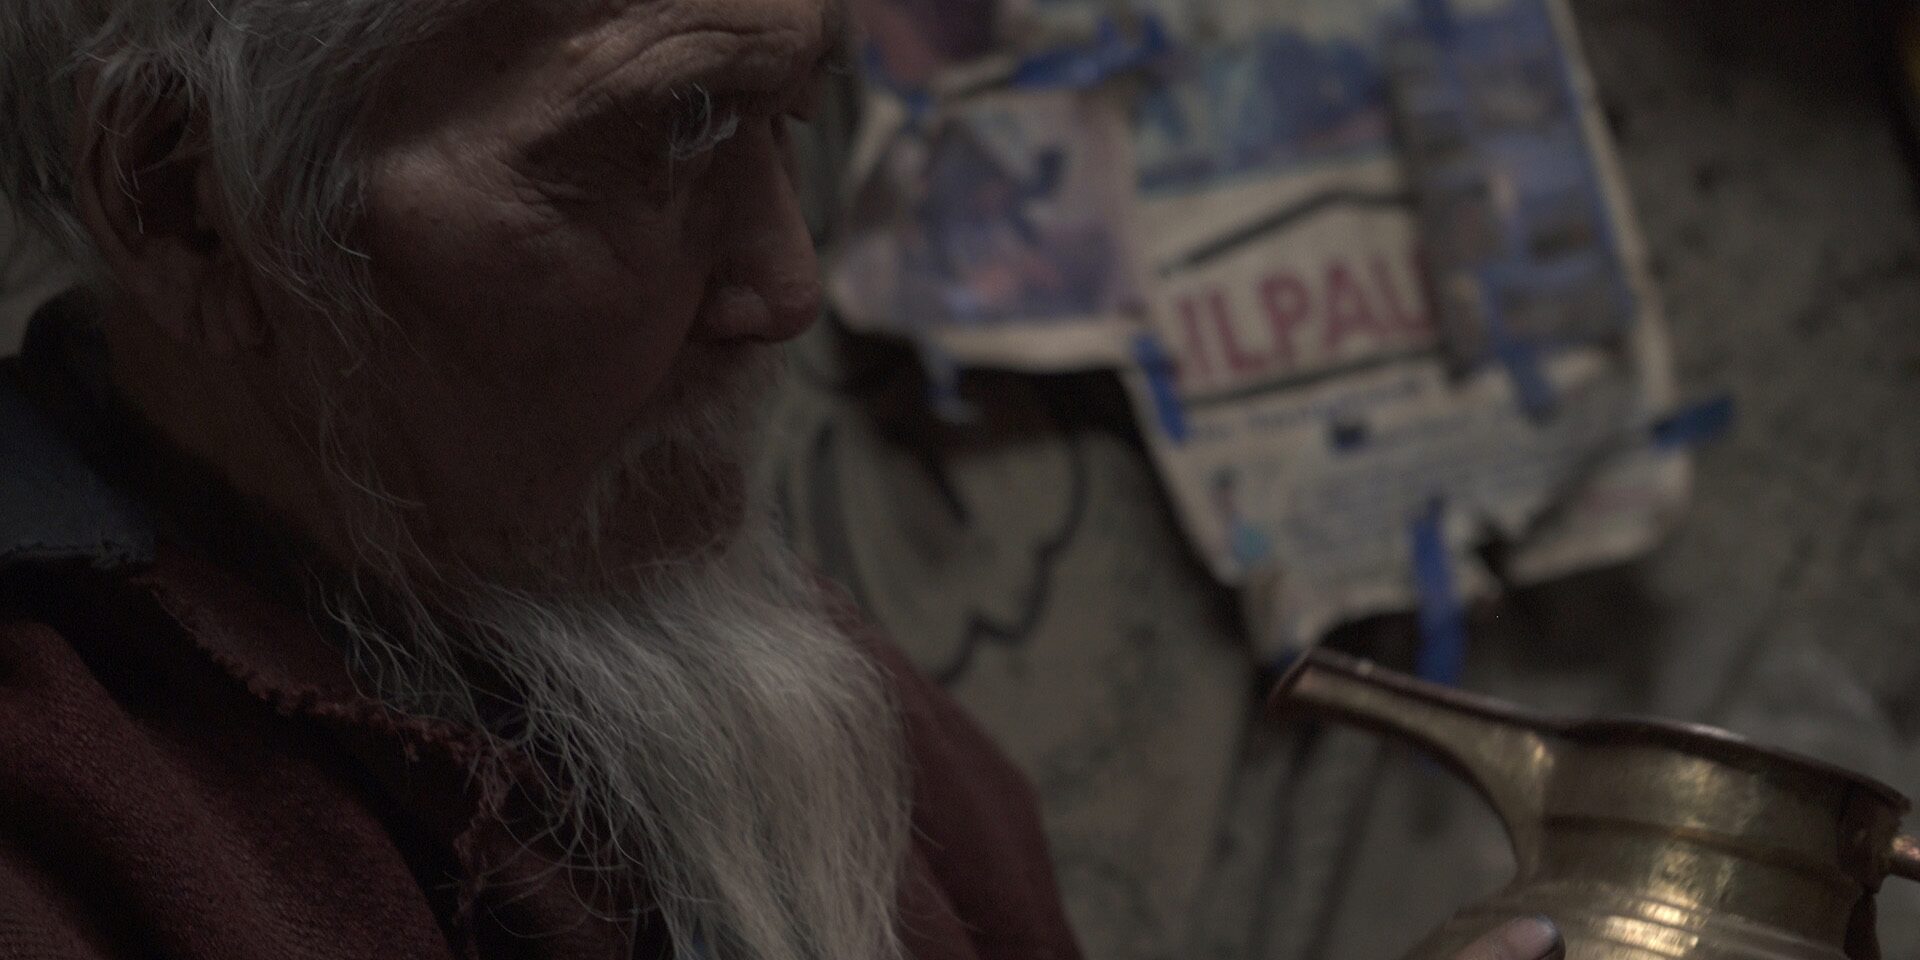
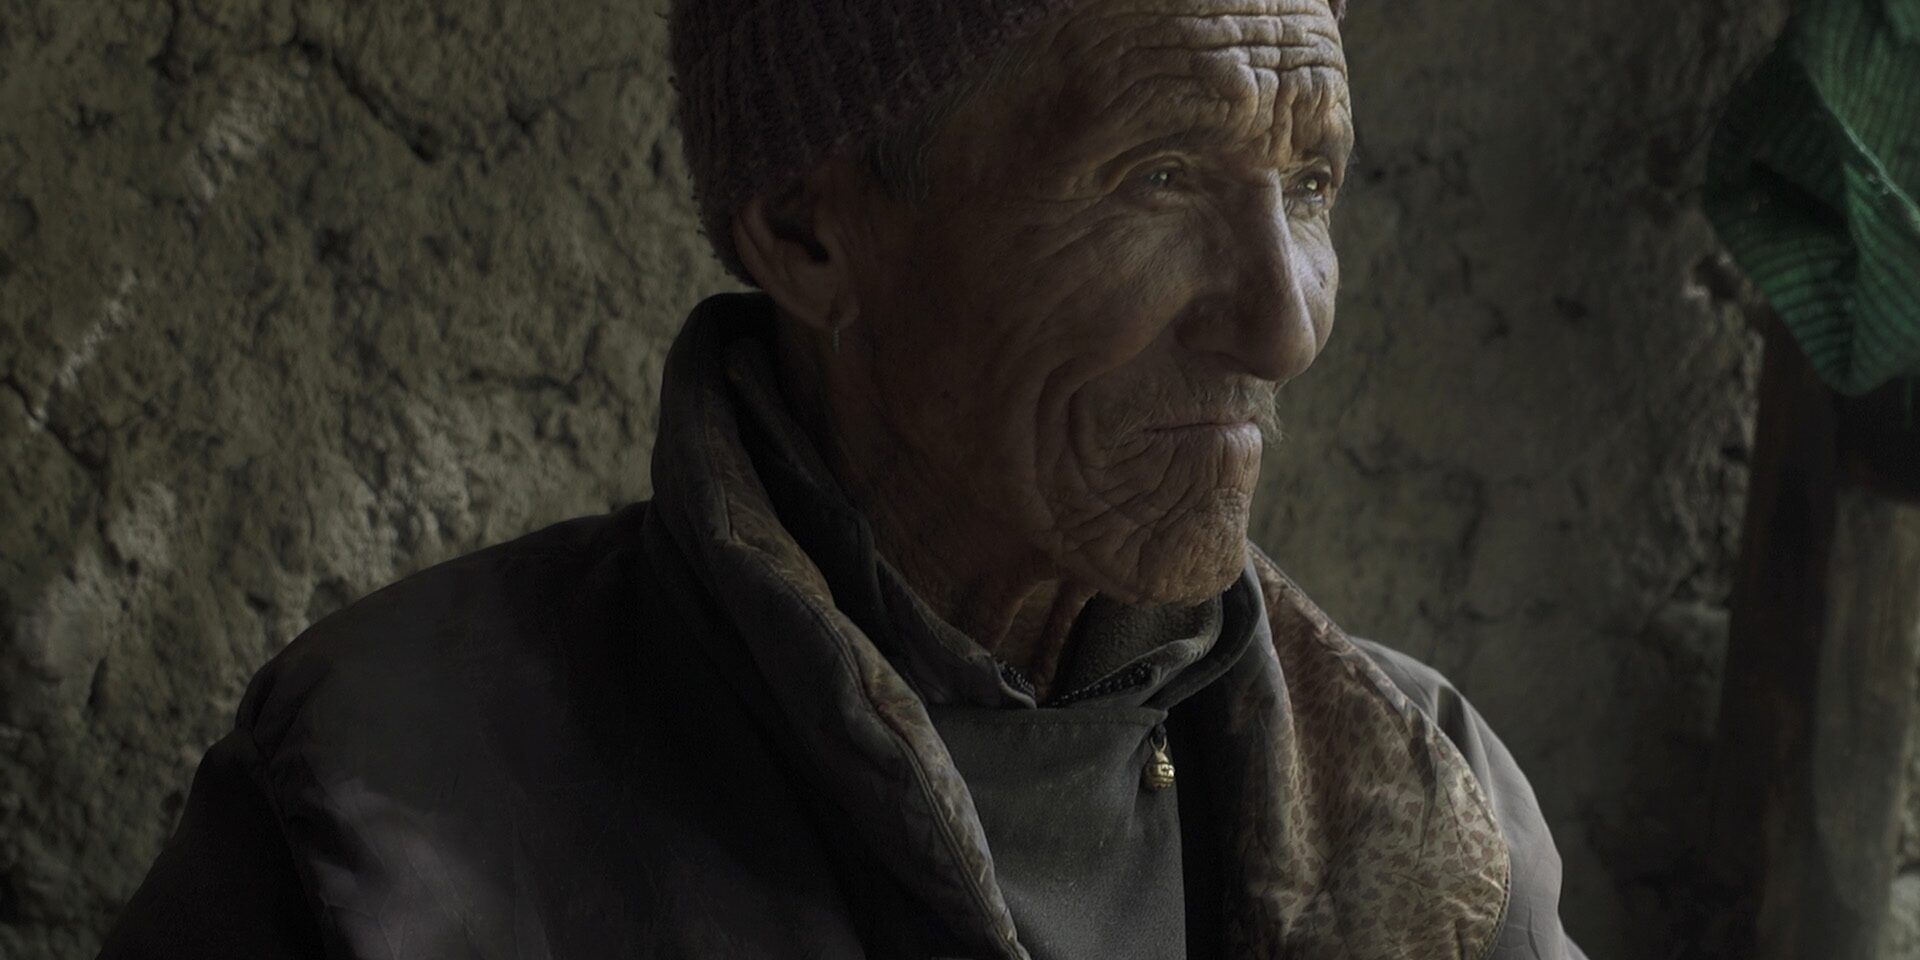
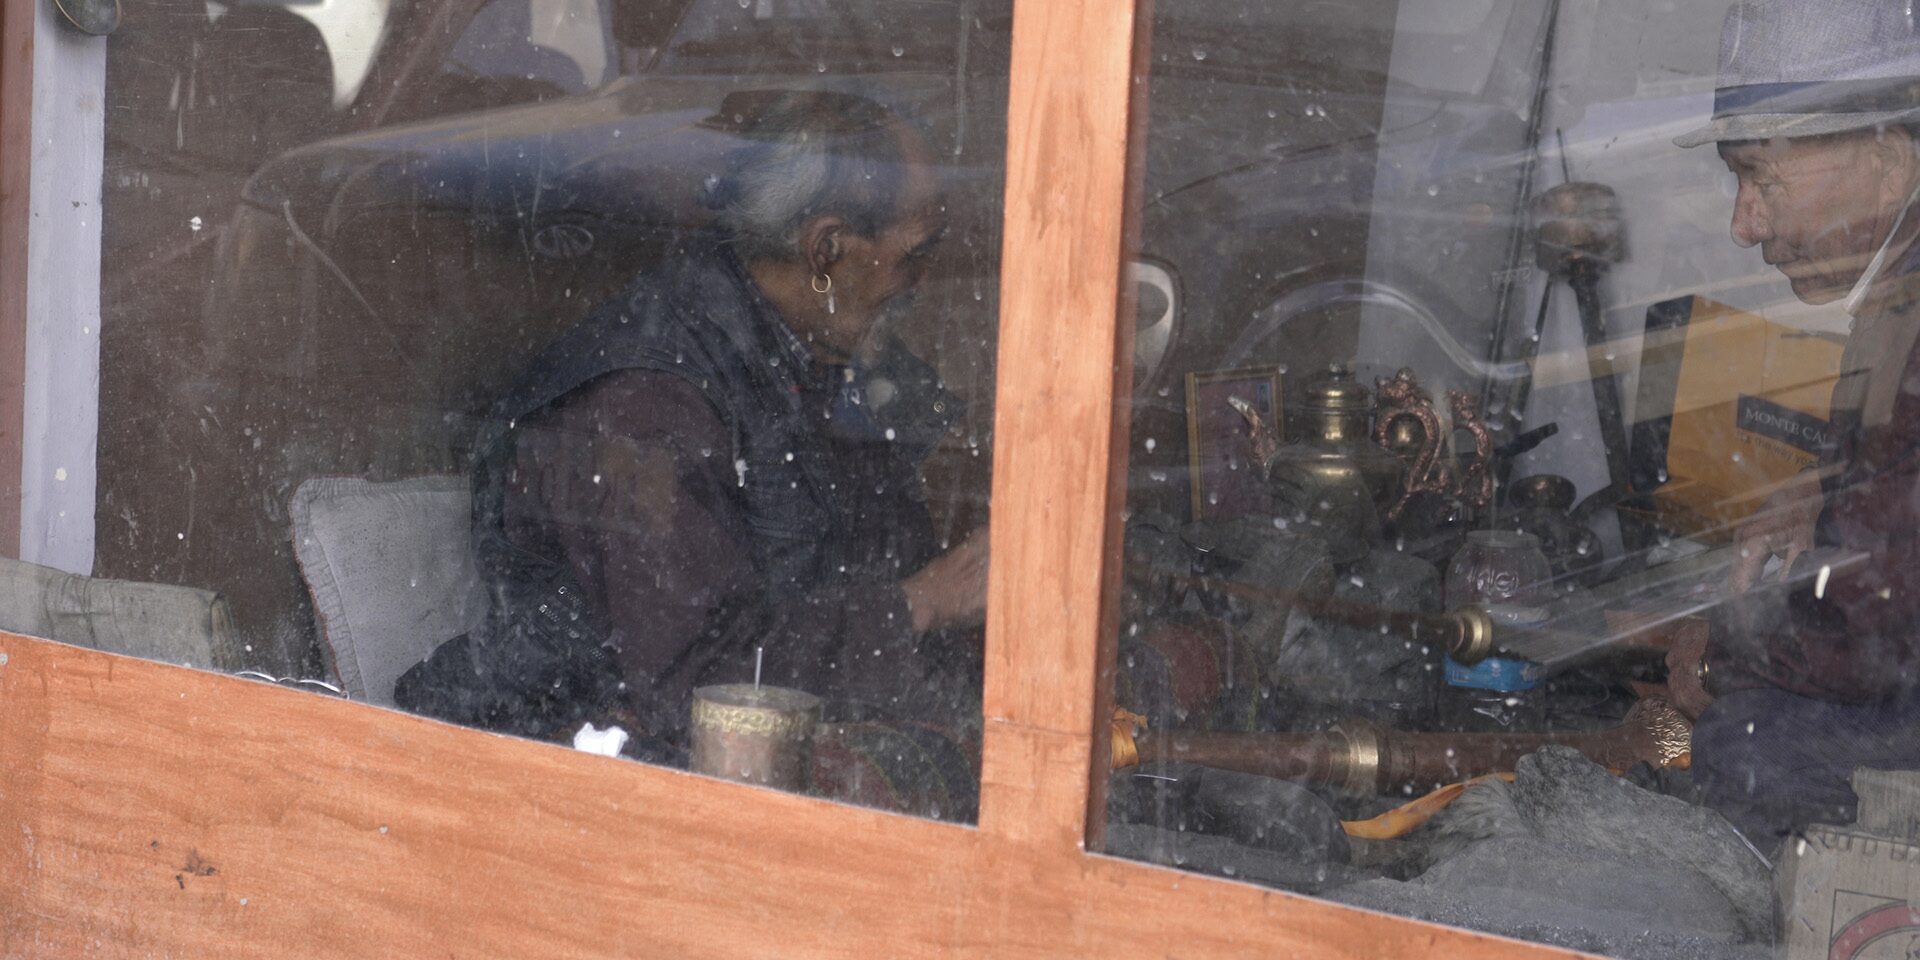
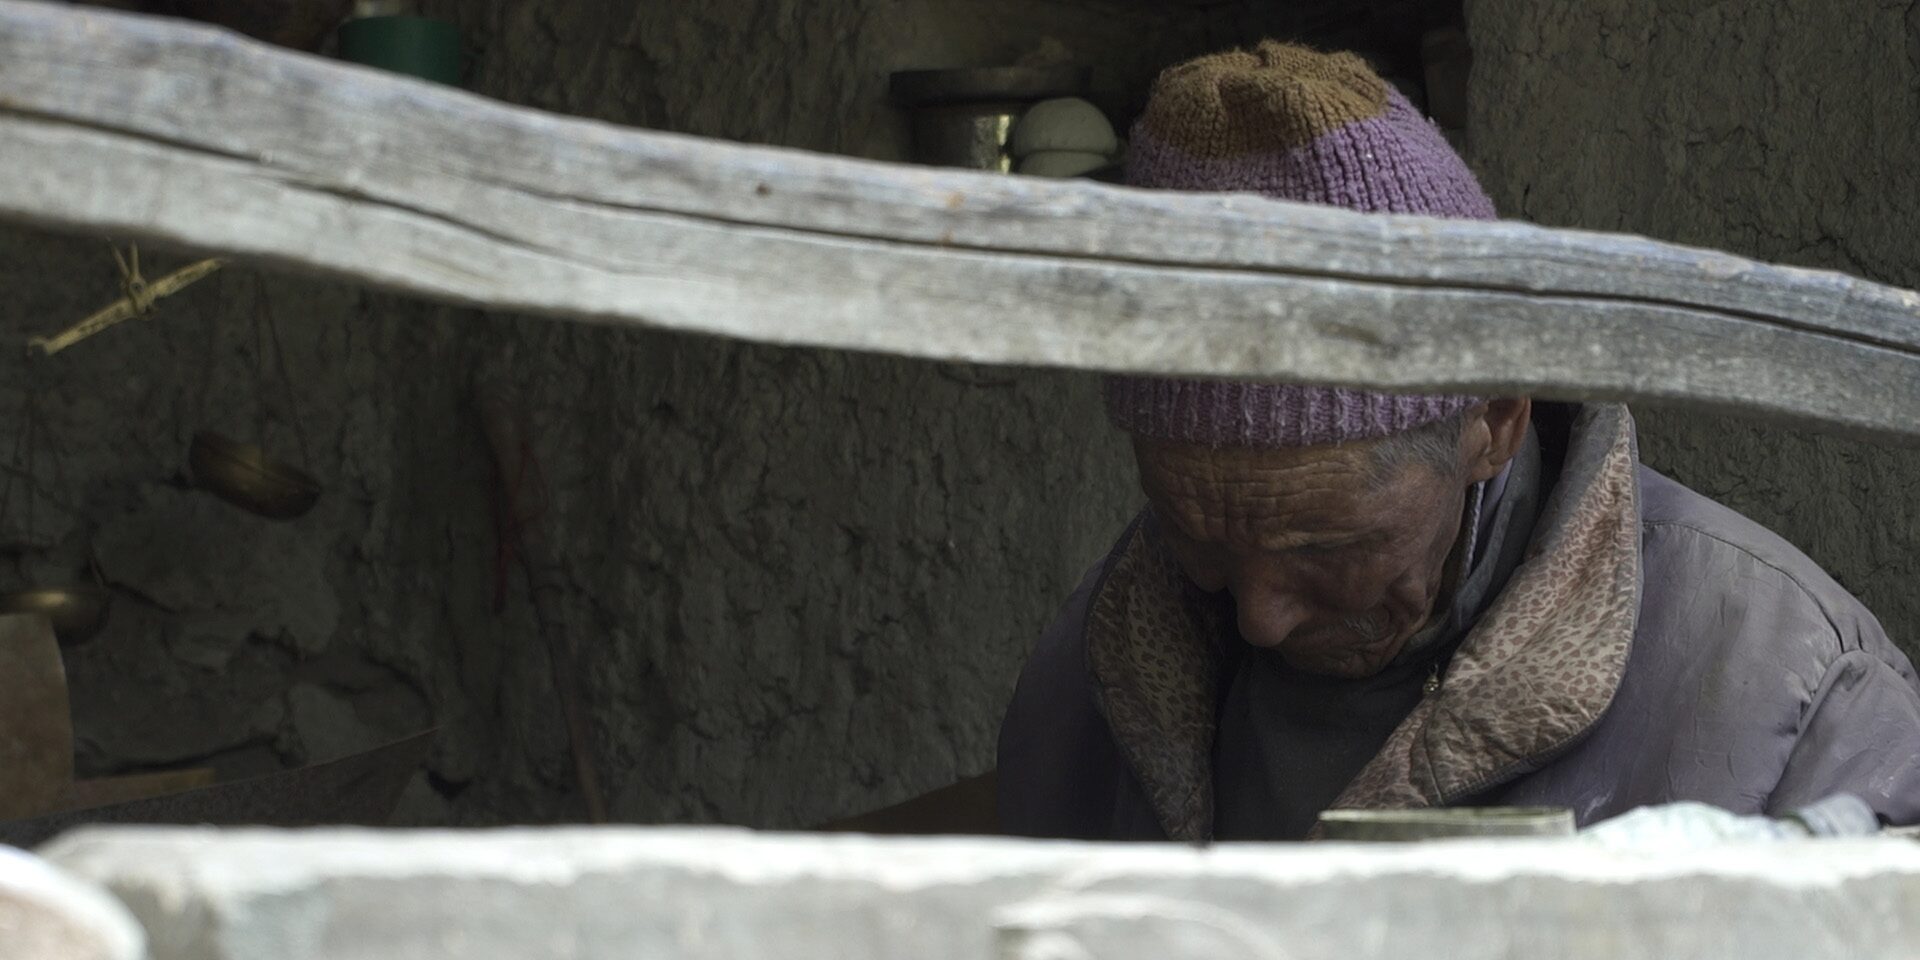
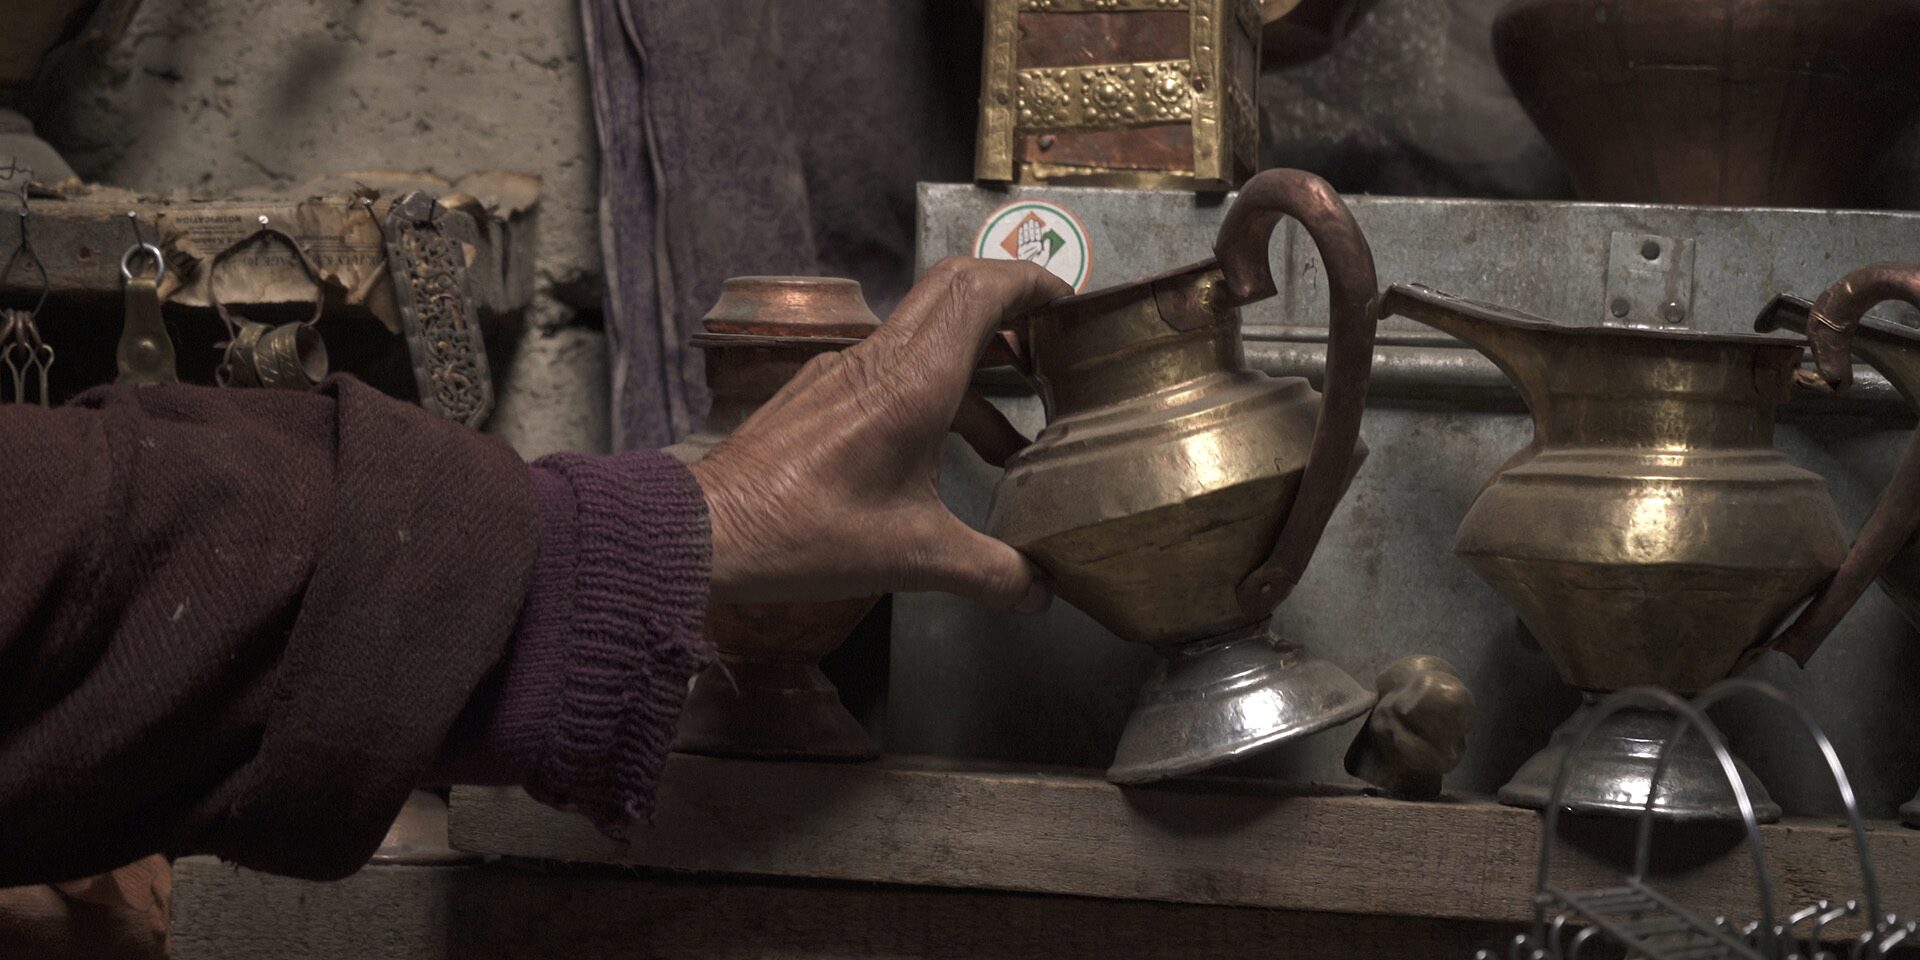
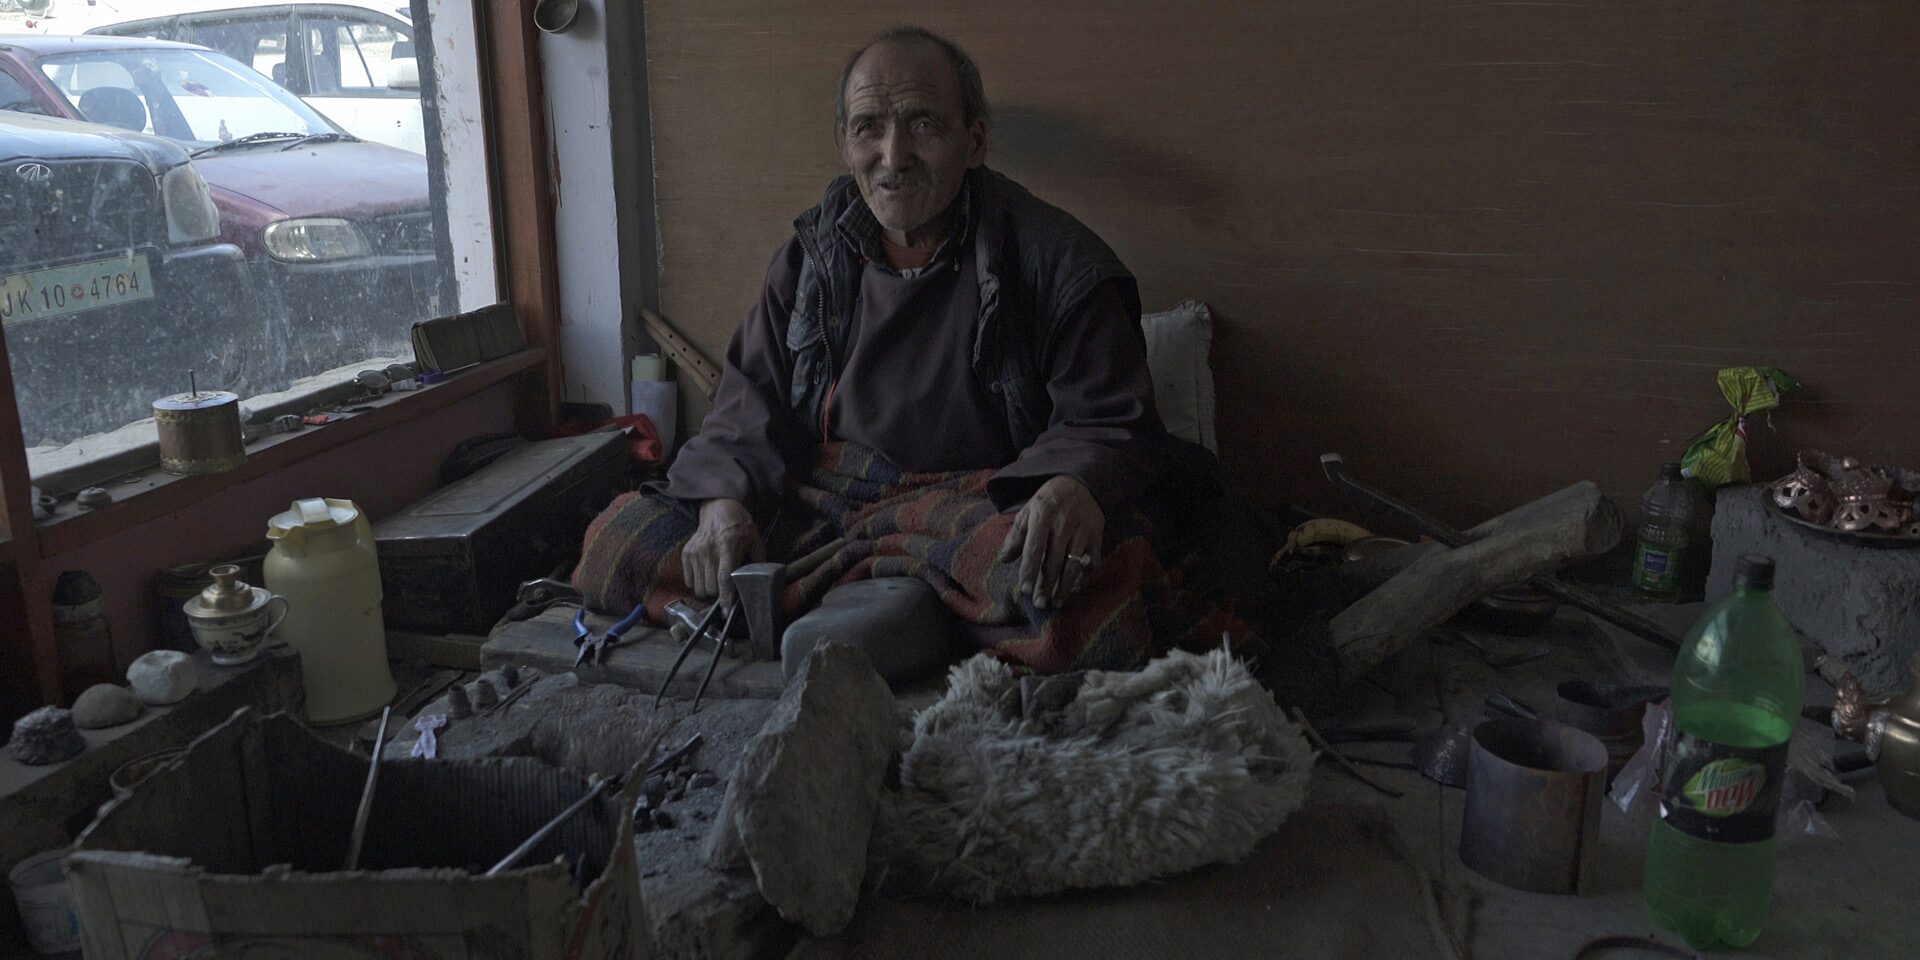
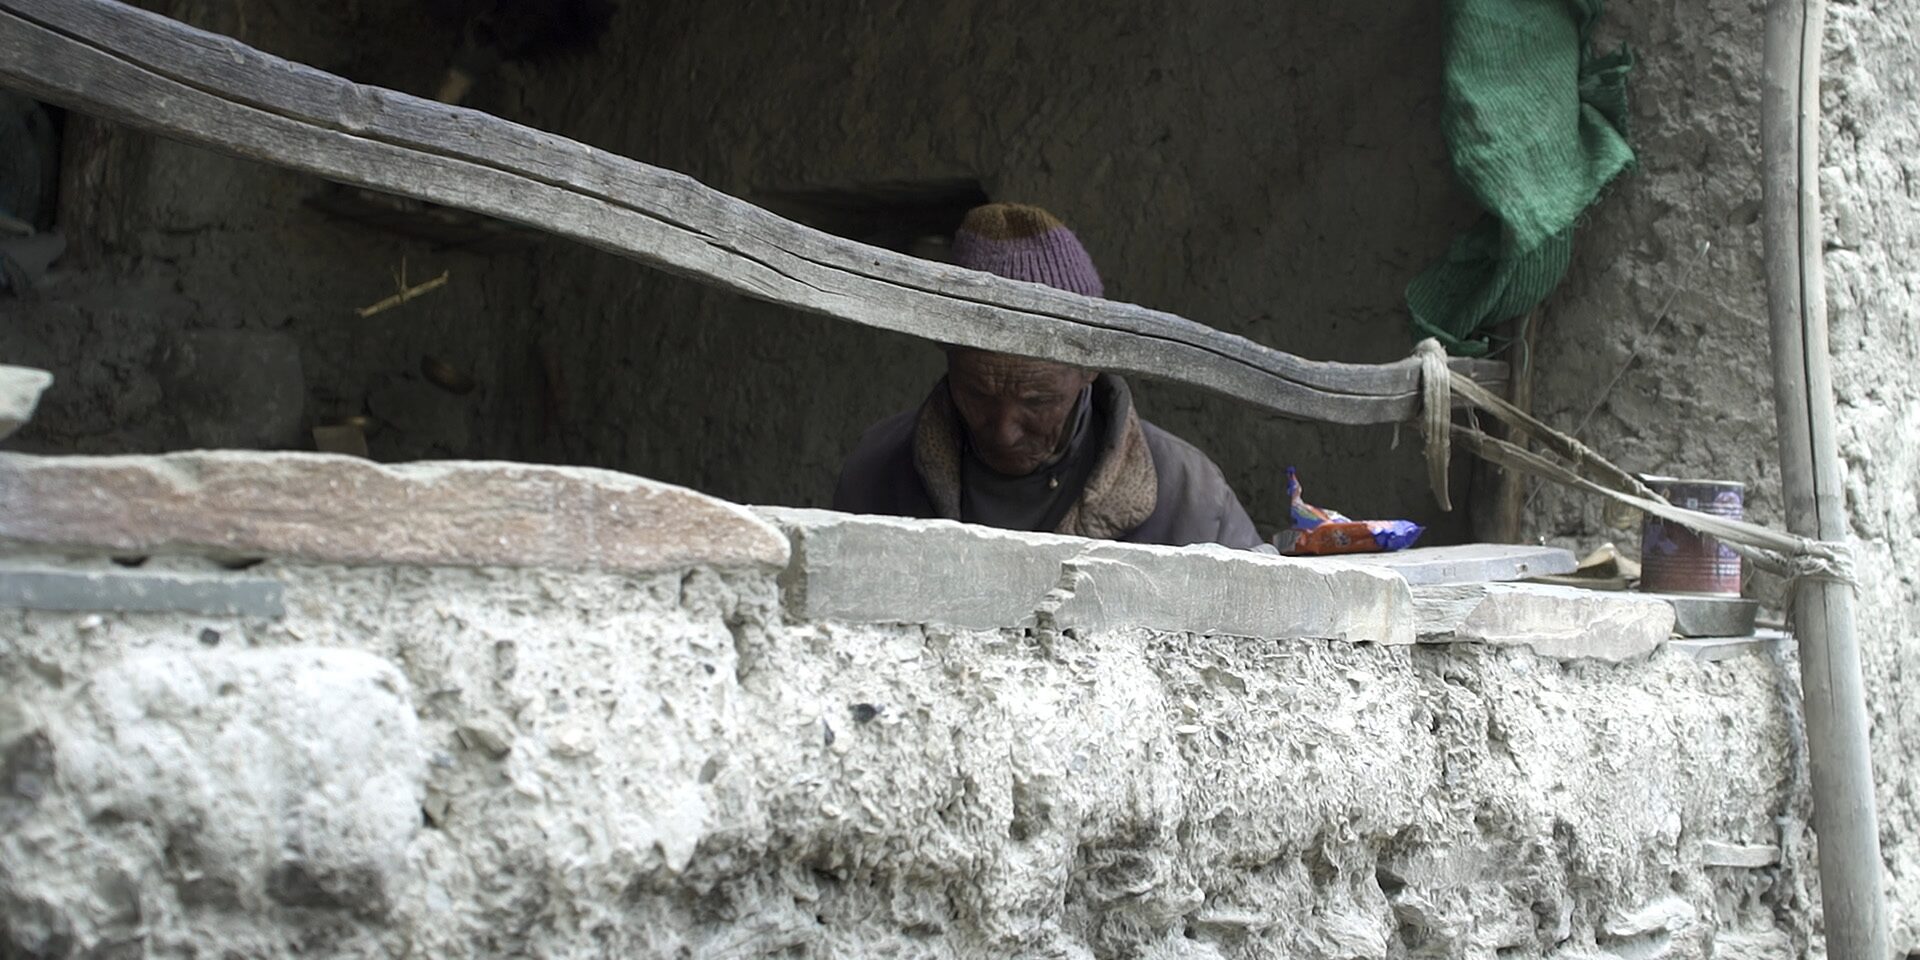
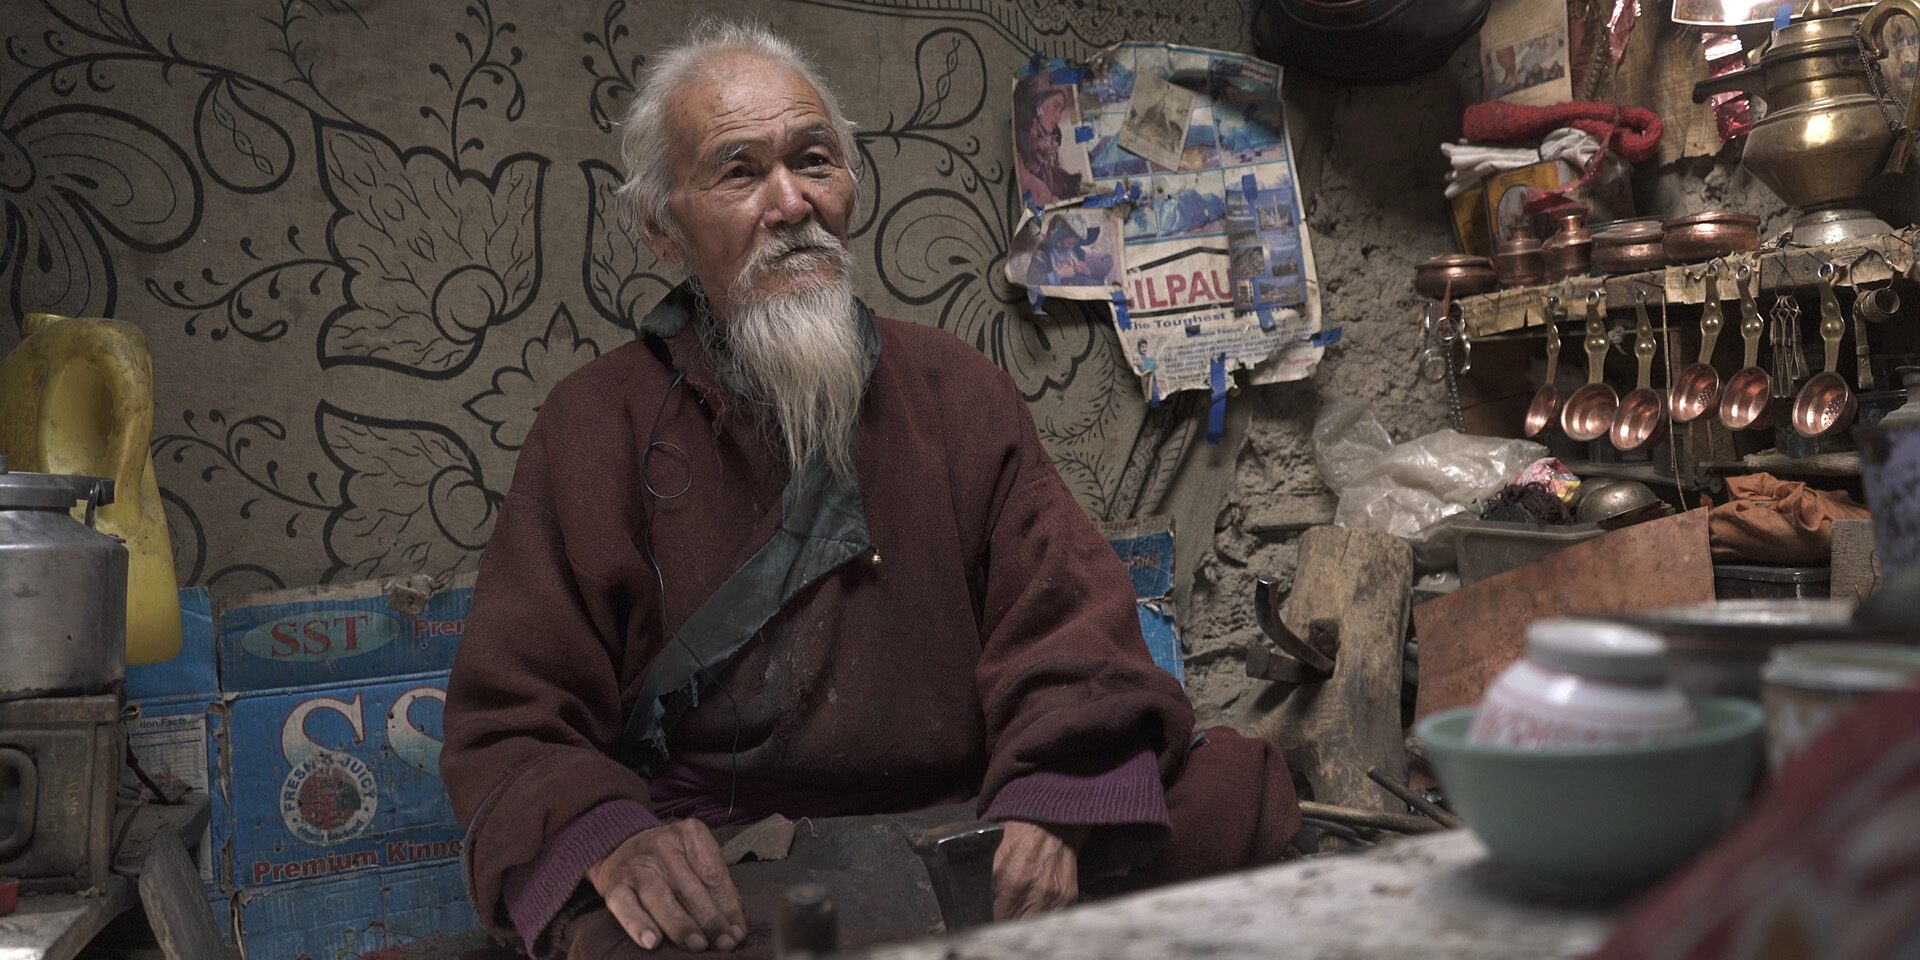
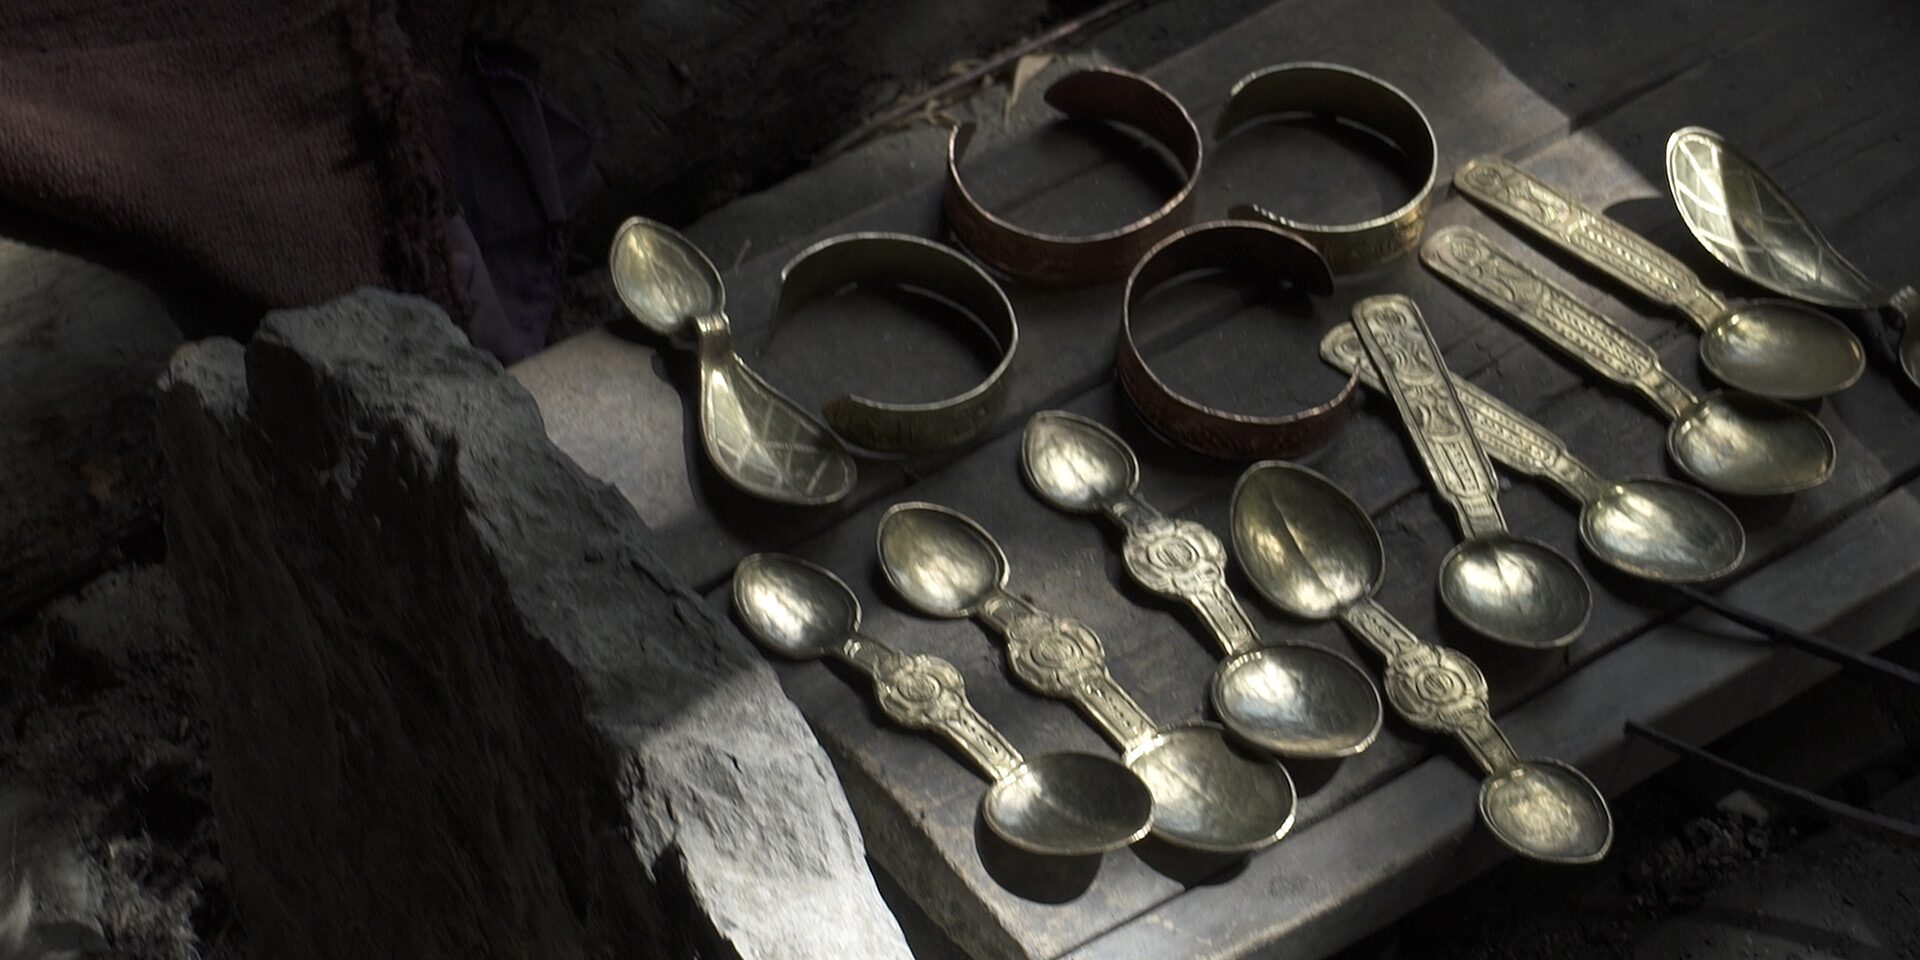
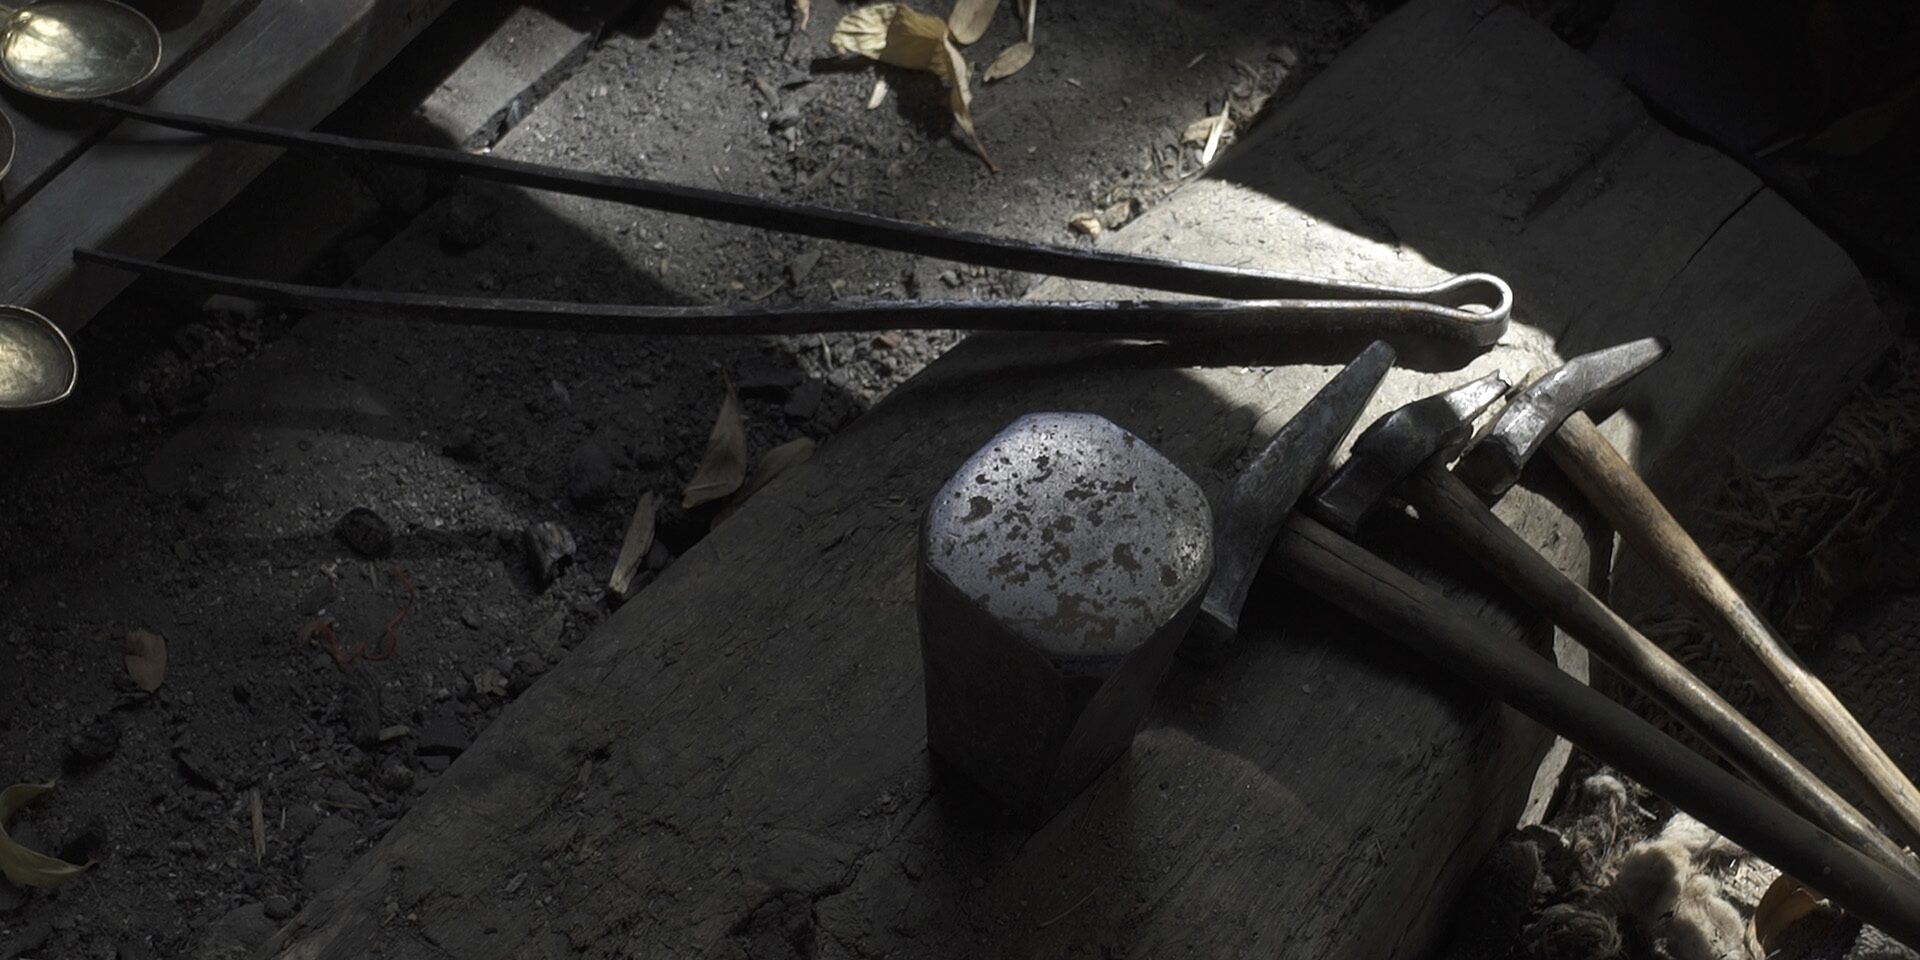
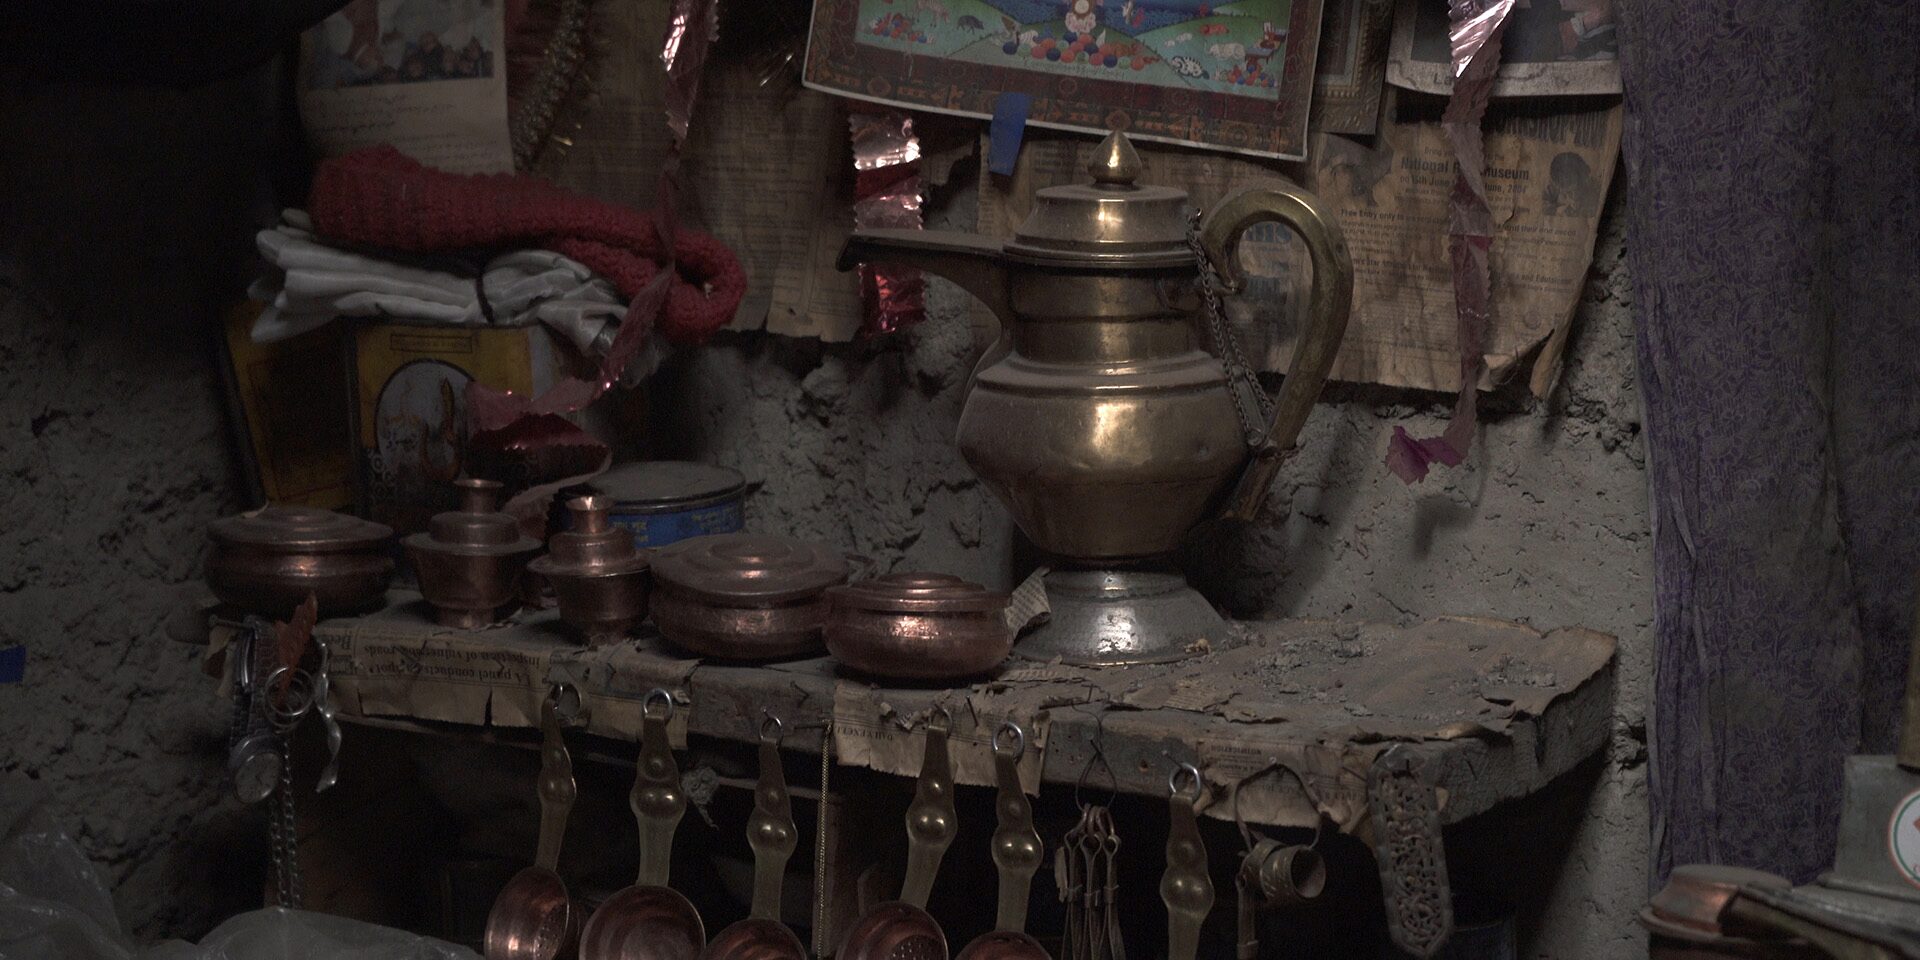
It’s best to illustrate with an example of a vignette I made of metal workers in Ladakh, India. I interviewed three workers still practicing a dying art form. They all had their small work place, and they talked to me and did a bit of work as well.
You can watch the full video first:
The close-ups
These are self-explanatory:
The over-the-shoulder (OTS) shots
They were sitting with their backs to the wall so I wasn’t able to get a proper OTS shot. I couldn’t stand behind them because I would be entering their personal space – which is not a good idea in an interview setting but is okay on a narrative film.
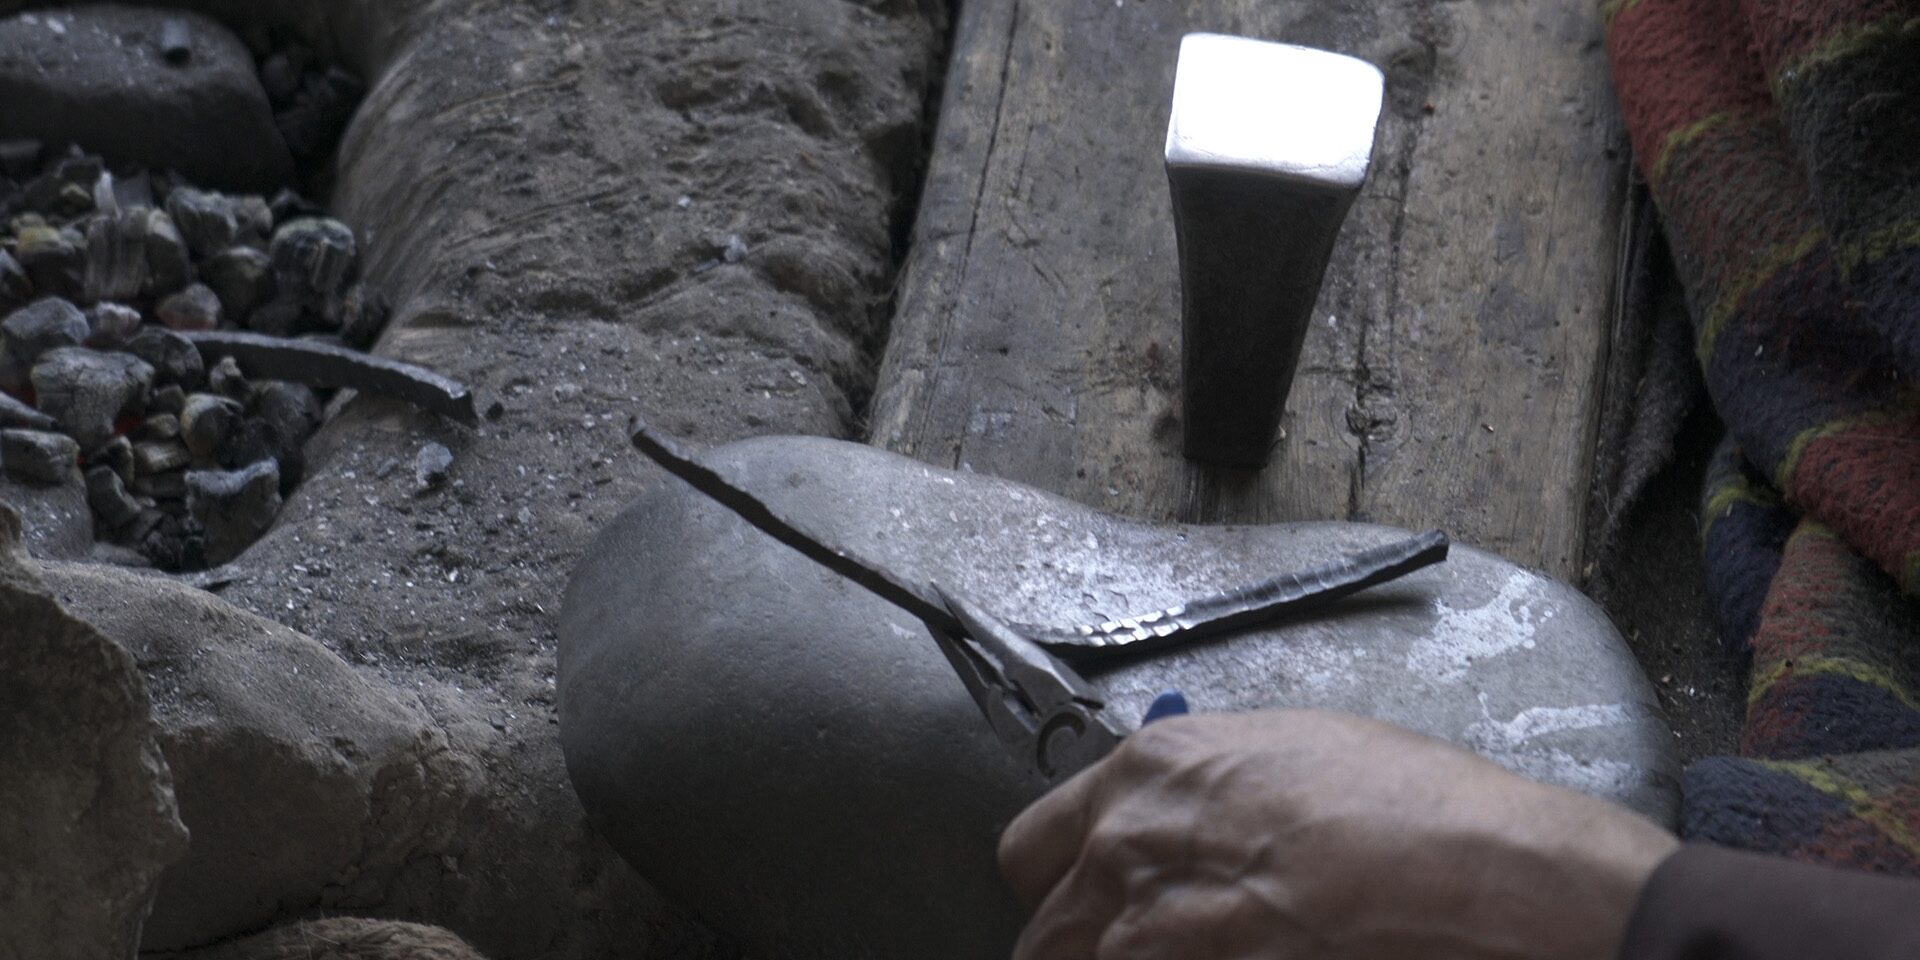
Focus on Action shots
These can be close ups or medium shots, but you need to isolate the action, that’s the goal. Try to get multiple angles if you can, like this shot, two angles of the same action:
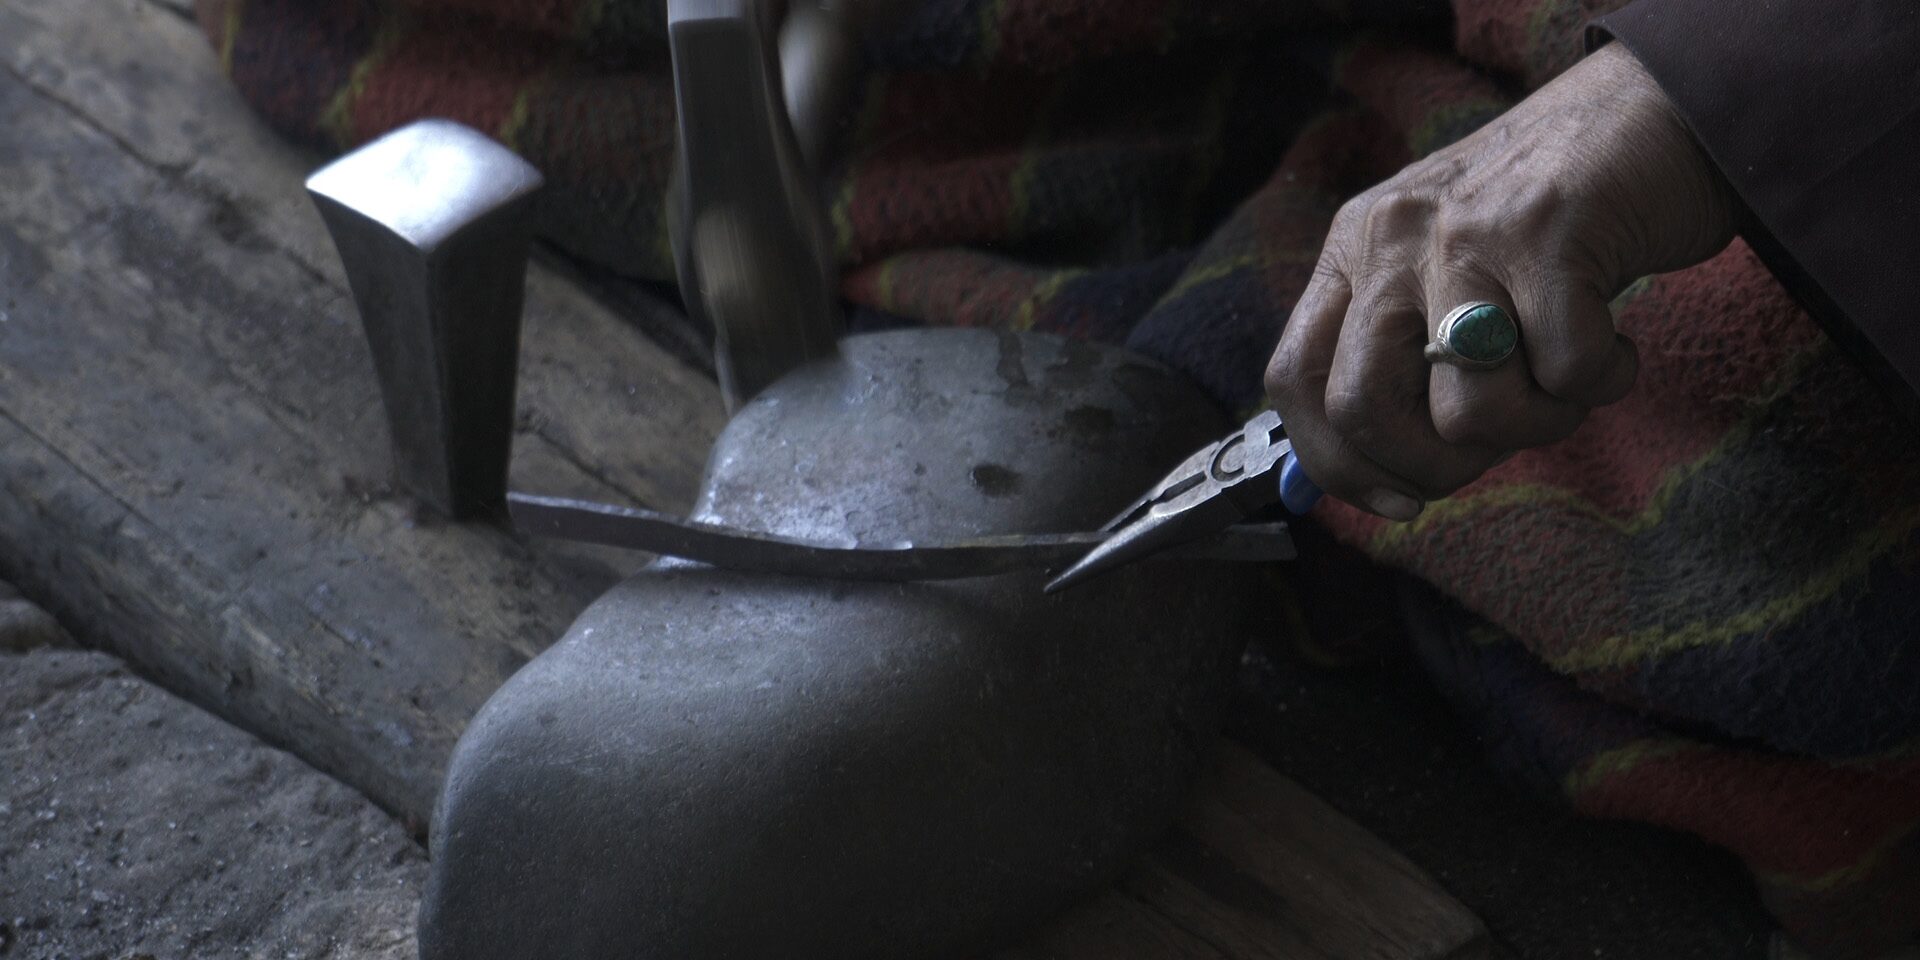
More action:
The wide shot
This is the shot that shows the person, the action and their surroundings together. Make them as wide as you can go while still keeping them relevant:
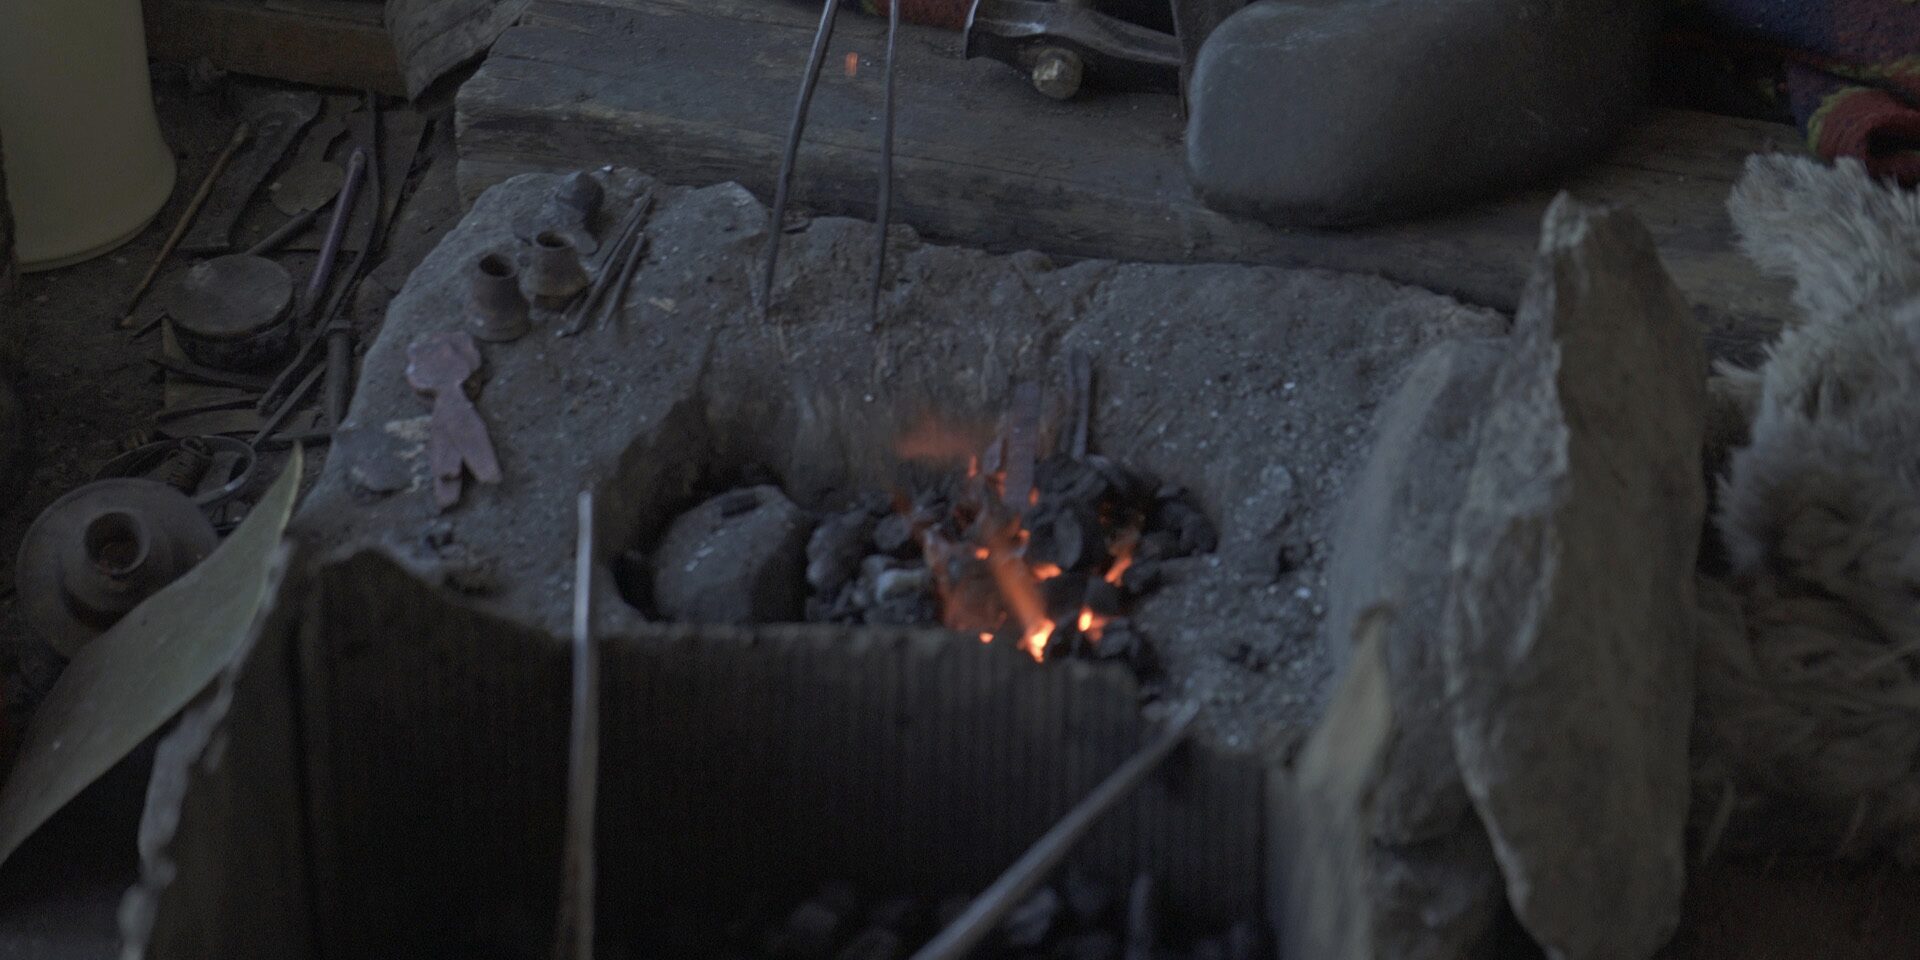
Inserts
I’ve also found you need a few cutaway shots or inserts that you can throw in during a dialogue or interview. These enrich and add depth to the story being told:
Another perspective
What do I mean by this? Step back and shoot in a totally different way.
One wide-angle shot would give you one perspective; this second one will give you a totally different angle. Make sure the shot is at least 90 degrees away from the other wide-angle shot, or maybe in a different location or vantage point:
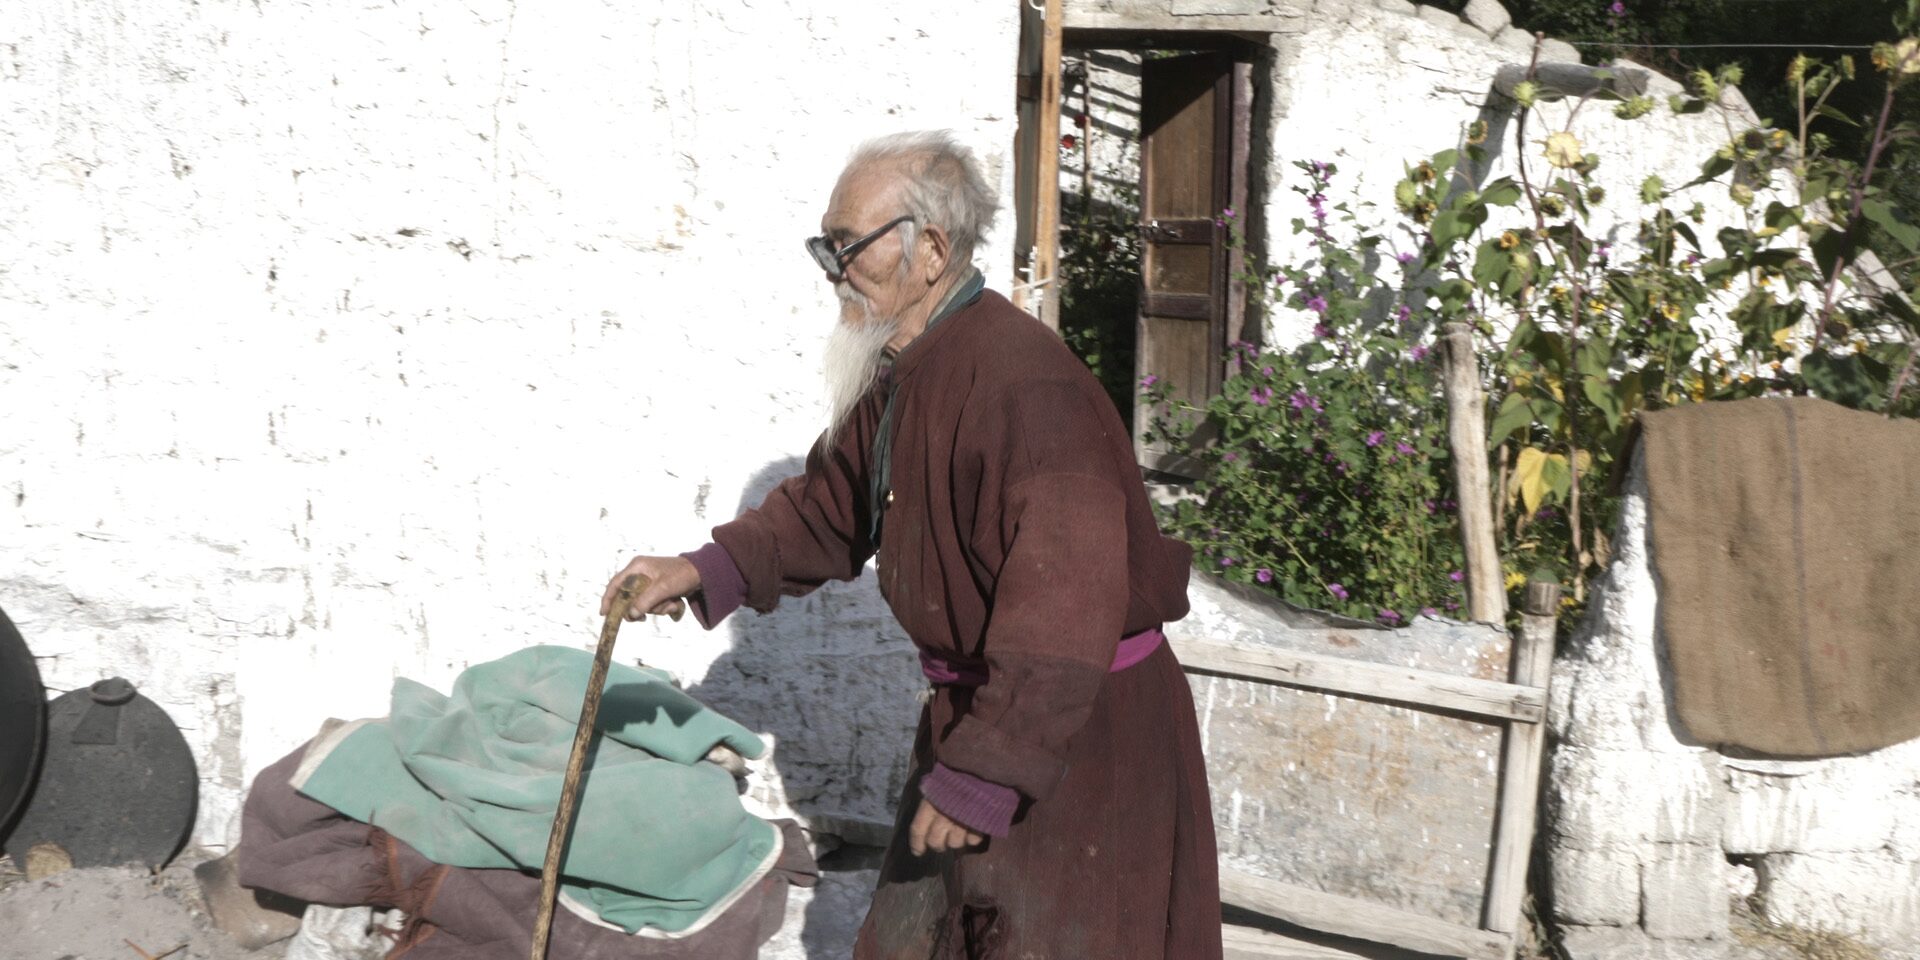
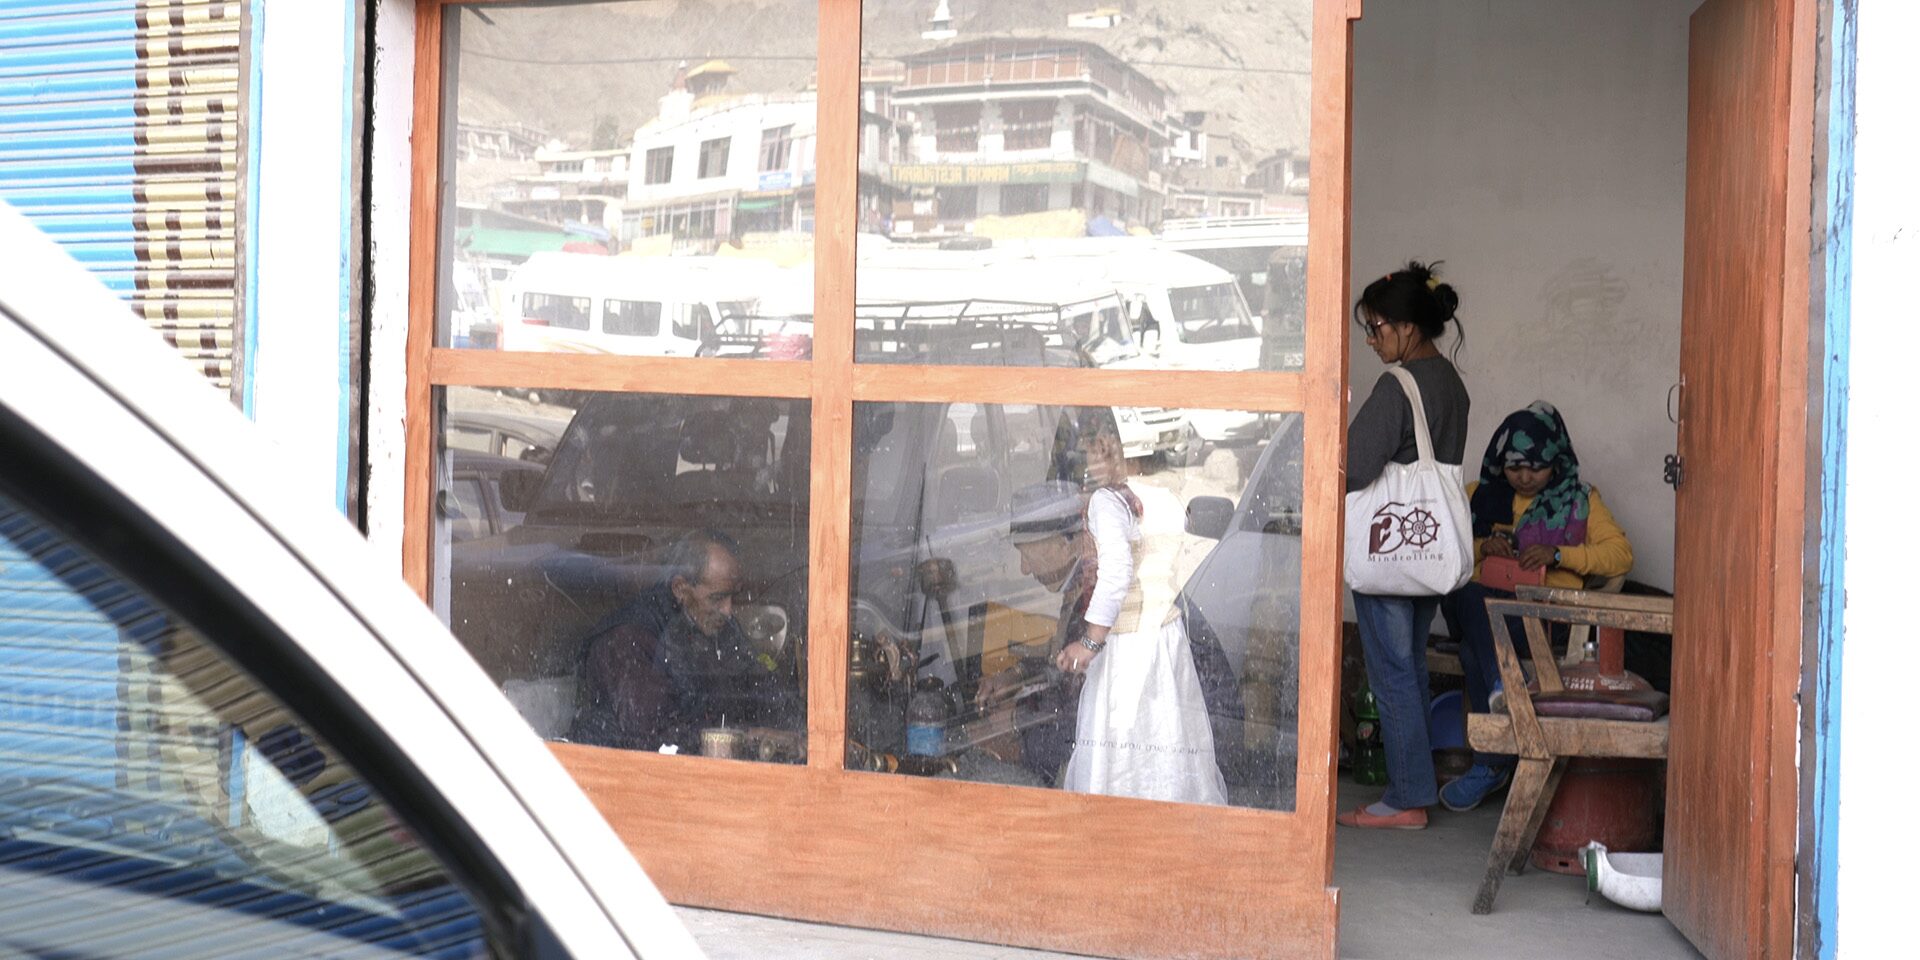
The goal of this shot is to provide a new perspective. In this case the old metal workers are shown in a context we didn’t have of them before.
Get creative here!
The Hollywood System
Who doesn’t know this system? It’s simple and elegant, and designed to cover dialogue scenes and action scenes with enough coverage.
Here are the five shots:
- The master (wide-shot, everybody’s in the frame)
- The mid shots (one person or more in the frame)
- Close ups
- Over the shoulder shots
- Inserts
While shooting, you tend to preserve the order of these shots as listed above.
The most important shot (which could also be the hardest and most time consuming to light, setup and perform) is done first. Usually this is the master shot.
The master
A shot is called a master when the entire action is covered, otherwise it’s just a wide shot. In editing you can break up a master, but at least you’ll have your entire scene. Hollywood films with good budgets break up the master and shoot from multiple angles. An indie filmmaker cannot afford that.
For a master shot, ask yourself: What’s the best place and angle to see the action clearly in its entirety?
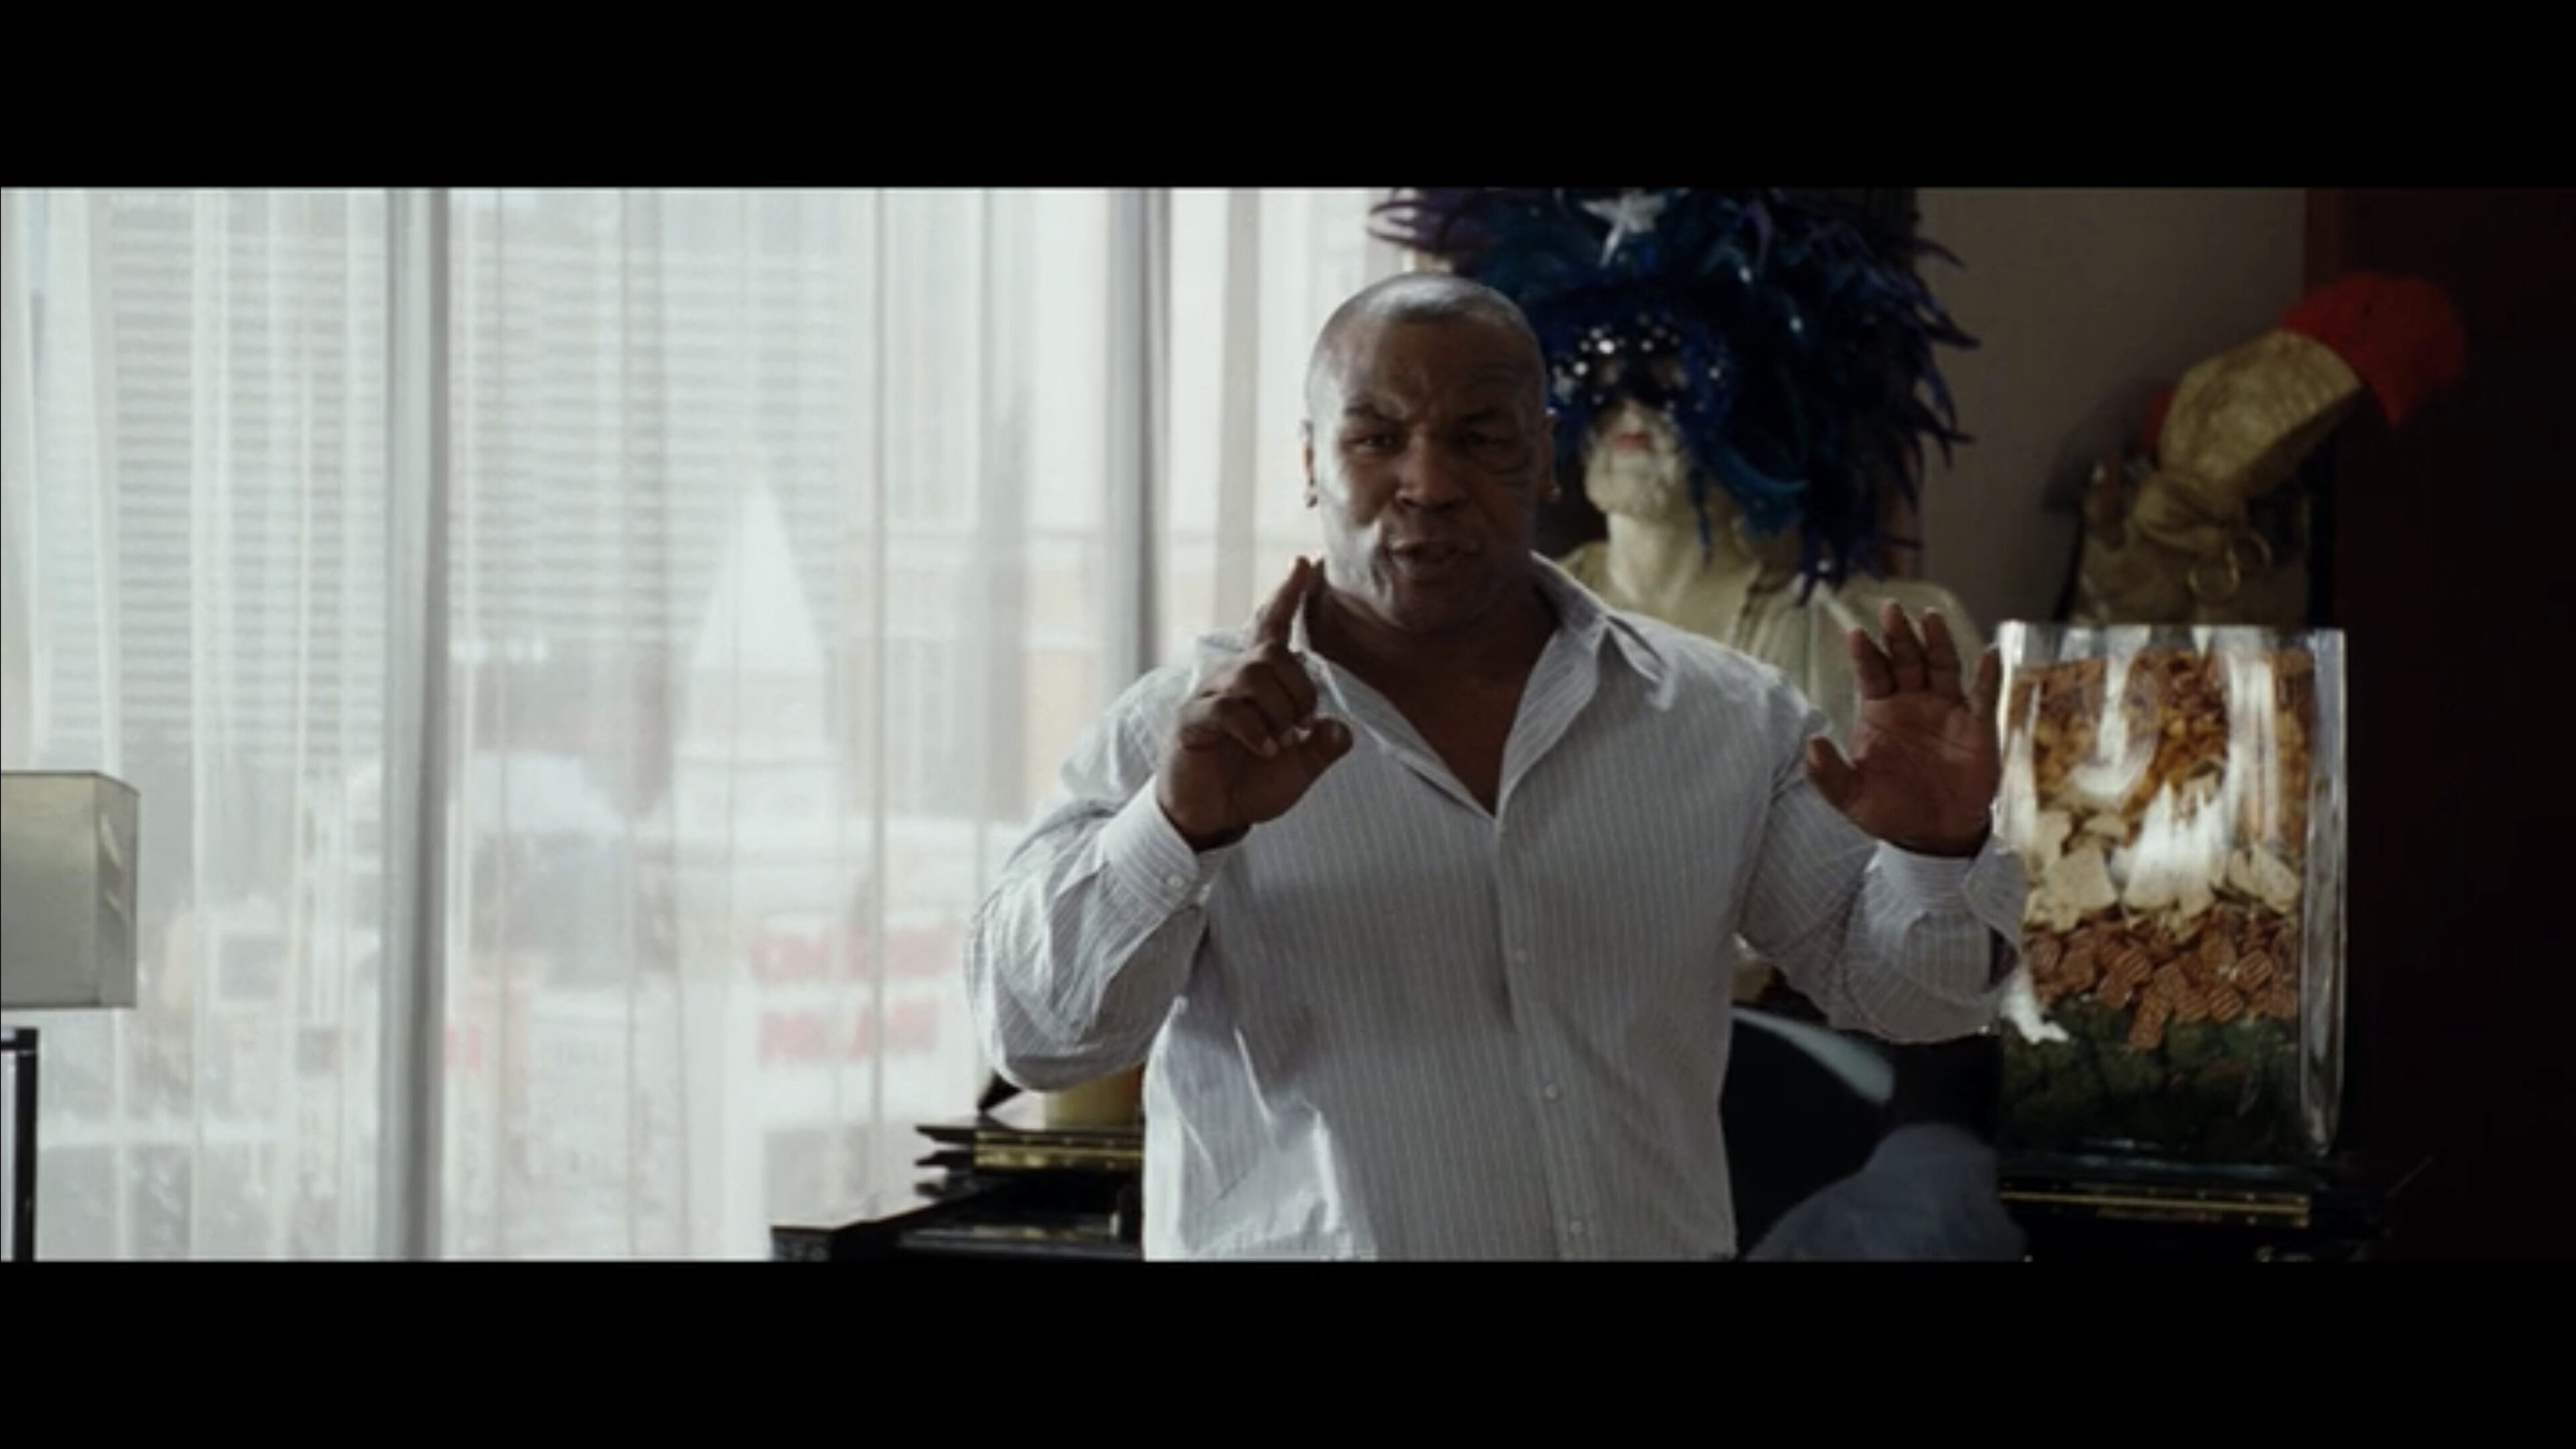
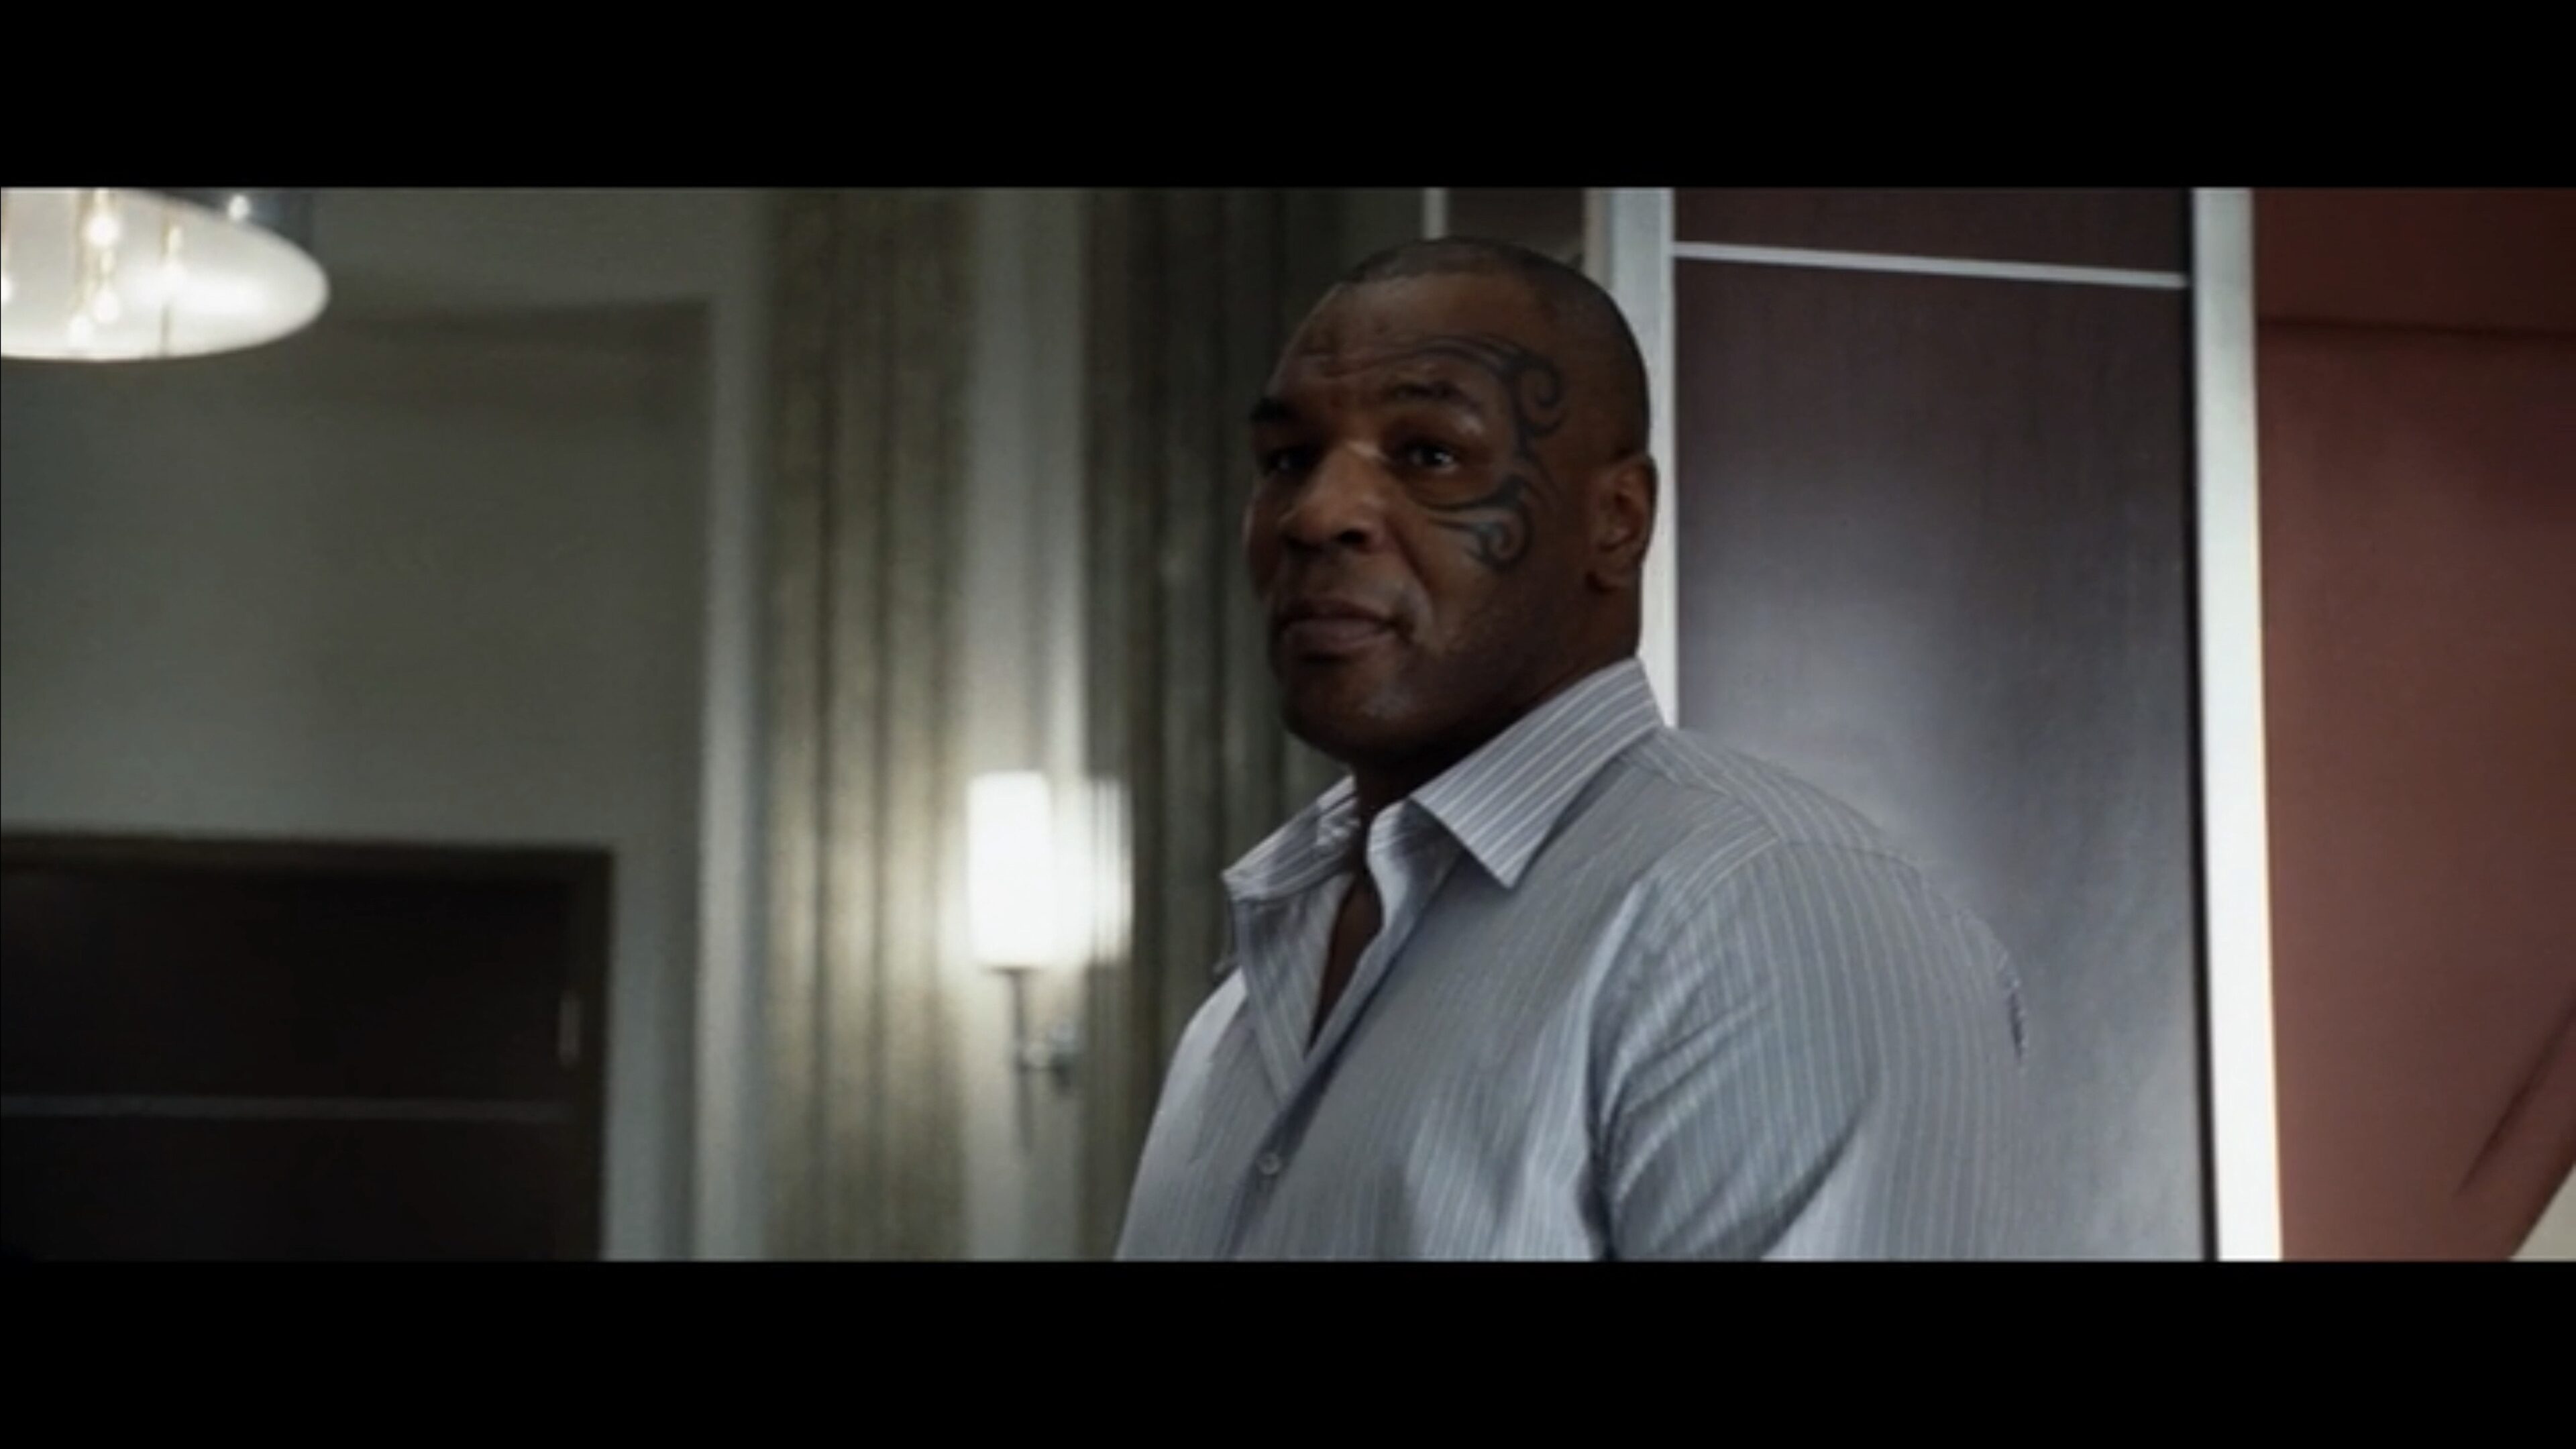
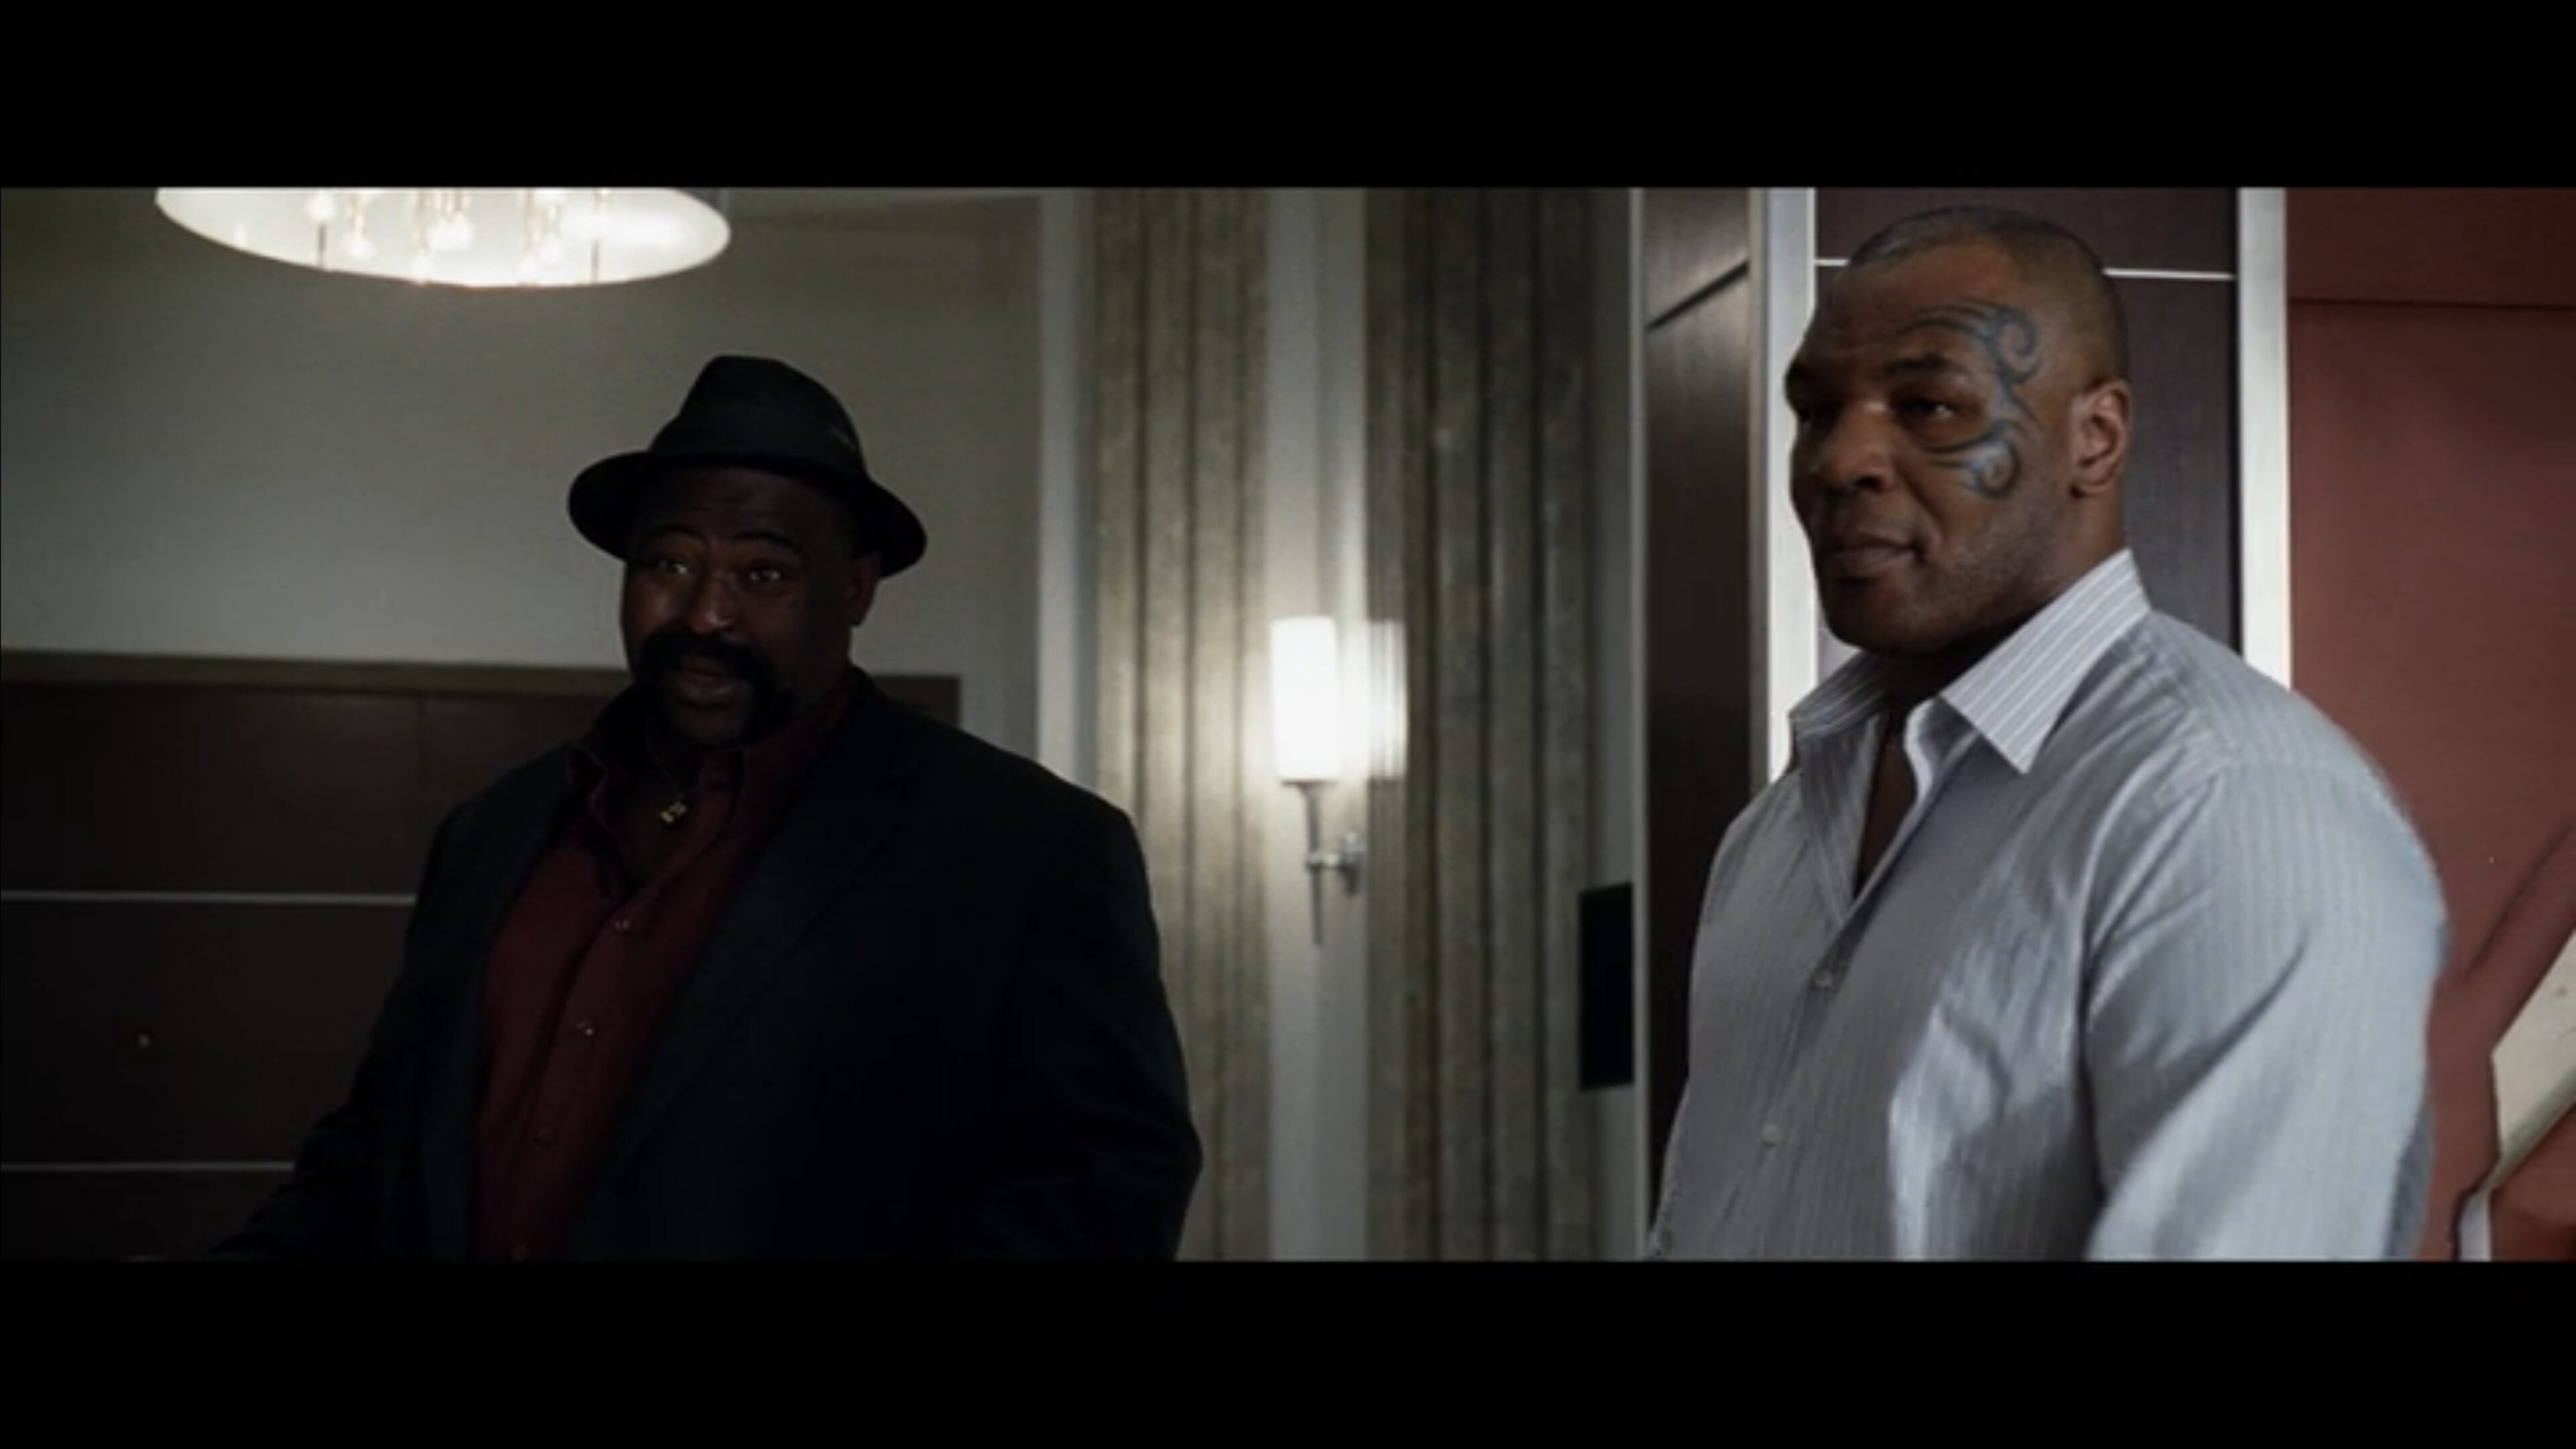
Here are a few examples from Hangover, directed by Todd Phillips, from the scene where Mike Tyson shows up. These are not necessarily masters, but just examples of a wide shot:
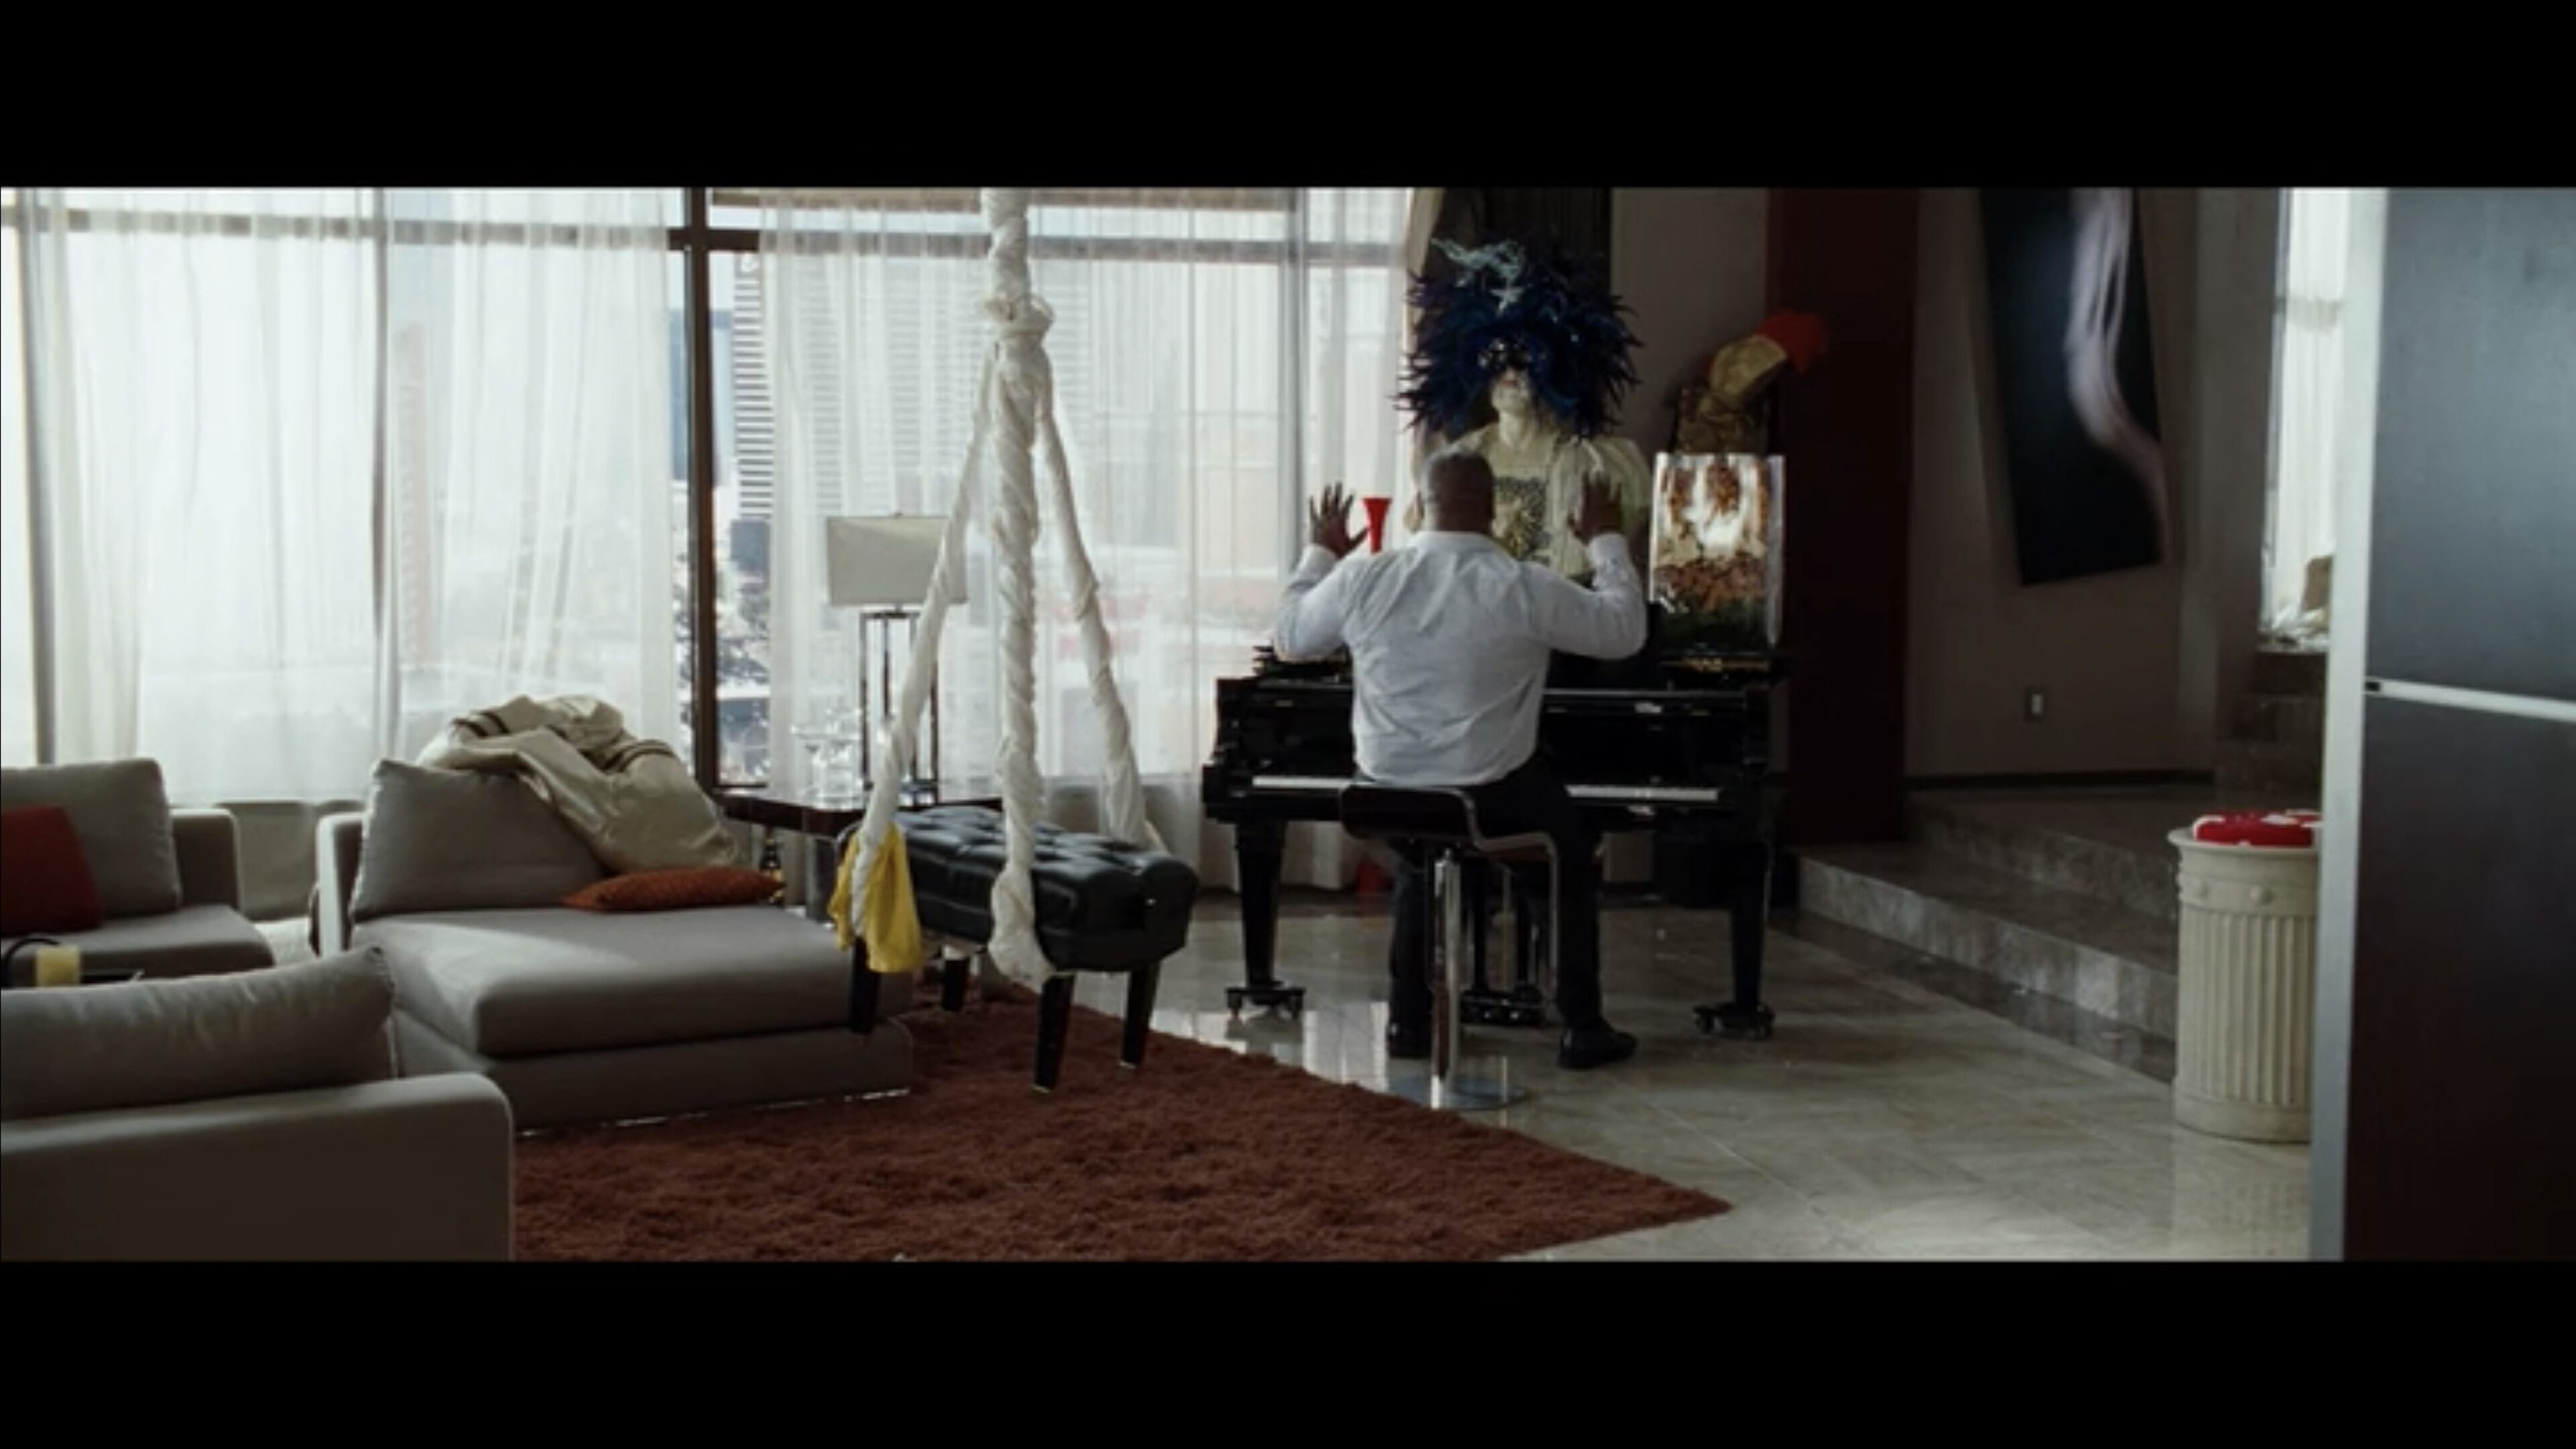
Another example that pops up midway through the scene (note the shots can be edited in any order):
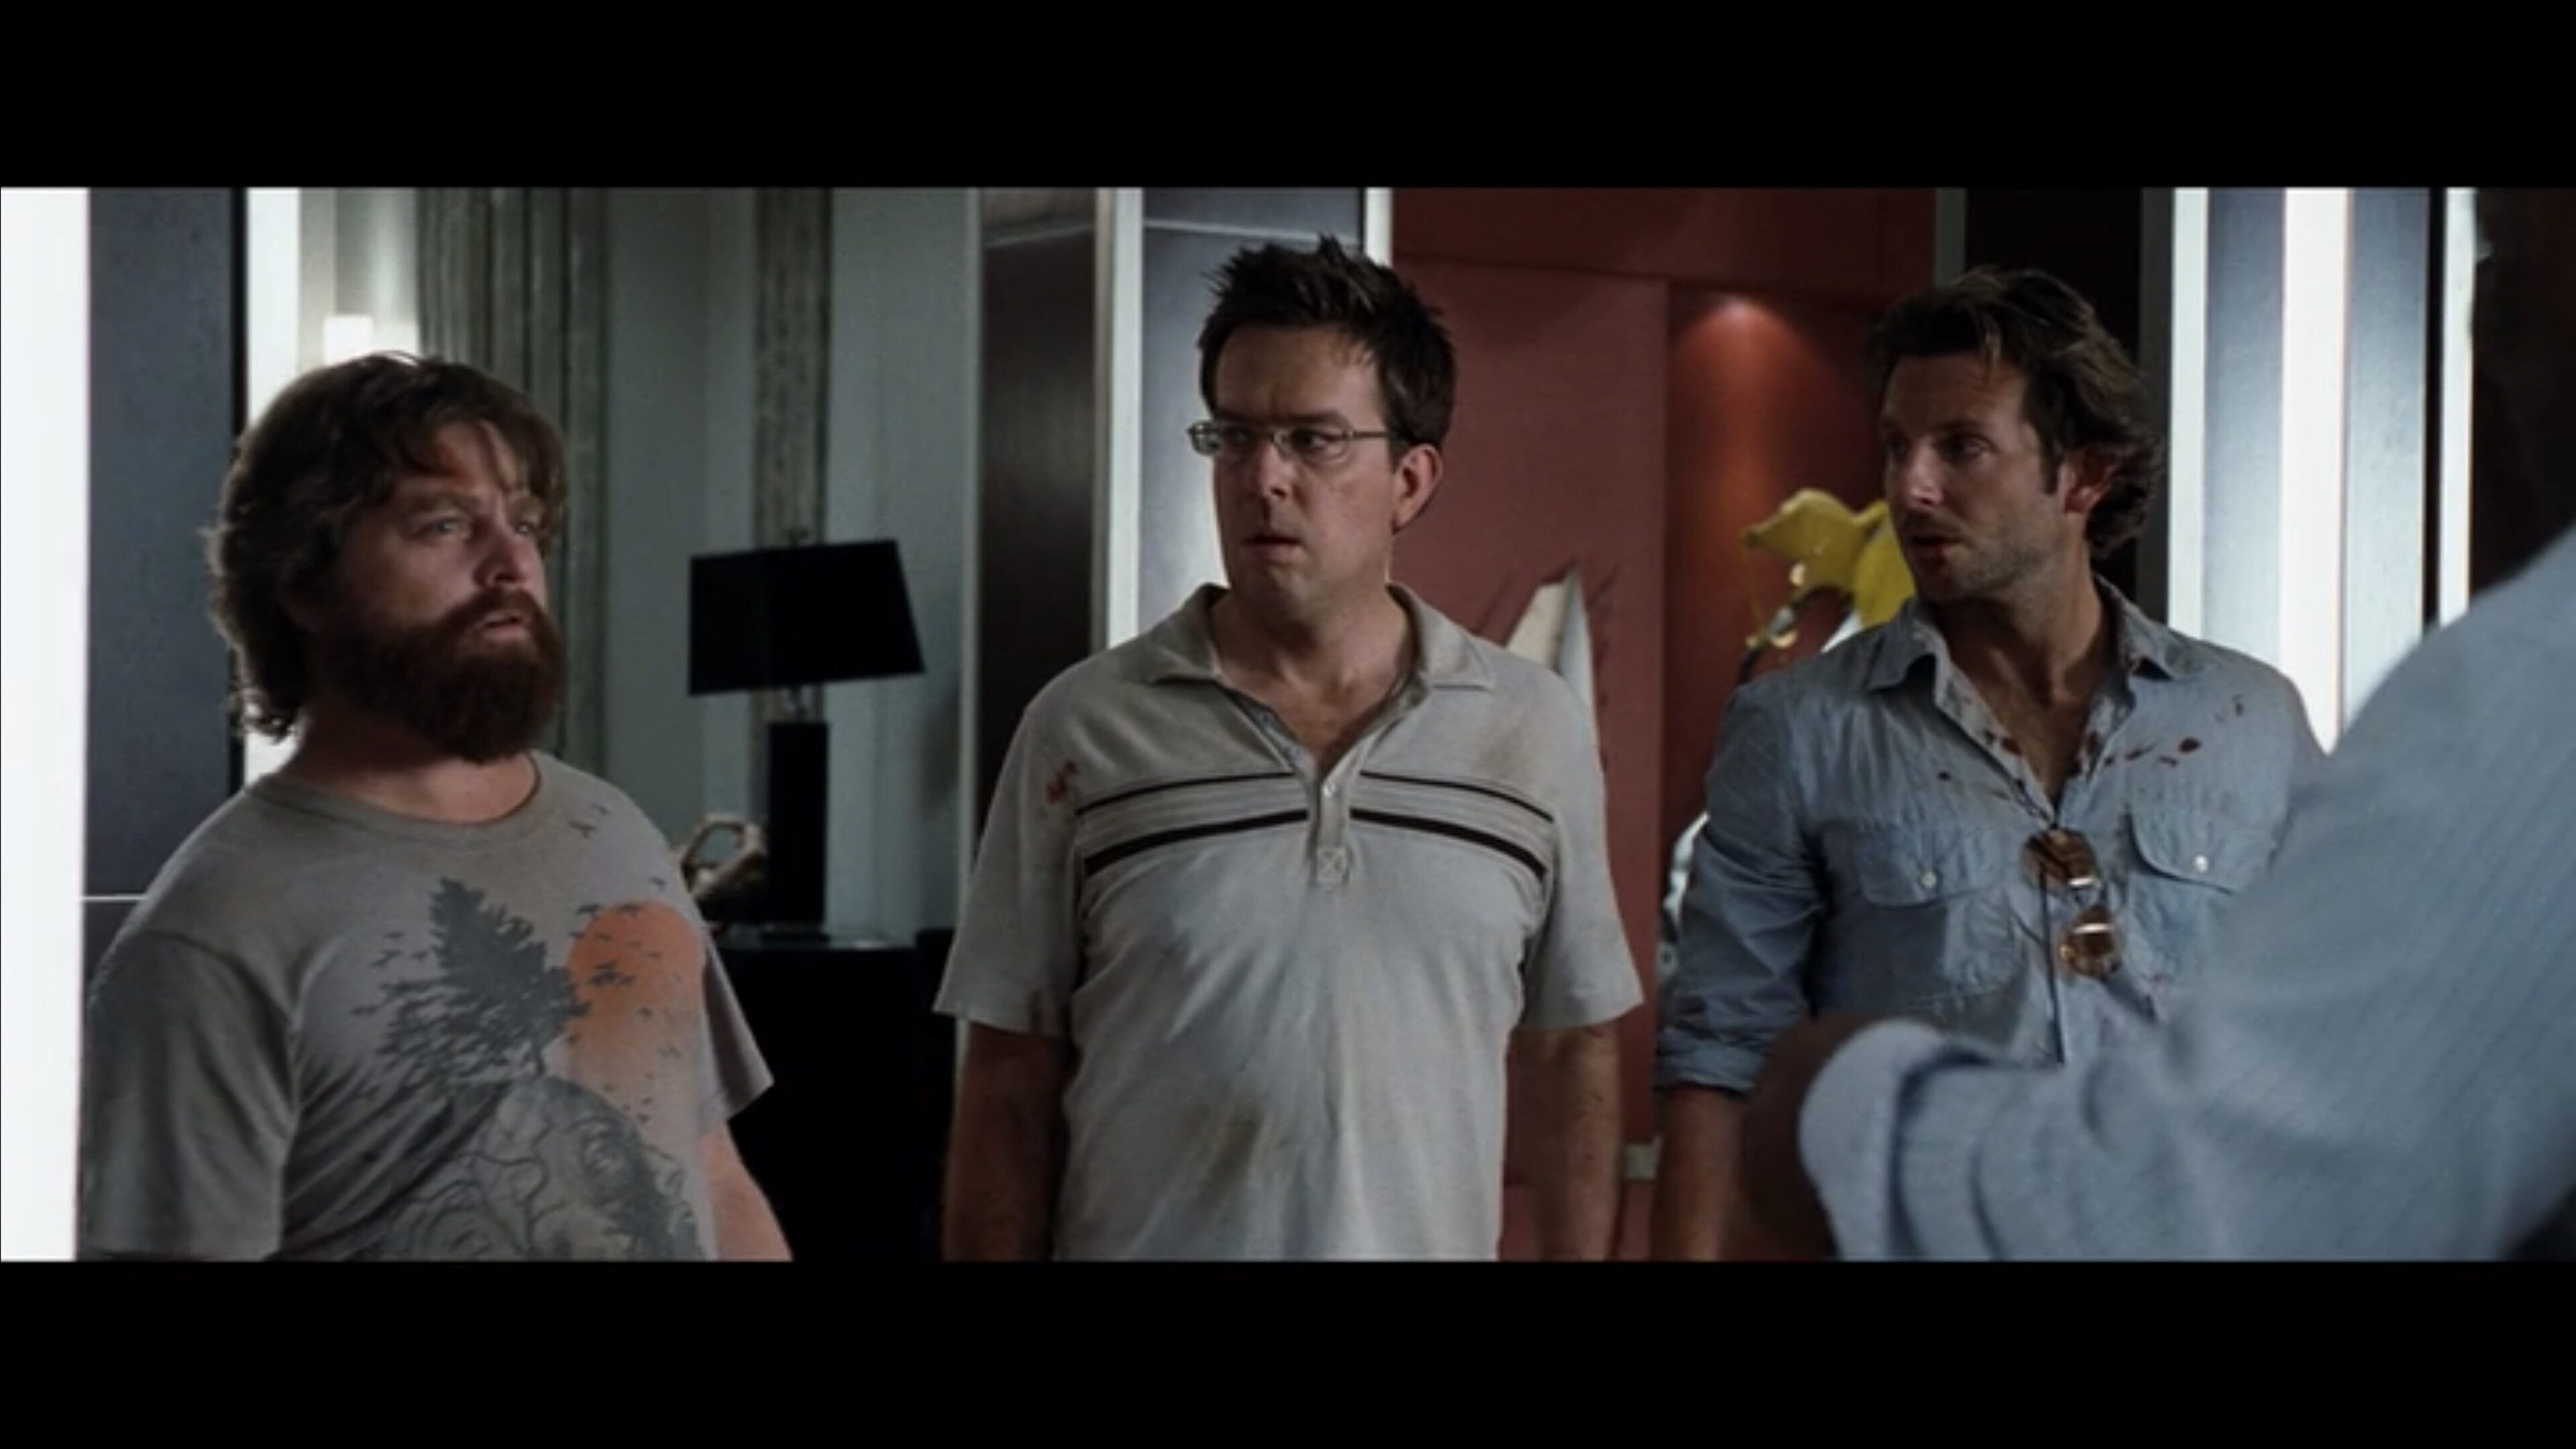
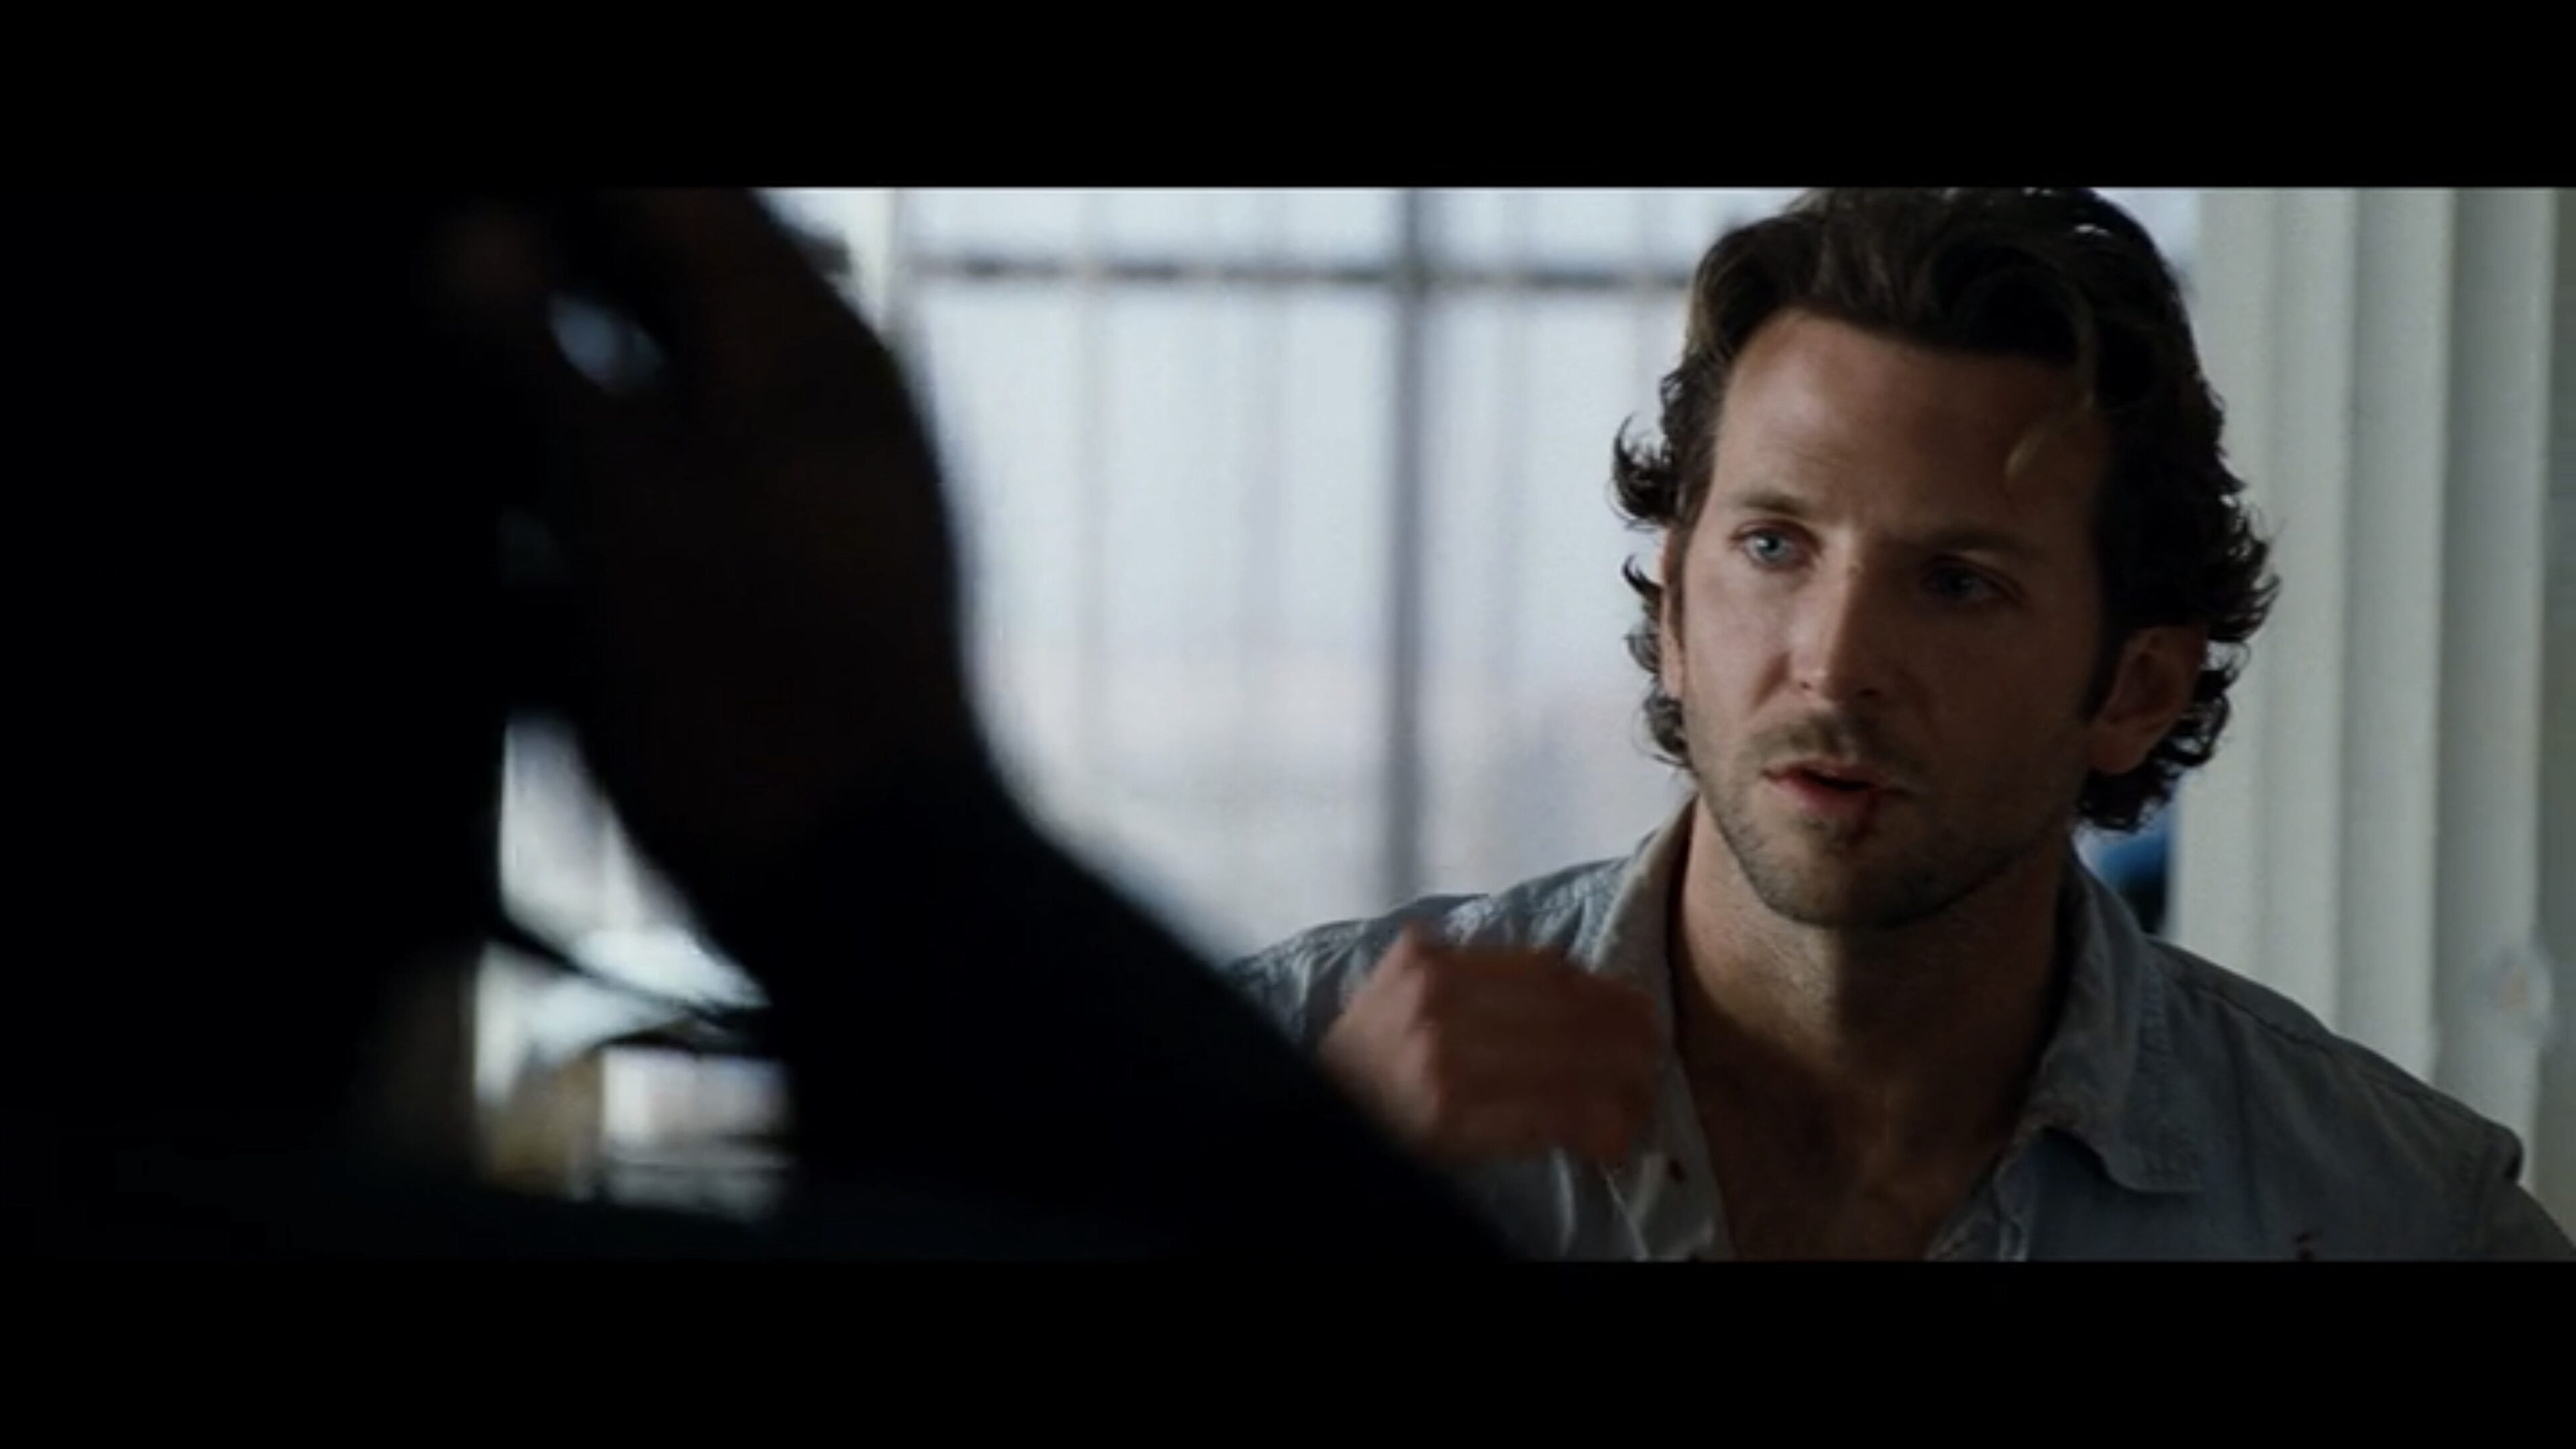
The mid shots
Once the master is shot you move in to the mid shot. A mid shot can be of two people (“Two-shot”) or three people (“Three-shot”), or just one person (a “Single” or “Solo”):
The actors repeat the entire scene again in a mid shot. Those not in the frame will stand at their positions off screen and feed the actor lines so it will flow naturally.
You need good actors to repeat the dialogues every single time. Also, the emotional performance intensifies from master to the final close up, so actors get a chance to warm up as well.
Here are more mid shots from the same scene:
Of course, a mid shot might need a reverse angle (called a “reverse shot”) to see who the actor is talking to:
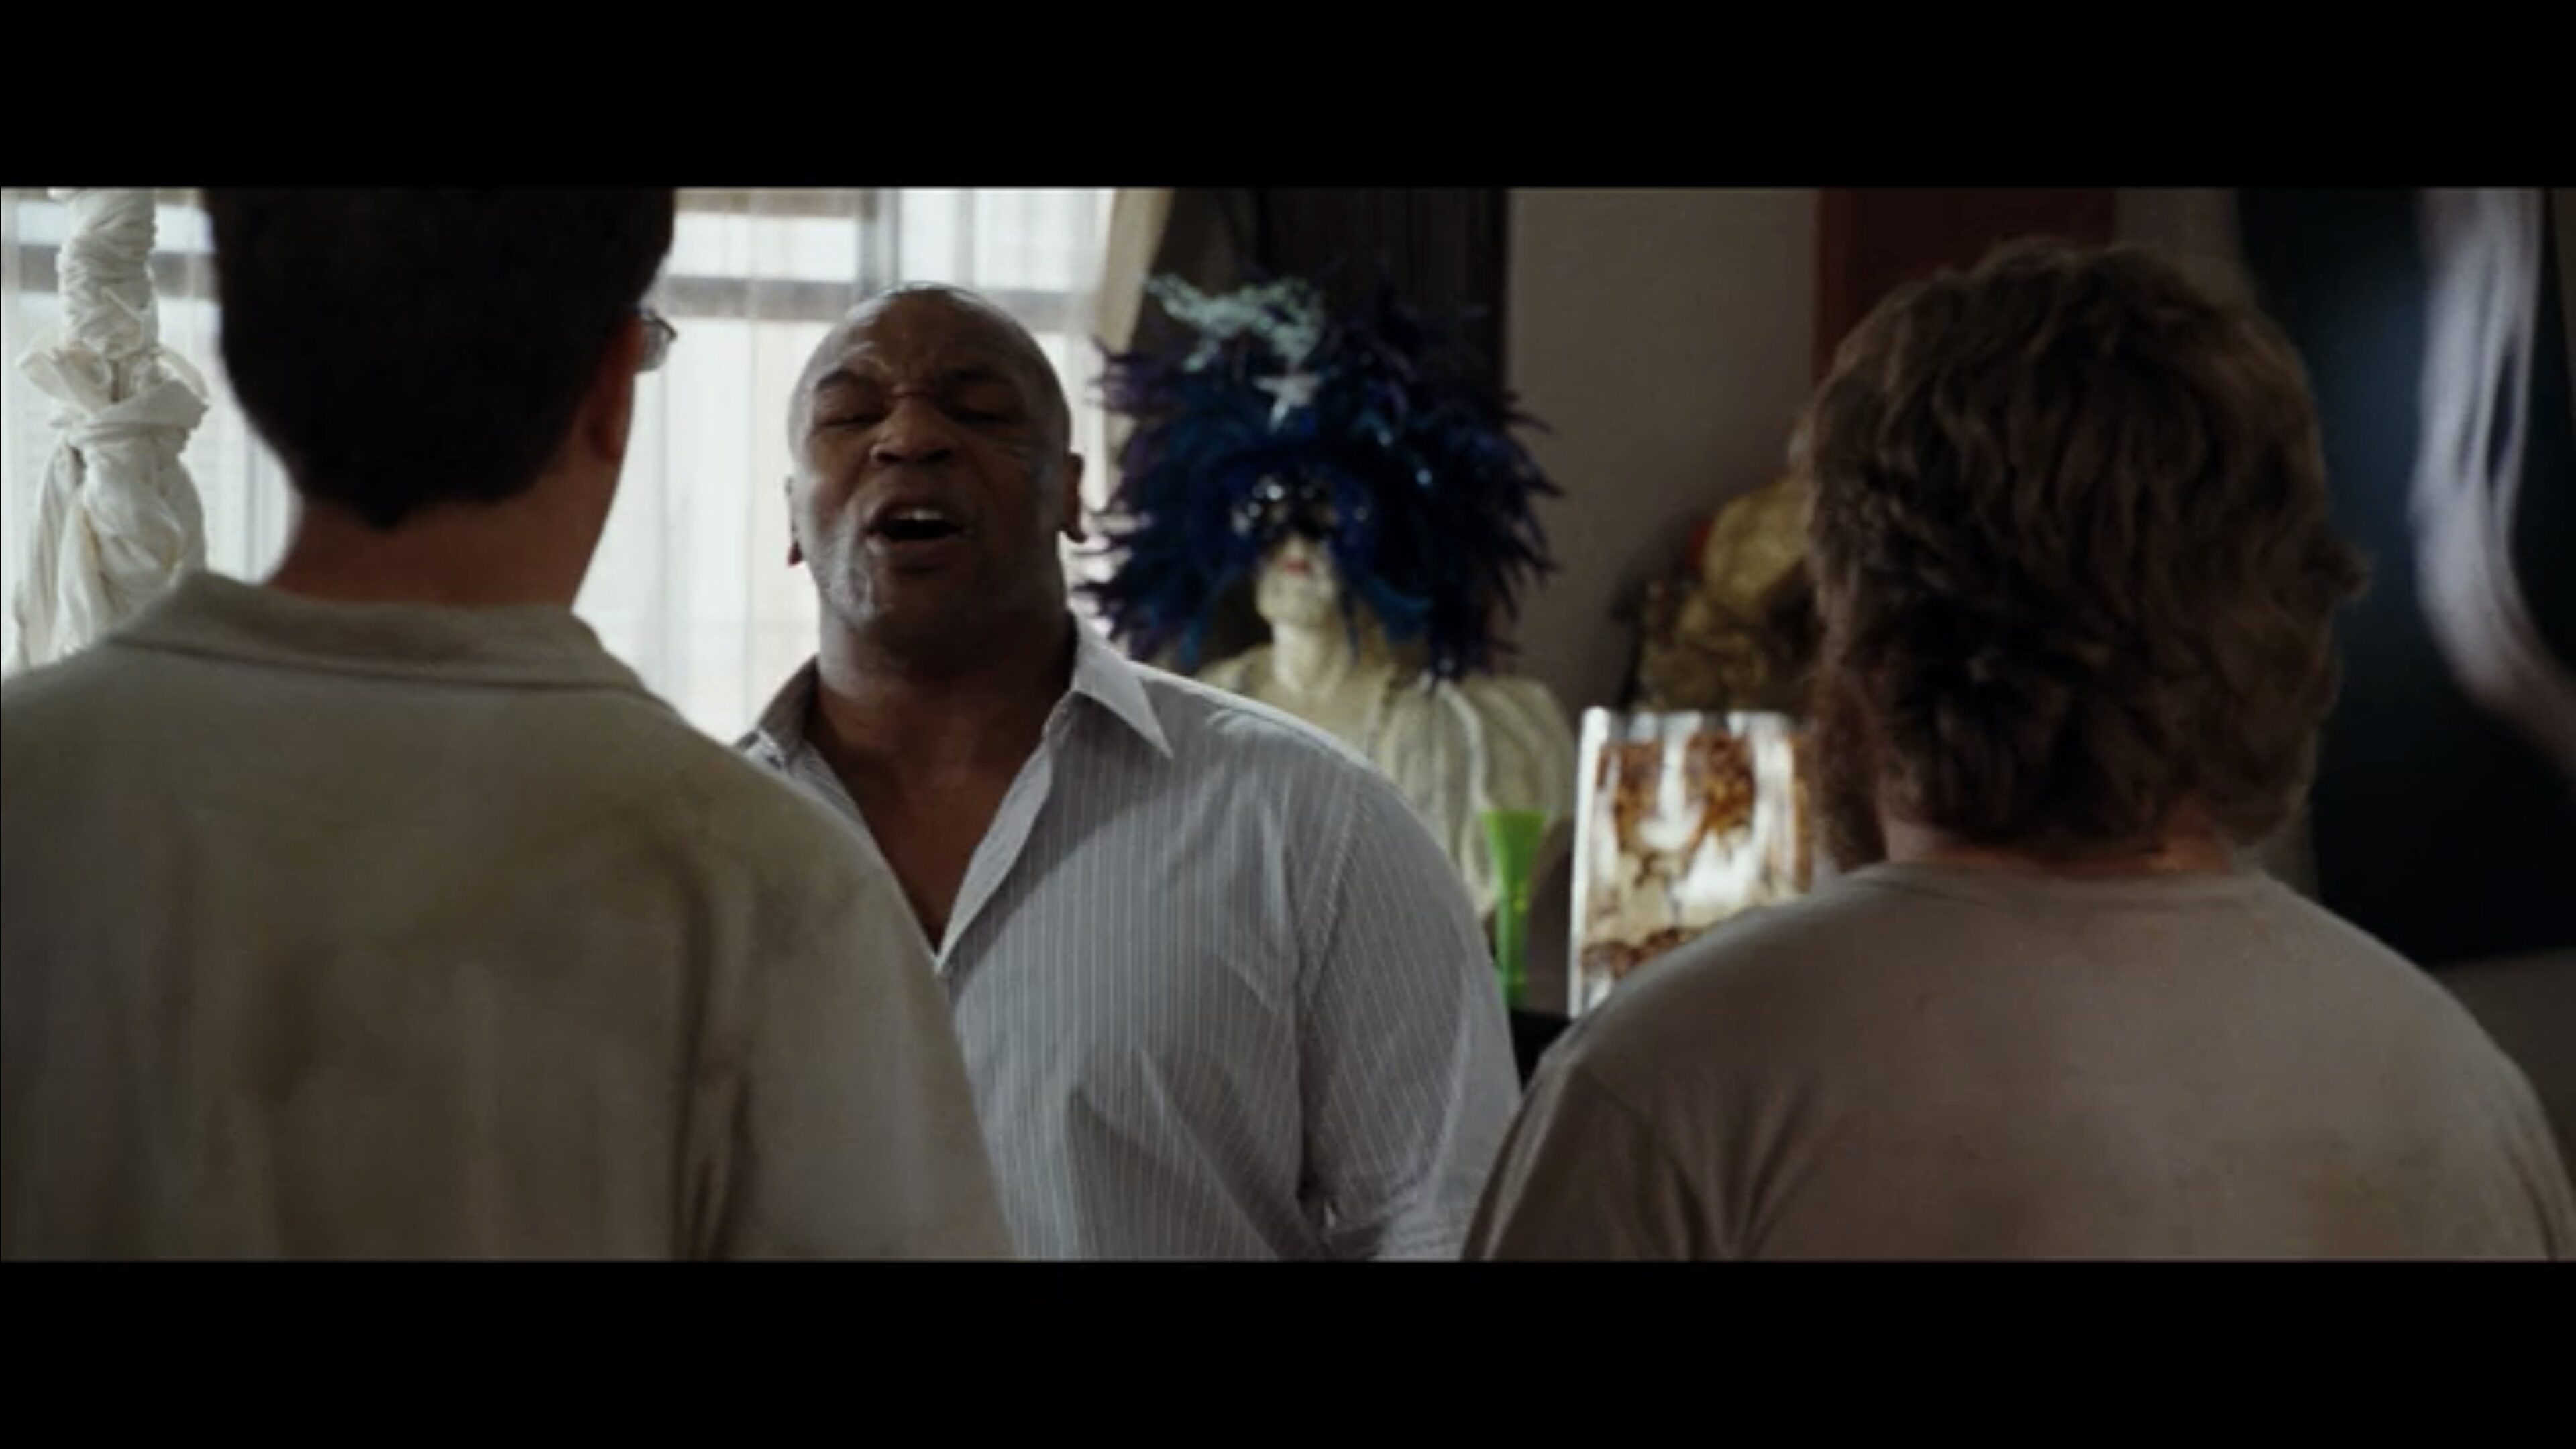
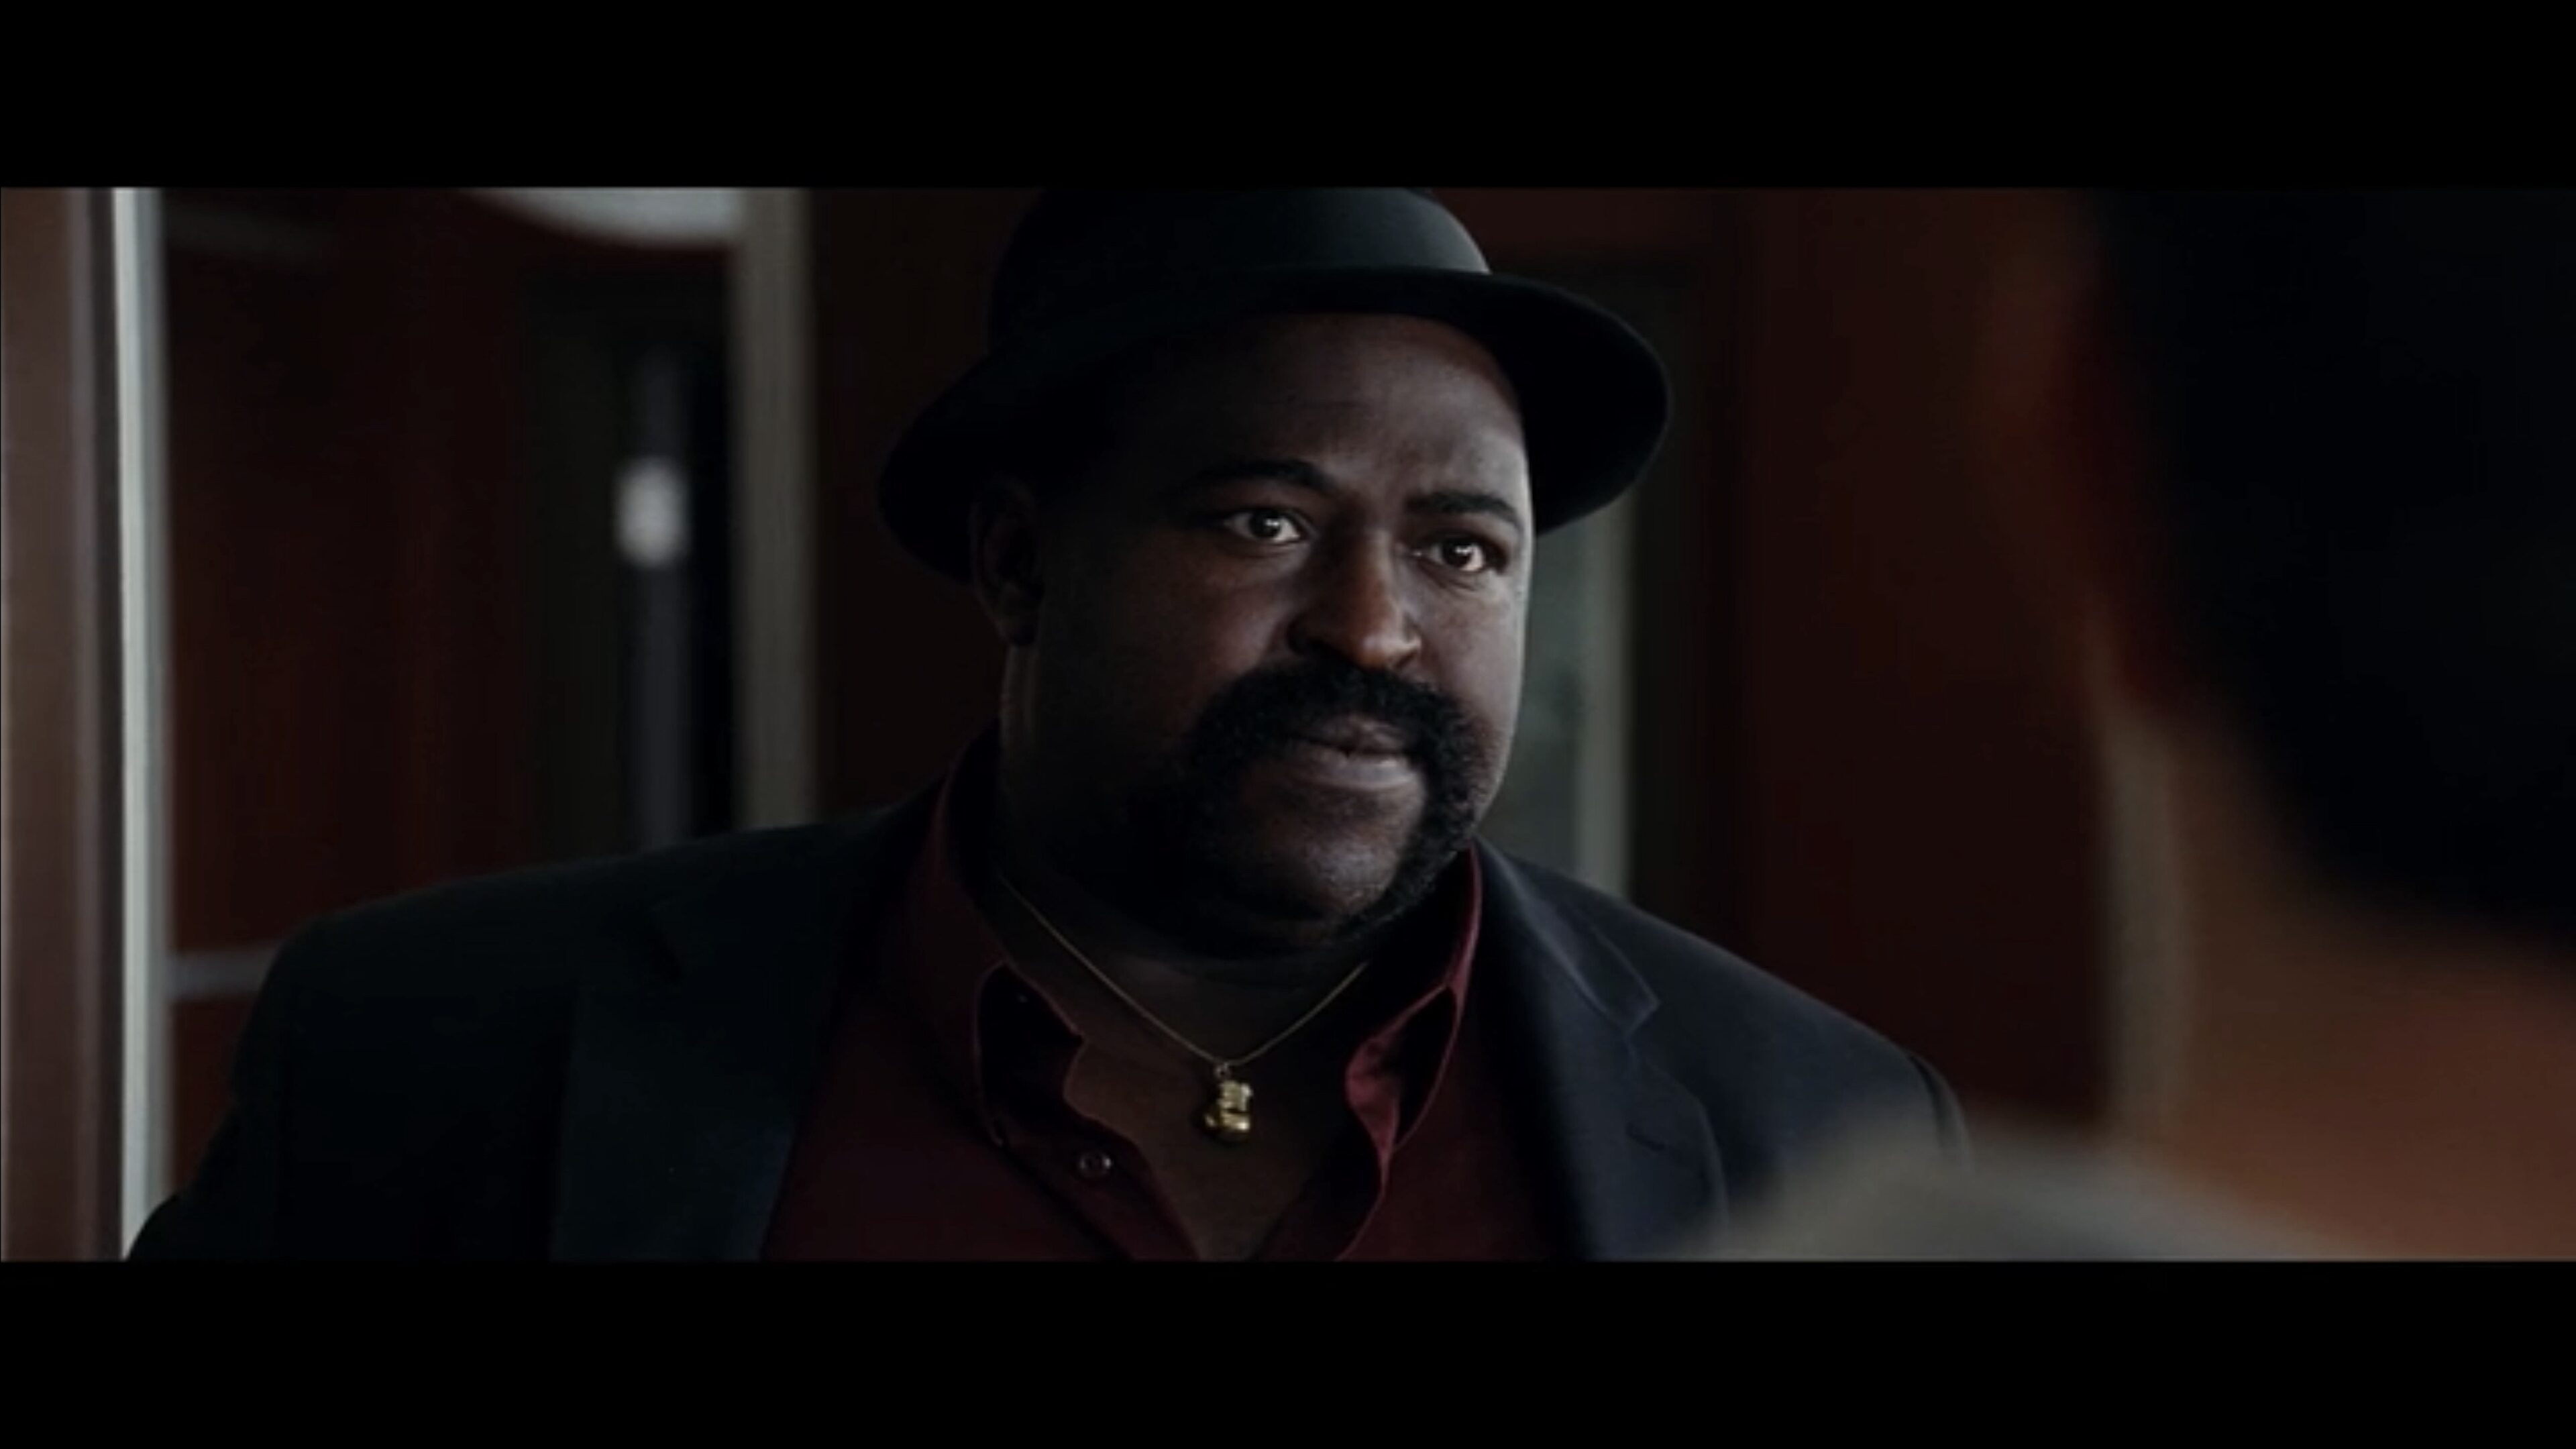
Close-ups
Close-ups are used to eliminate distractions so the audience is only focused on what the character is saying or emoting at that point.
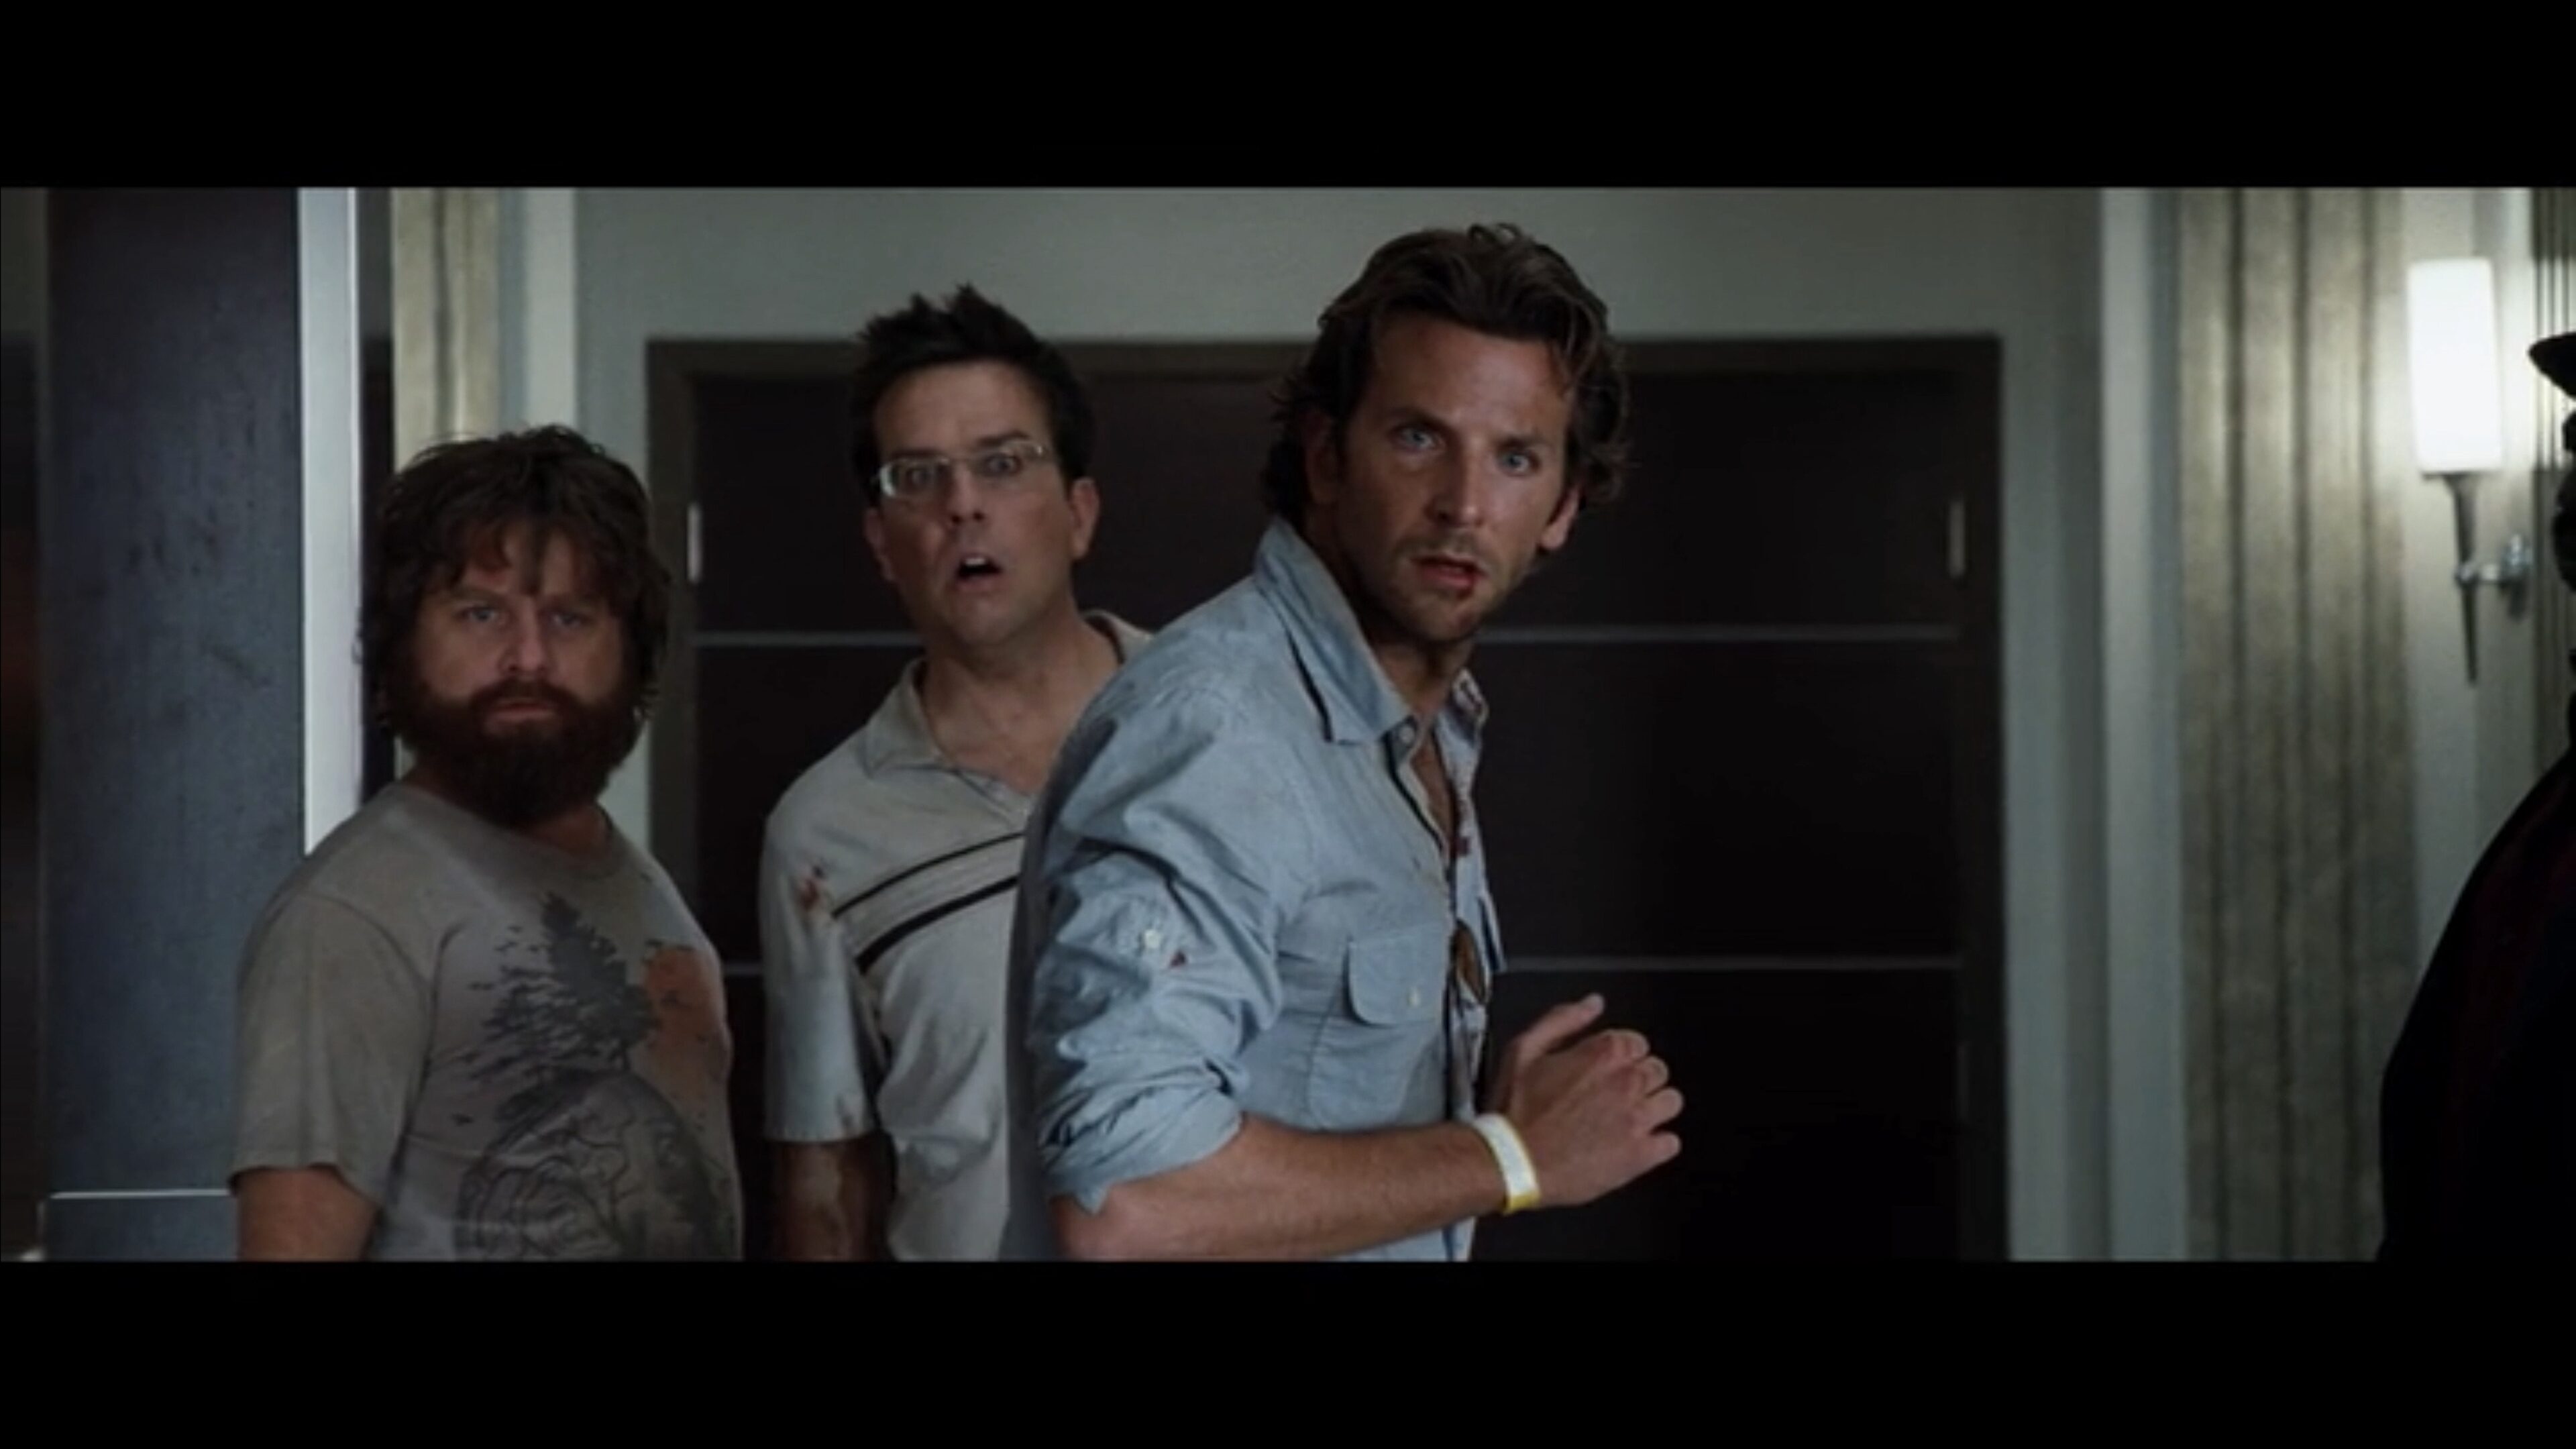
The entire scene need not be repeated, though some directors and actors prefer it. Here’s a close up of Mike Tyson:
Typically you might have a reverse angle of the other character as well, but in this scene the director chose only one close up. This scene was all about Mike Tyson.
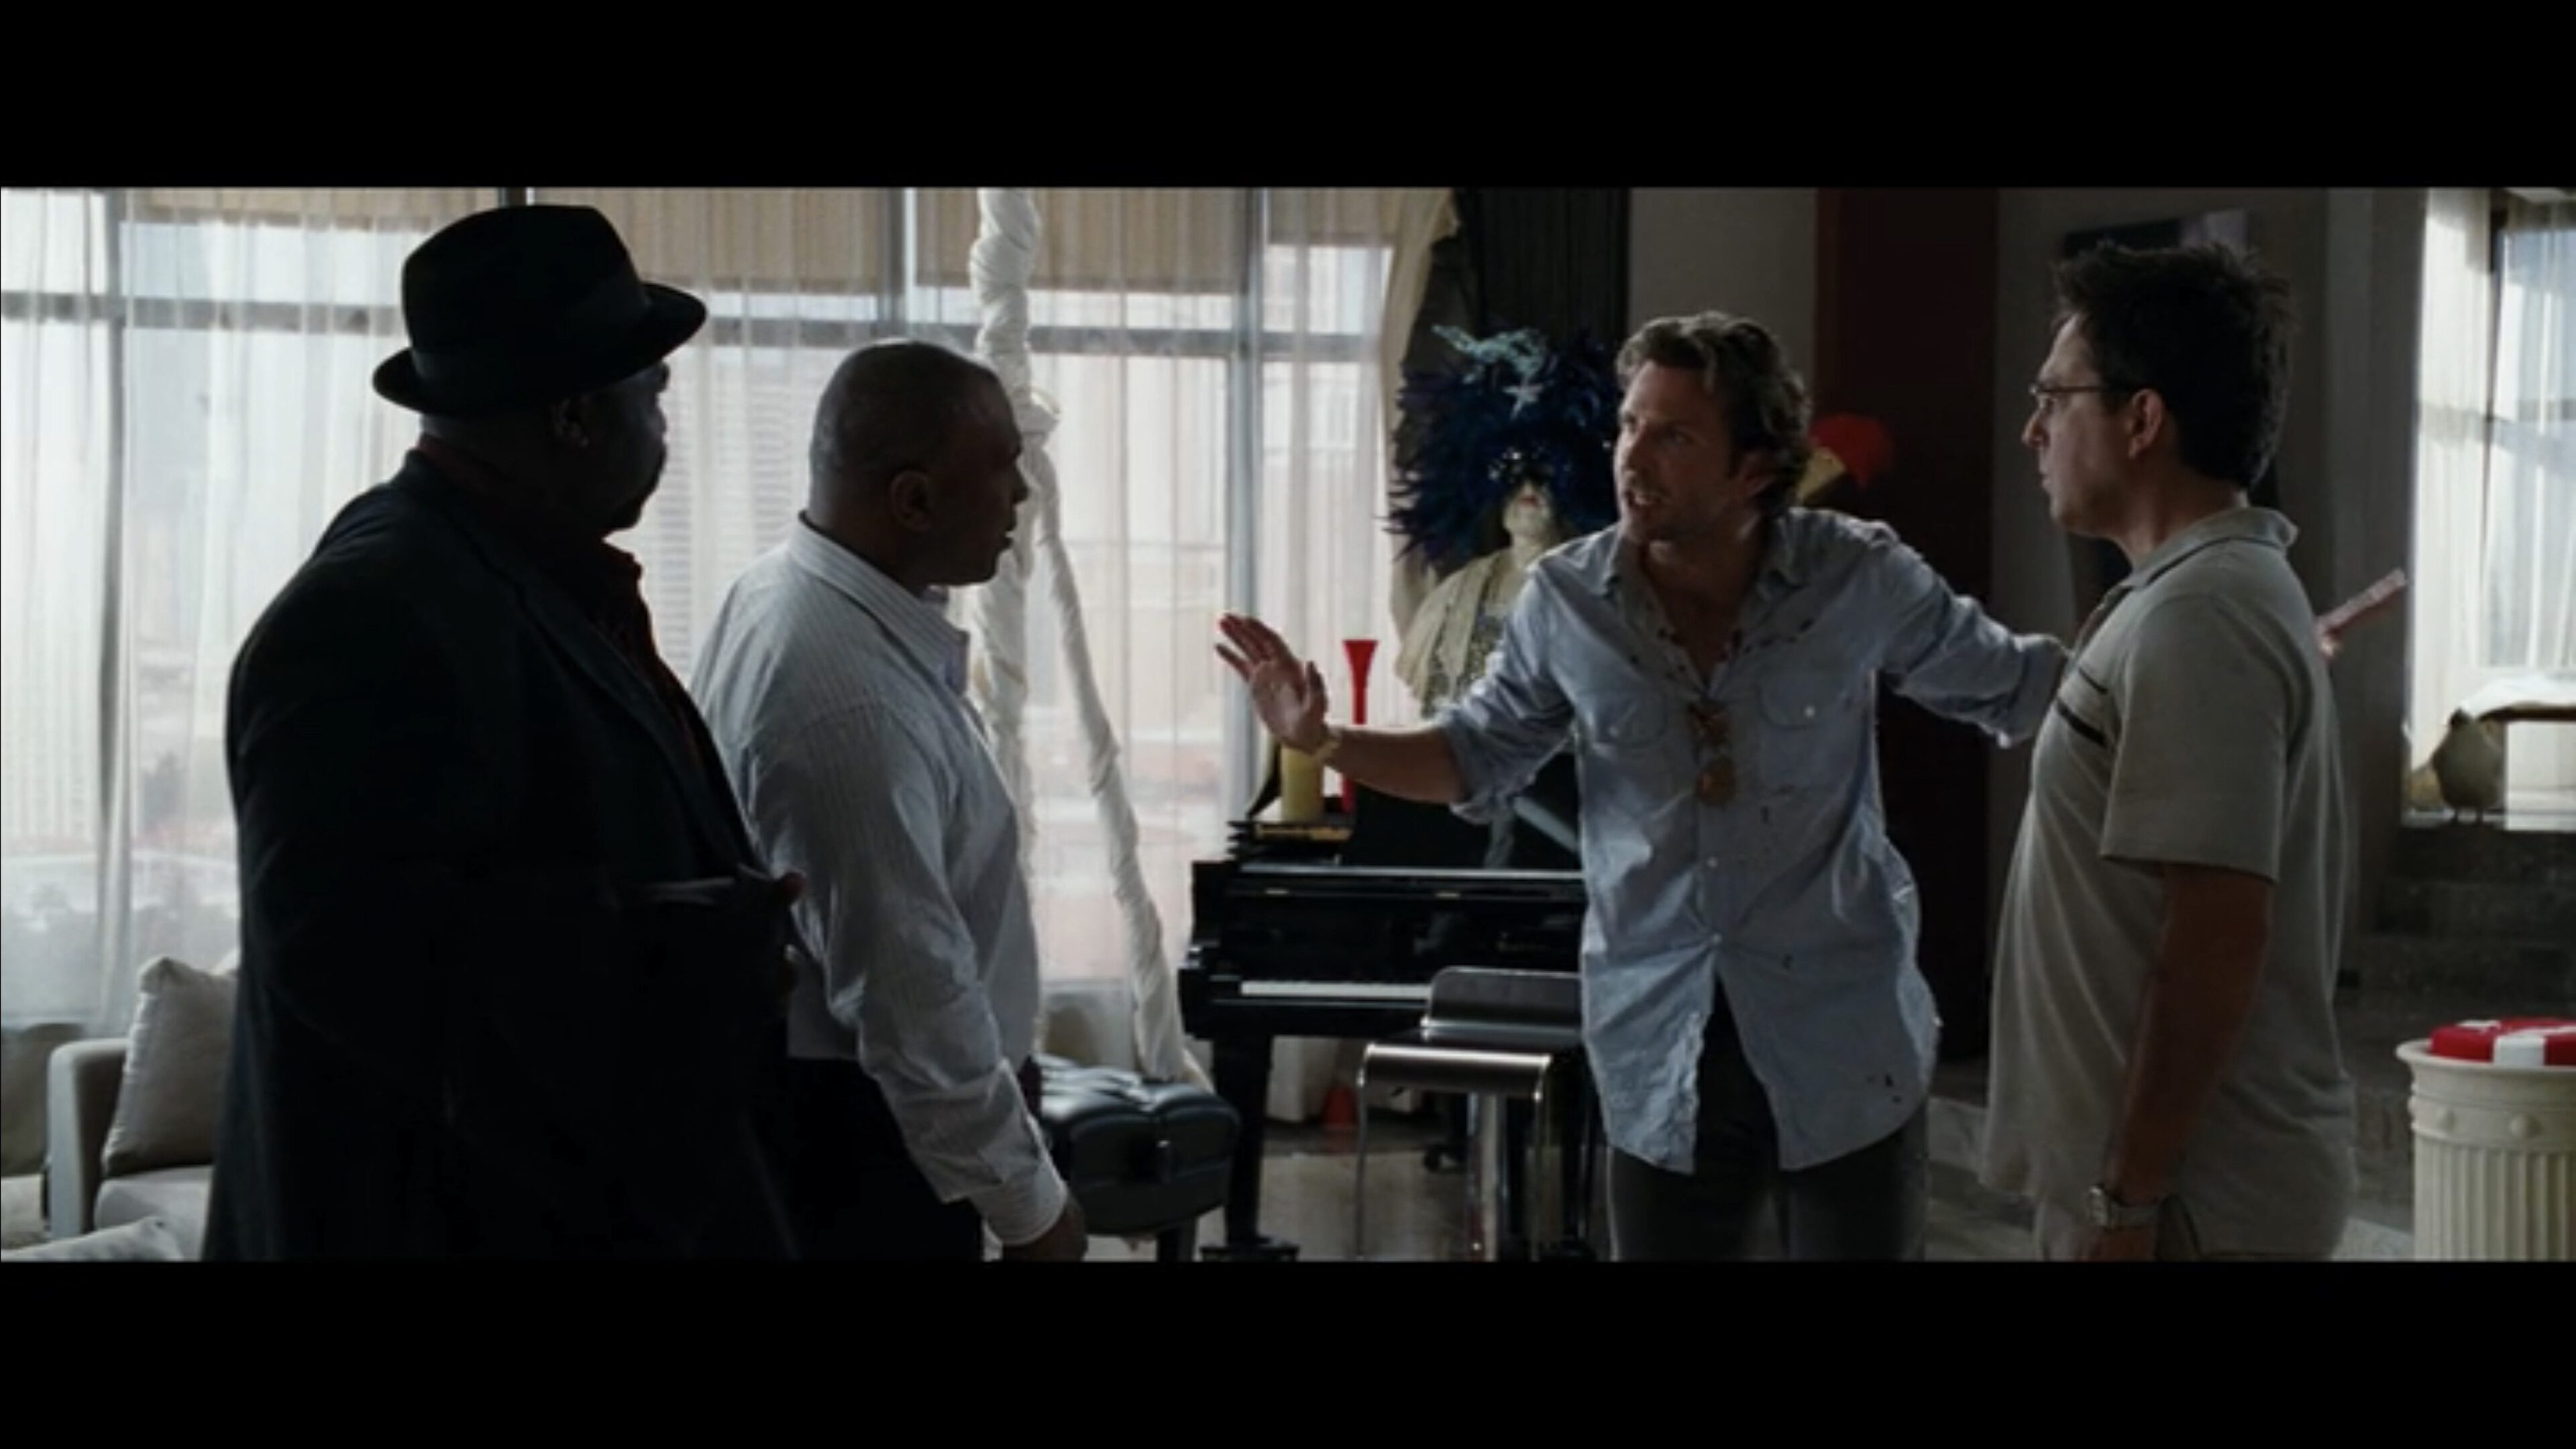
Over the shoulder (OTS) shots
Over the shoulder shots are used for confrontations. The back of one actor is always in the frame, so the audience is always aware of his or her presence.
Think of it in this way: The actor we see can’t get away from the other’s presence.
When you have an OTS and its reverse, it becomes a direct confrontation:
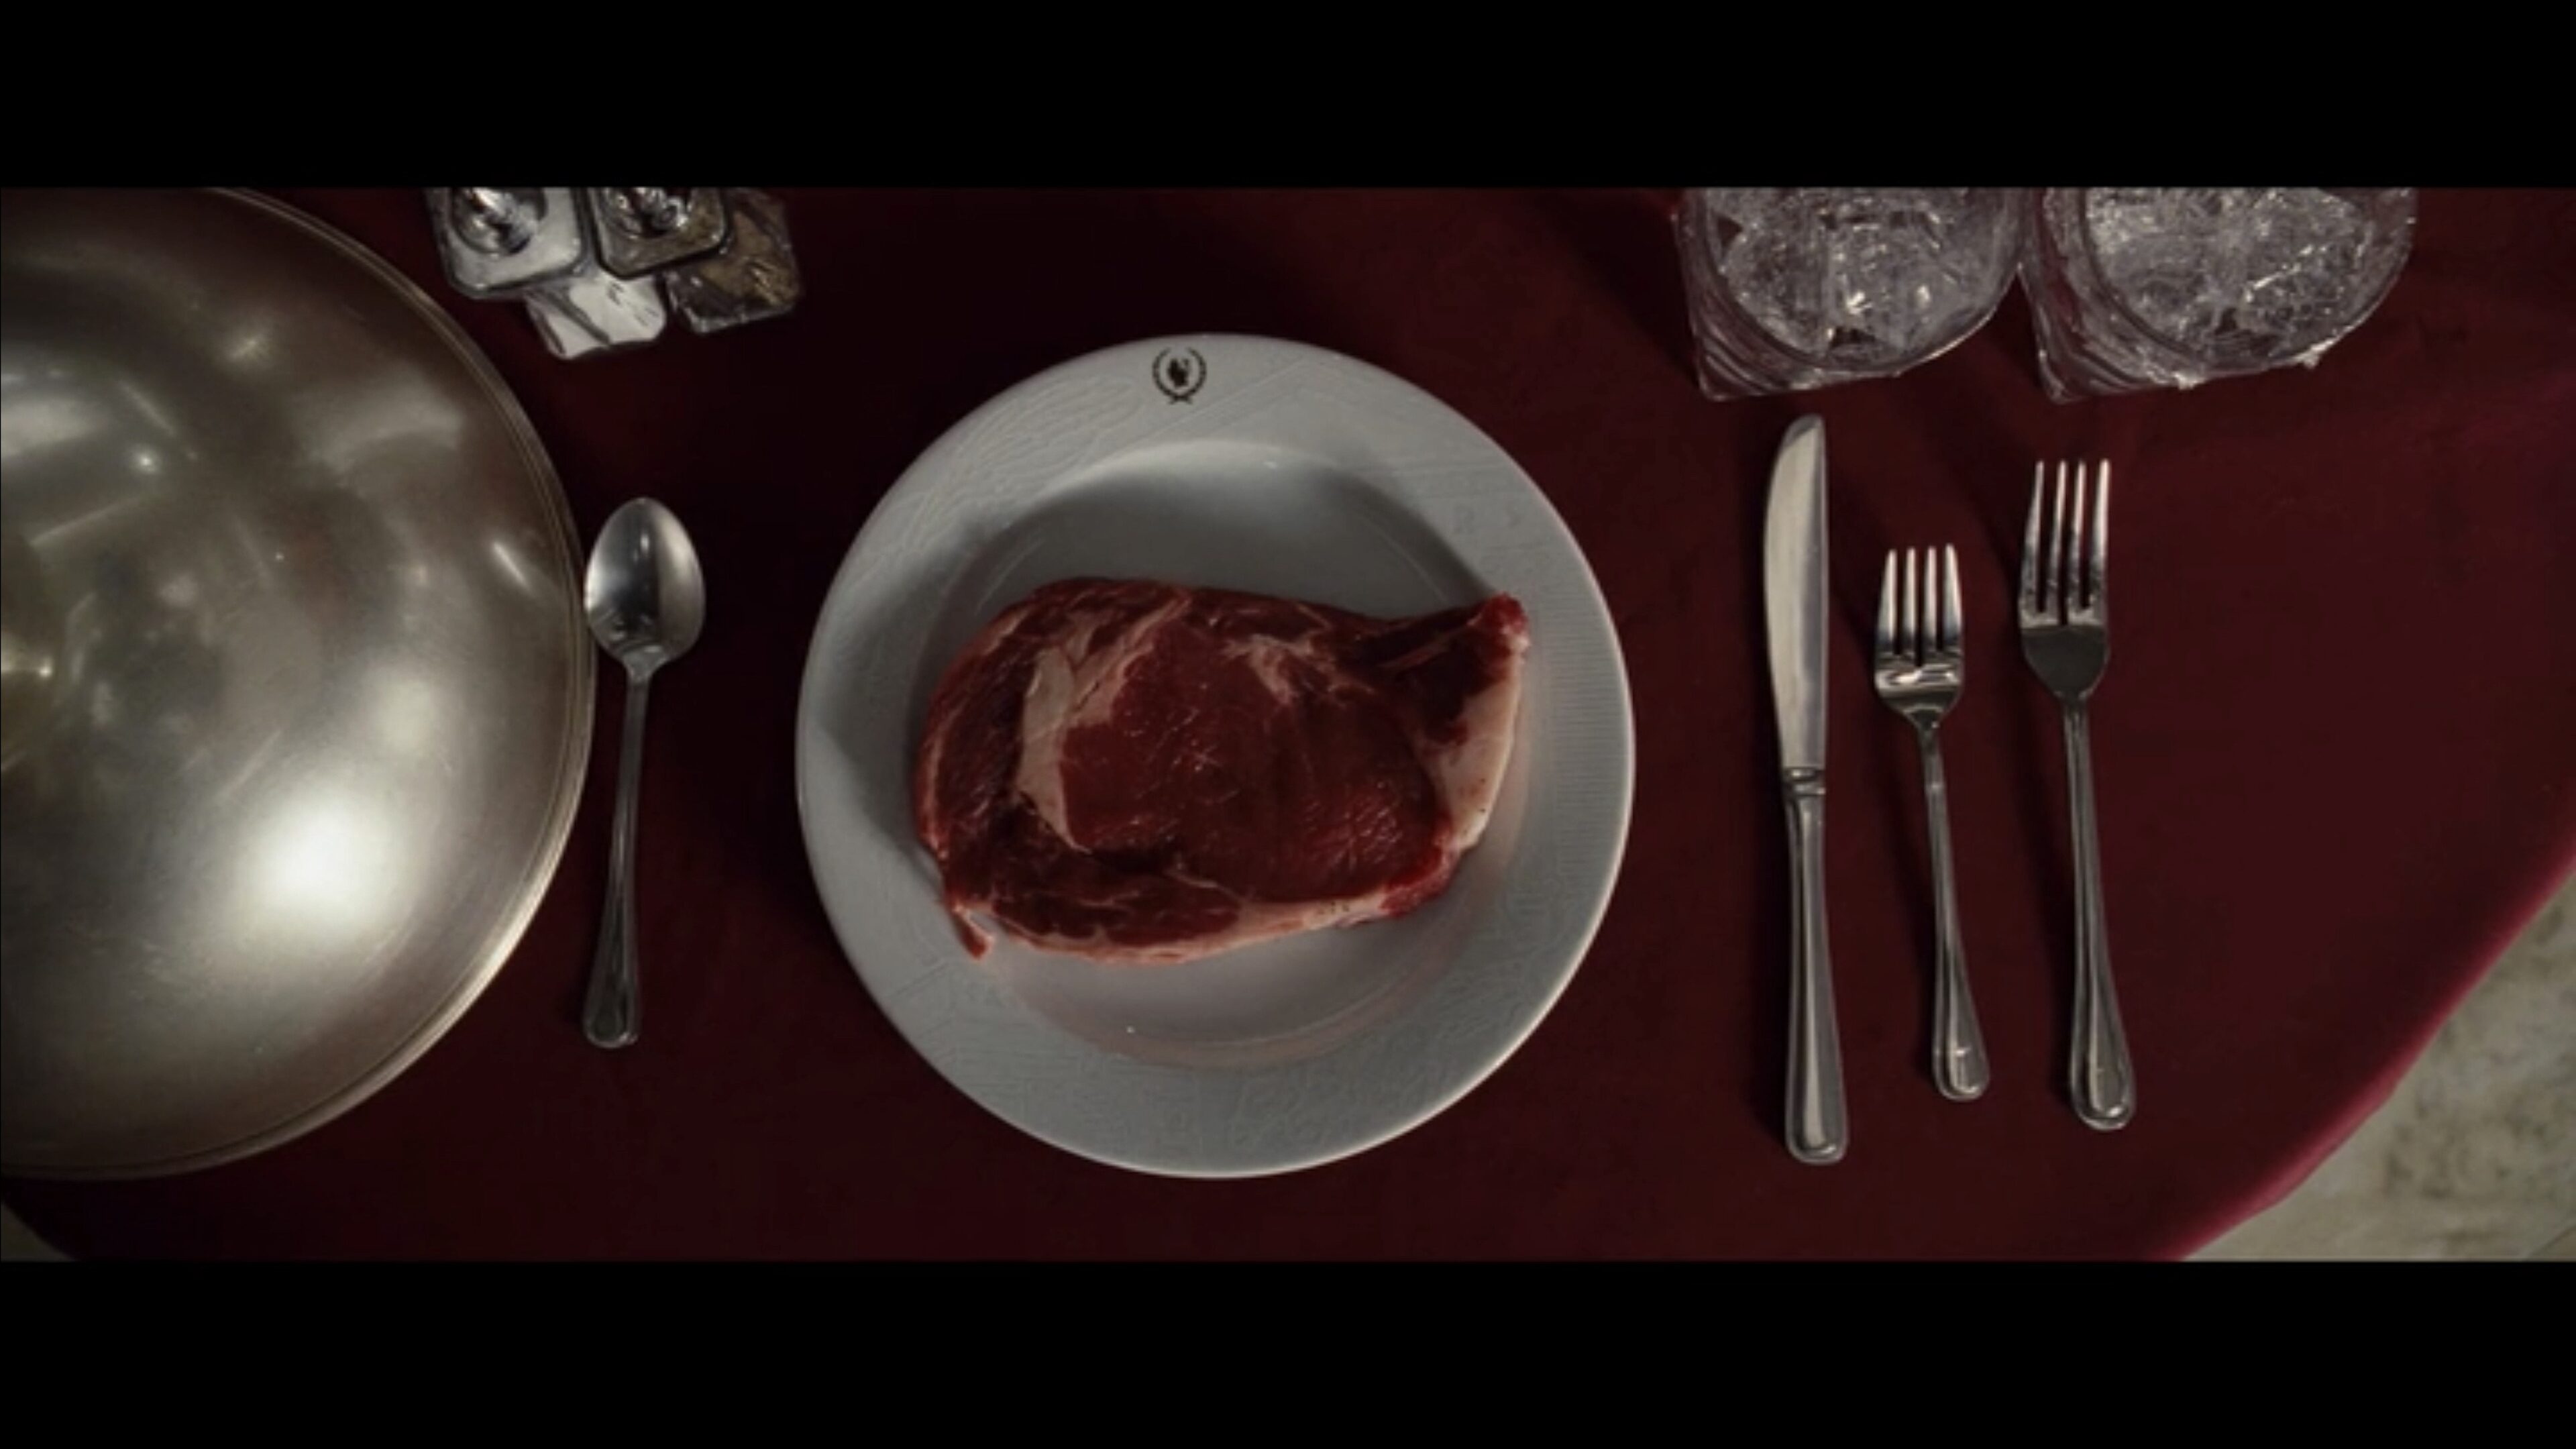
Inserts
Finally, we have inserts (also called “cutaways”), just like in the BBC System.
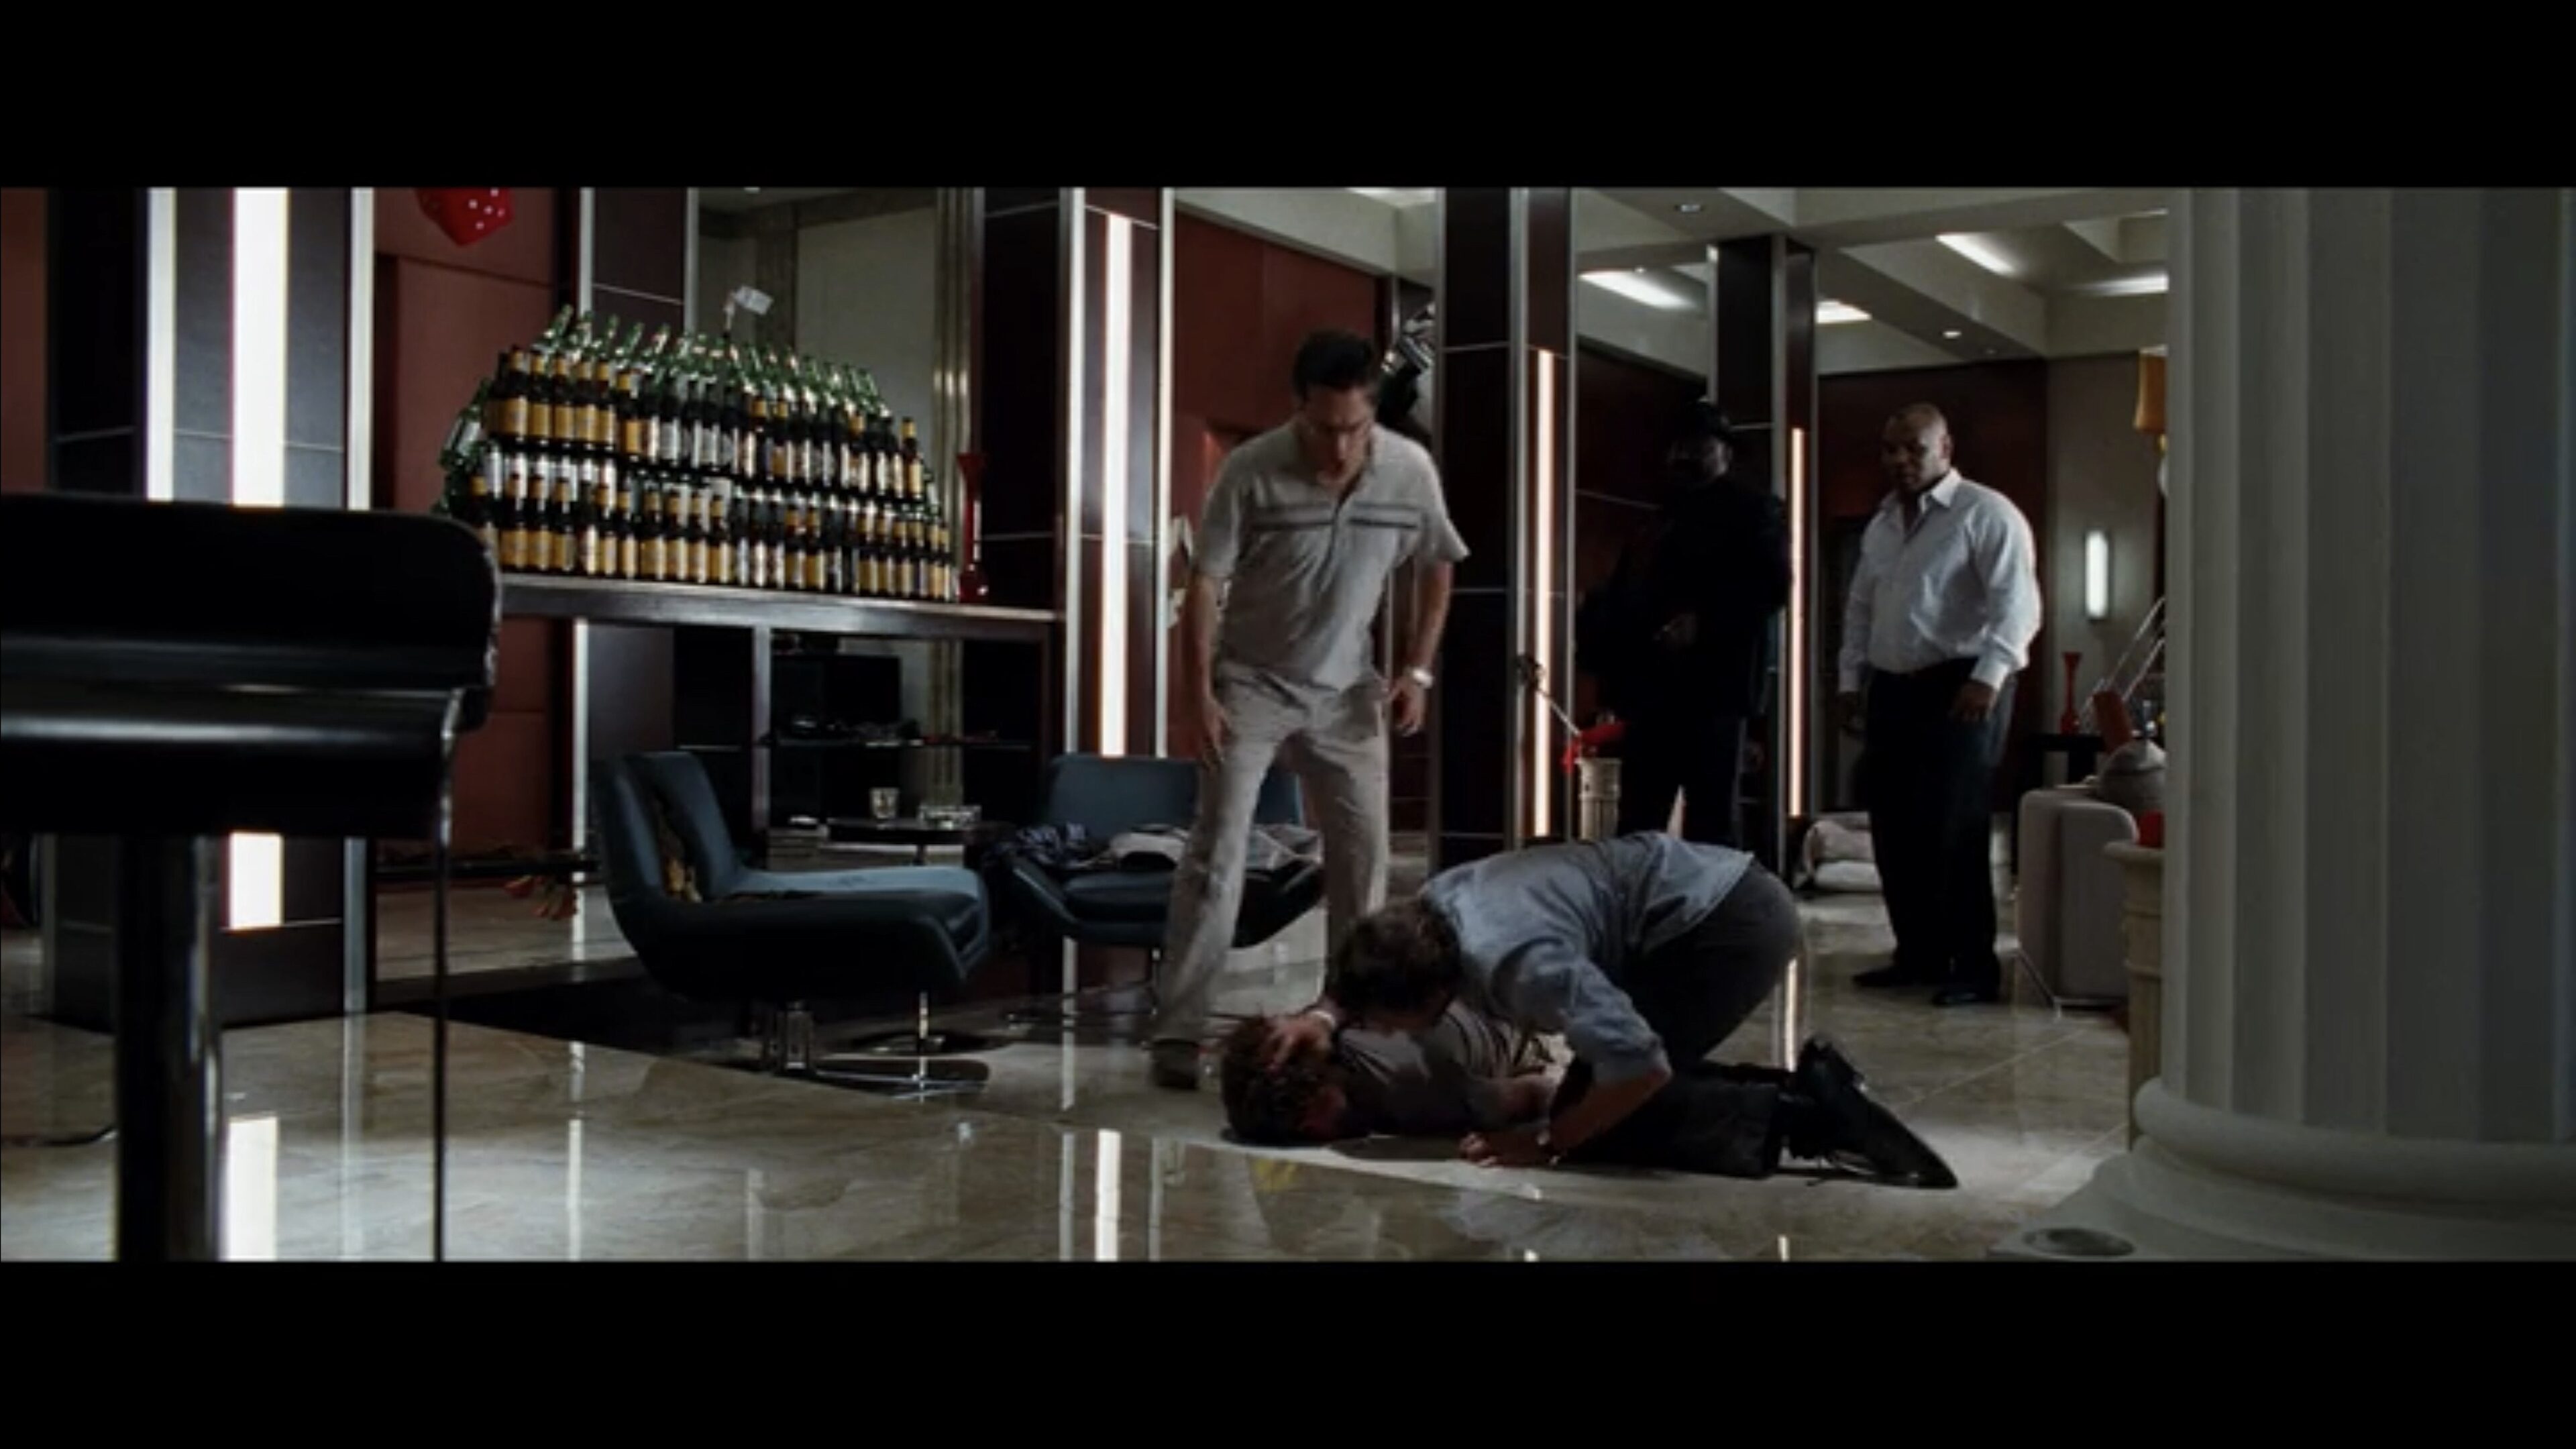
Sometimes you need information on a detail or just need some cutaway shot to smooth over a jump cut. In this particular scene there aren’t any, but the shot right after it is a type of cutaway:
A reaction shot can also be a cutaway:
The disadvantage of the Hollywood system is that you need to repeat the action multiple times, and you’ll be shooting a lot of footage.
A simple typical two-person dialogue can involve between seven to ten shots. The advantage is the director gets a lot of choices in the edit. One shot cannot make or break your scene, that’s the idea.
What if you’re totally out of time to shoot coverage? There’s only one solution for that:
The one-take shot
This is my favorite type of shot, and also the hardest to pull off. You shoot the entire scene or action in one shot (one take).
To make things more dynamic you could include movement of the actors (blocking) and/or the camera. Whatever works for the scene.
You really need a good crew and actors to nail a one-take shot. The longer the scene is, the harder this gets.
The best way to learn how it’s done is to study the master himself, Orson Welles, in this video I put together on his 12-minute long take in Touch of Evil:
Well, that’s it. Three surefire techniques to get you through the coverage block.
Now go film something!