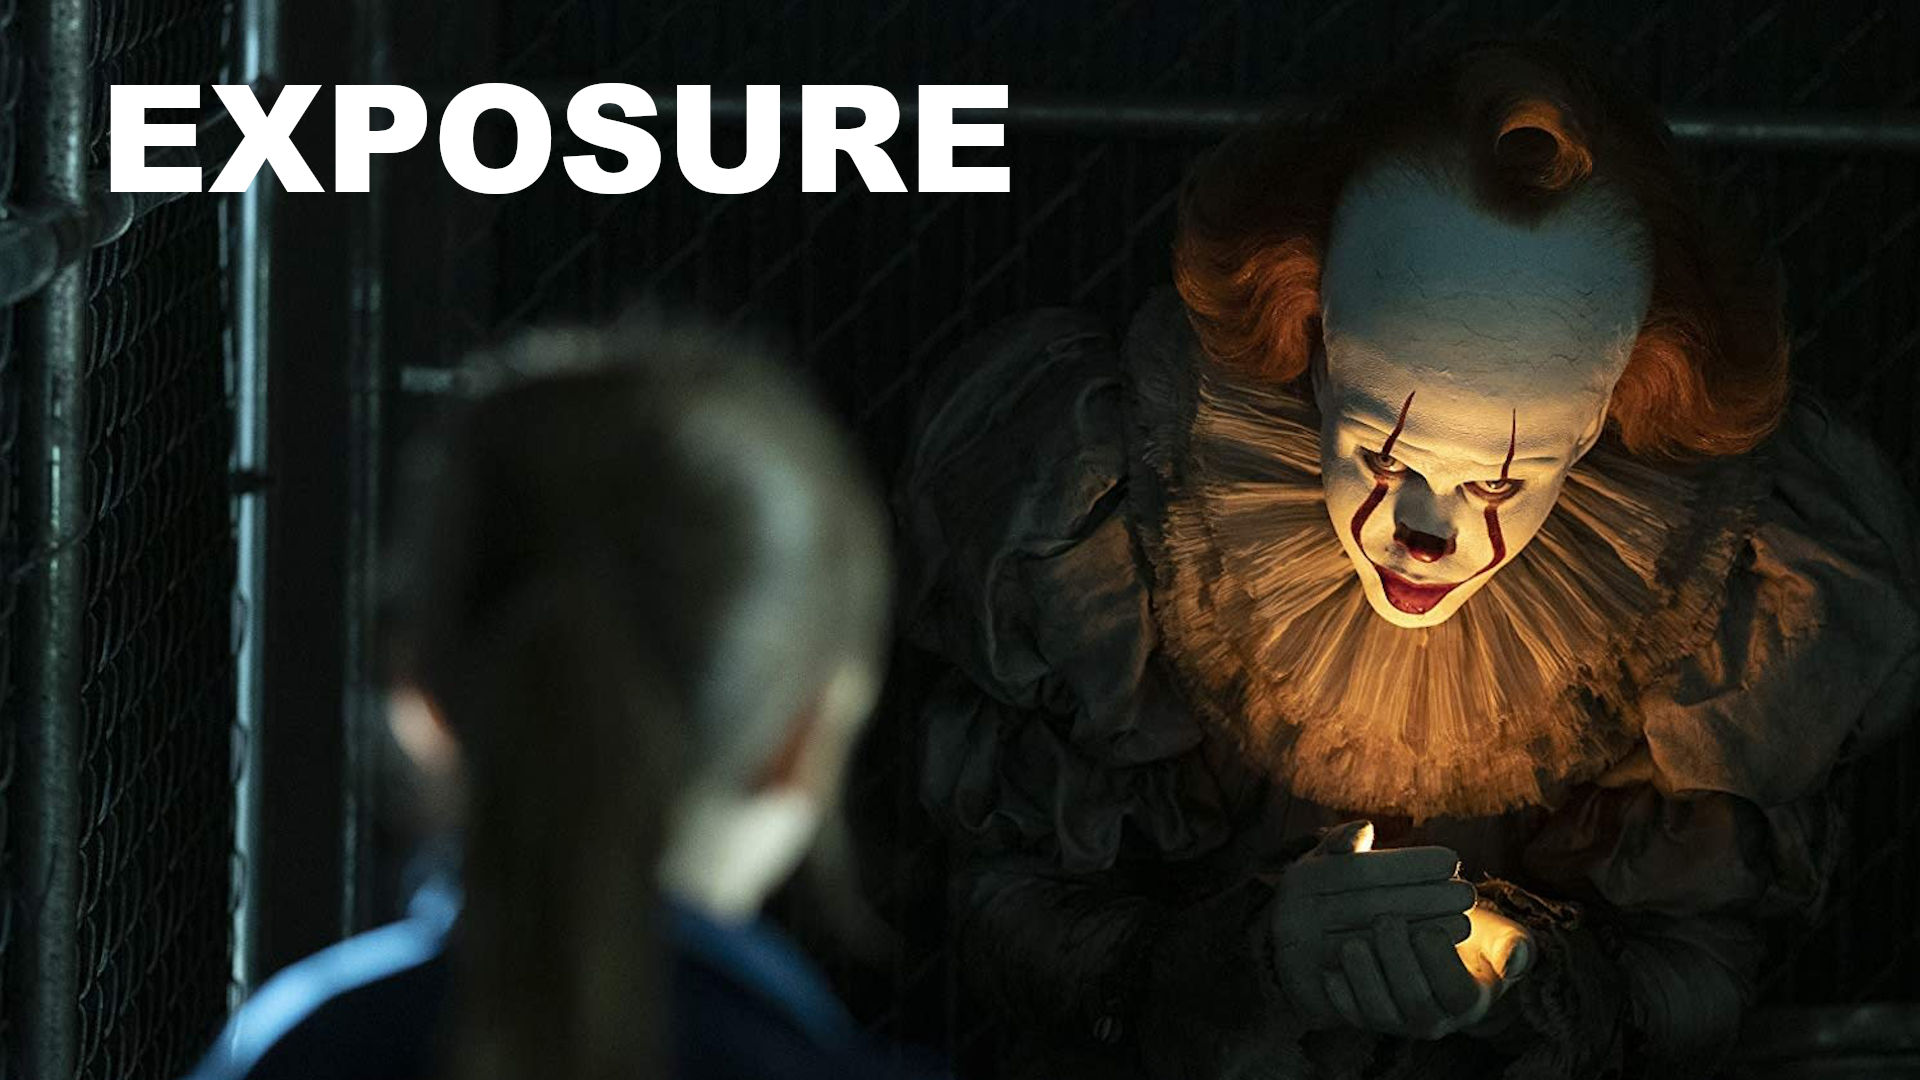
In this article and video I’ll show you how to properly expose an image, the way cinematographers do it. It’s a completely different way of thinking:

Simple exposure
Let’s start with the simplest setup possible:

There’s only one light falling on it from behind, and it’s pretty even. You know it’s even by looking at the waveform monitor, it’s flat:
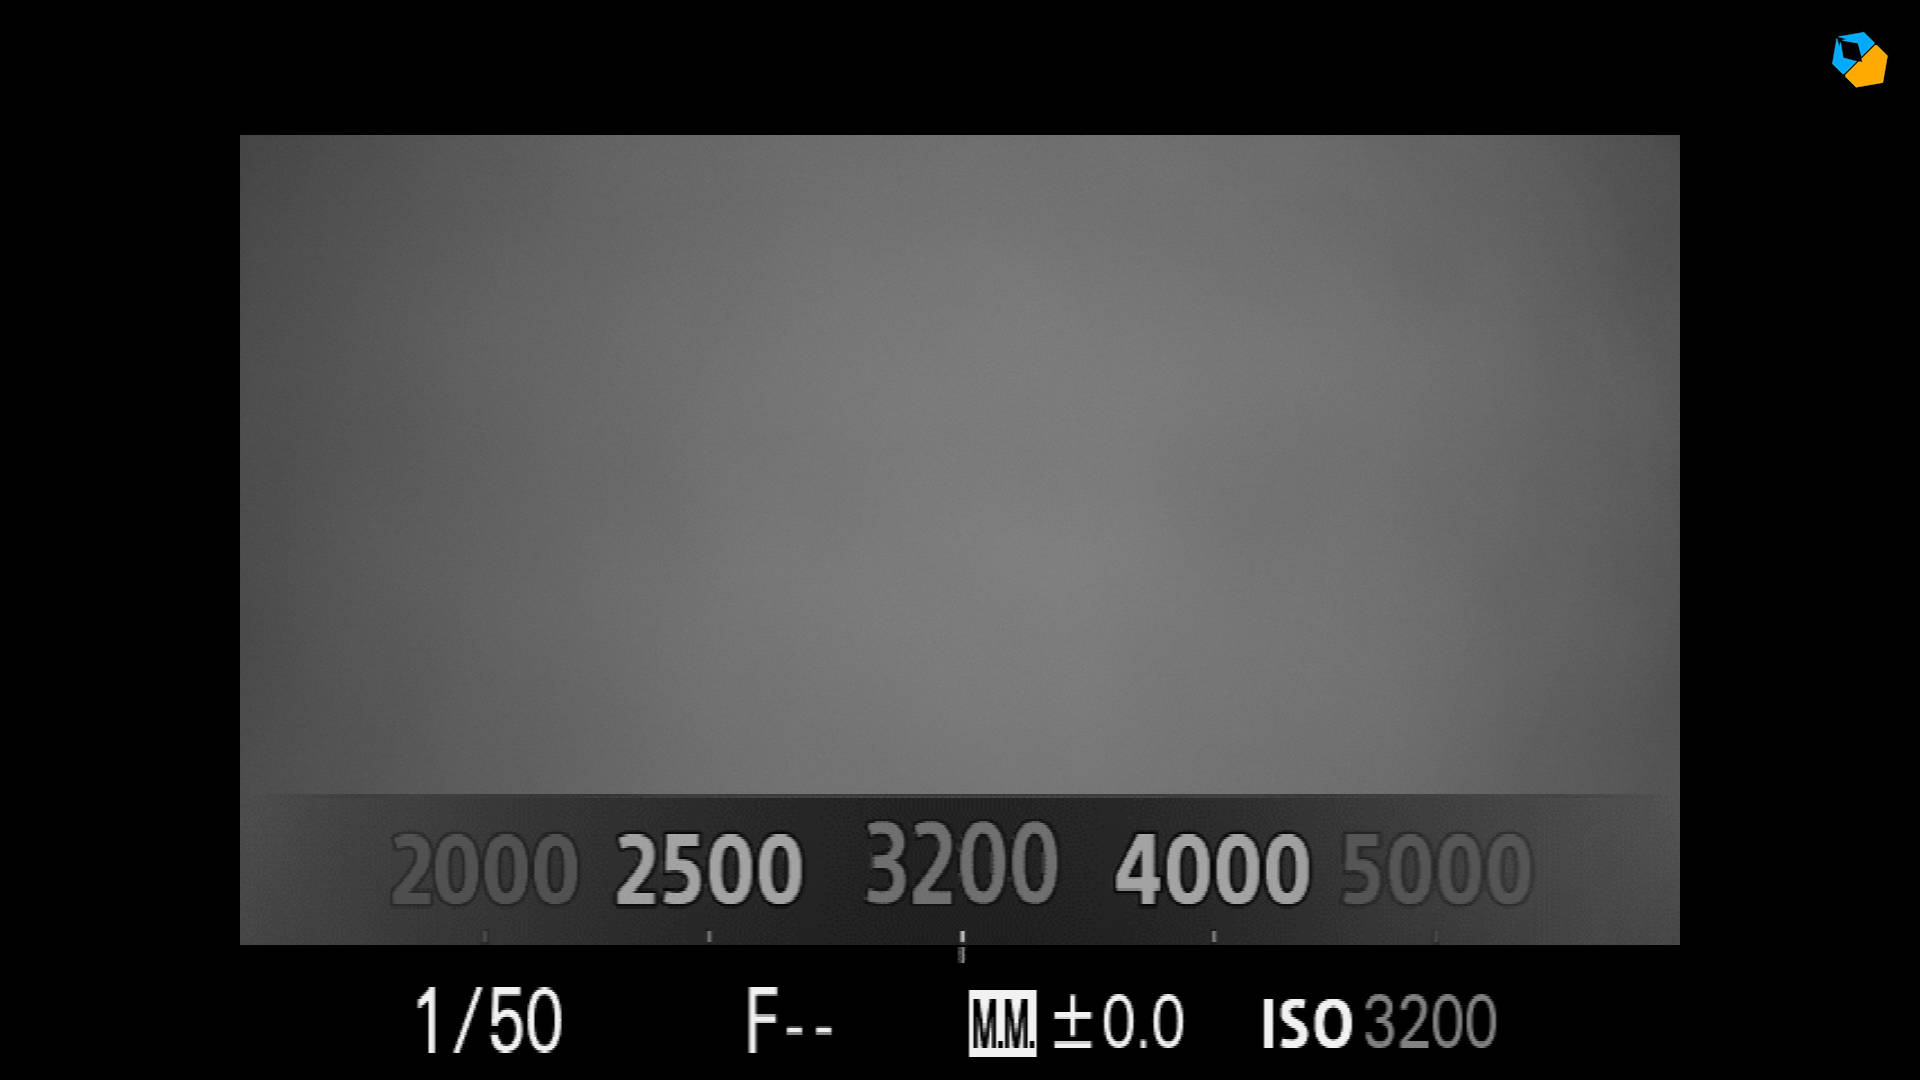
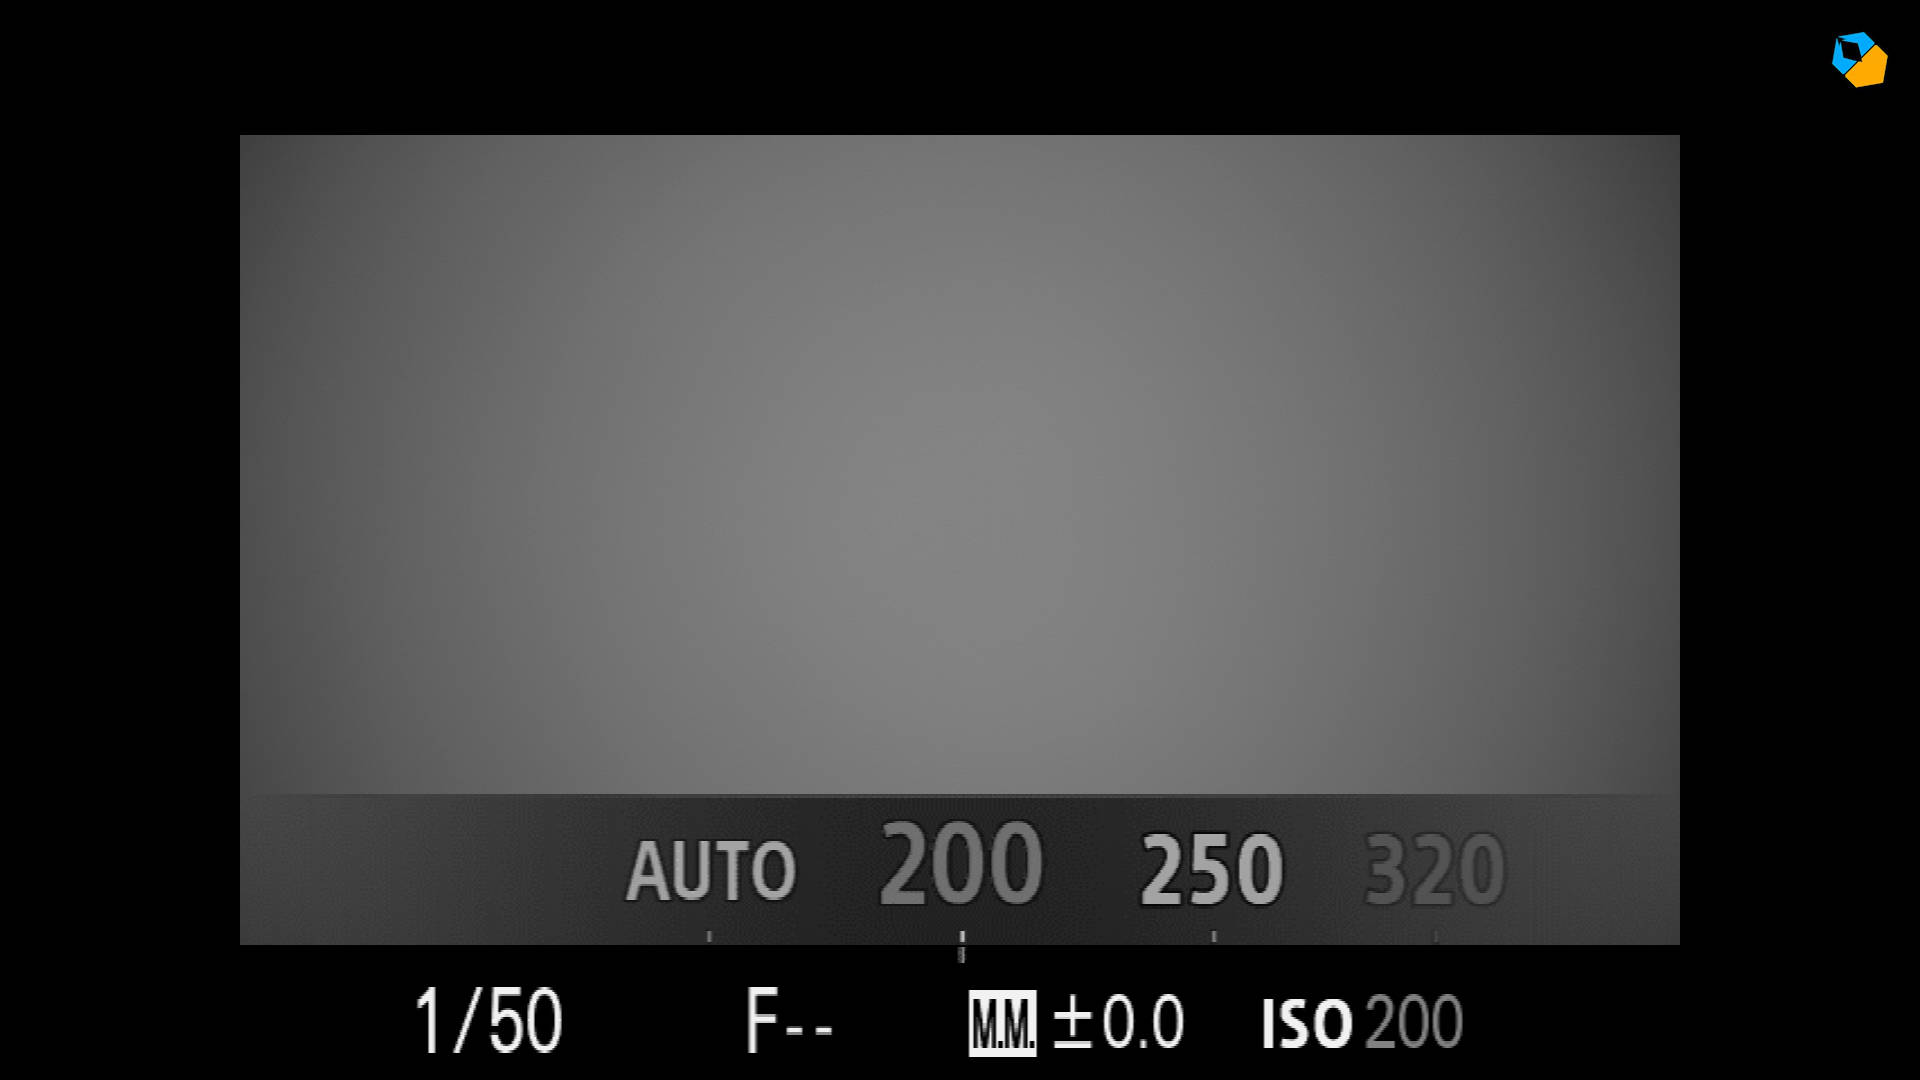
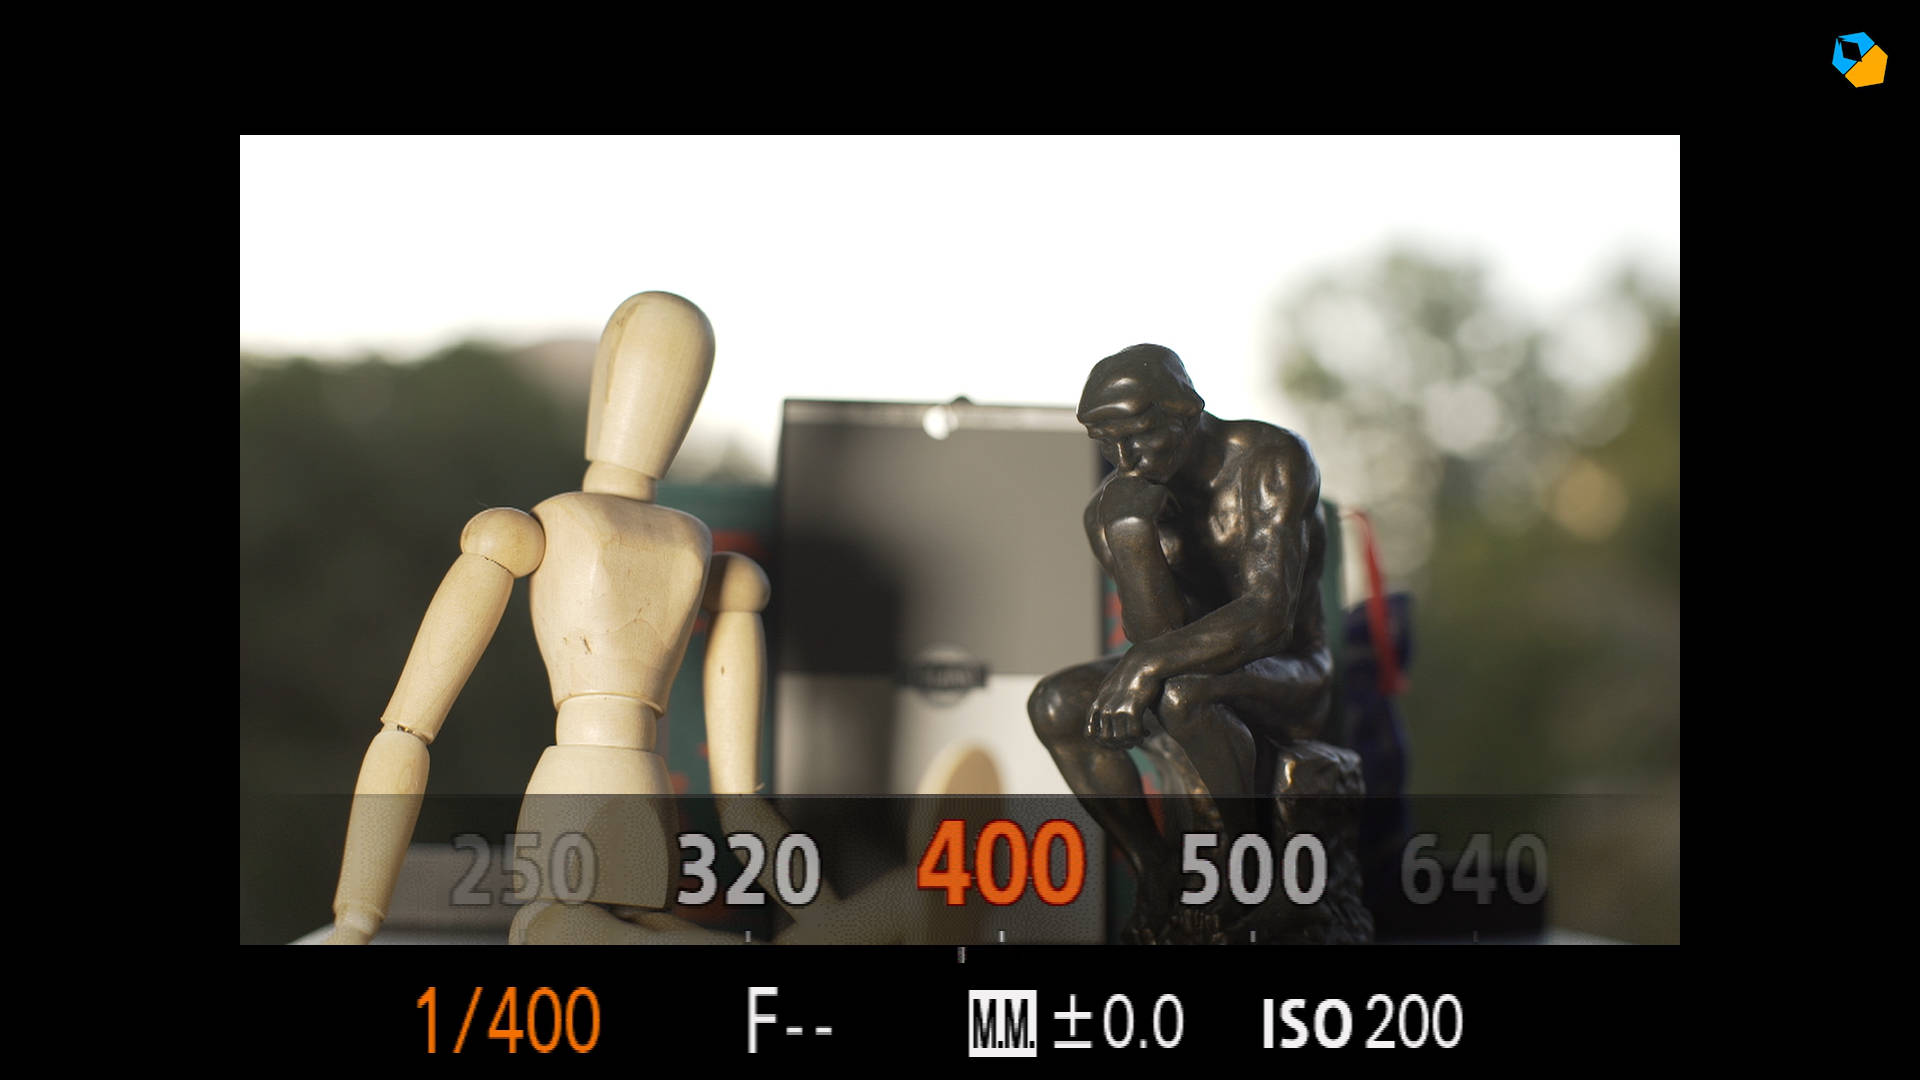
Let’s put aside waveform monitors for now. I’m just going to be using what everyone has – the in-camera meter. I’m using matrix or evaluative metering. Every manufacturer has their own name for it. Most people start with this.
When the exposure reading is zero, you know the camera is “correctly” exposed:

But is it?
If things were this simple we wouldn’t have a problem with exposure.
What problem?
What if the background is black? The camera exposes for it, you turn your aperture, ISO or shutter until the meter says zero, and black becomes grey:
What if the color is white? The camera exposes for it and it becomes grey as well:
Obviously, our in-camera meter can be fooled pretty easily.
How the camera handles complex scenes
Now imagine how hard a time it must have with complex scenes. The camera will do its best, and you get this:
According to the camera its correct exposure. What do you think?
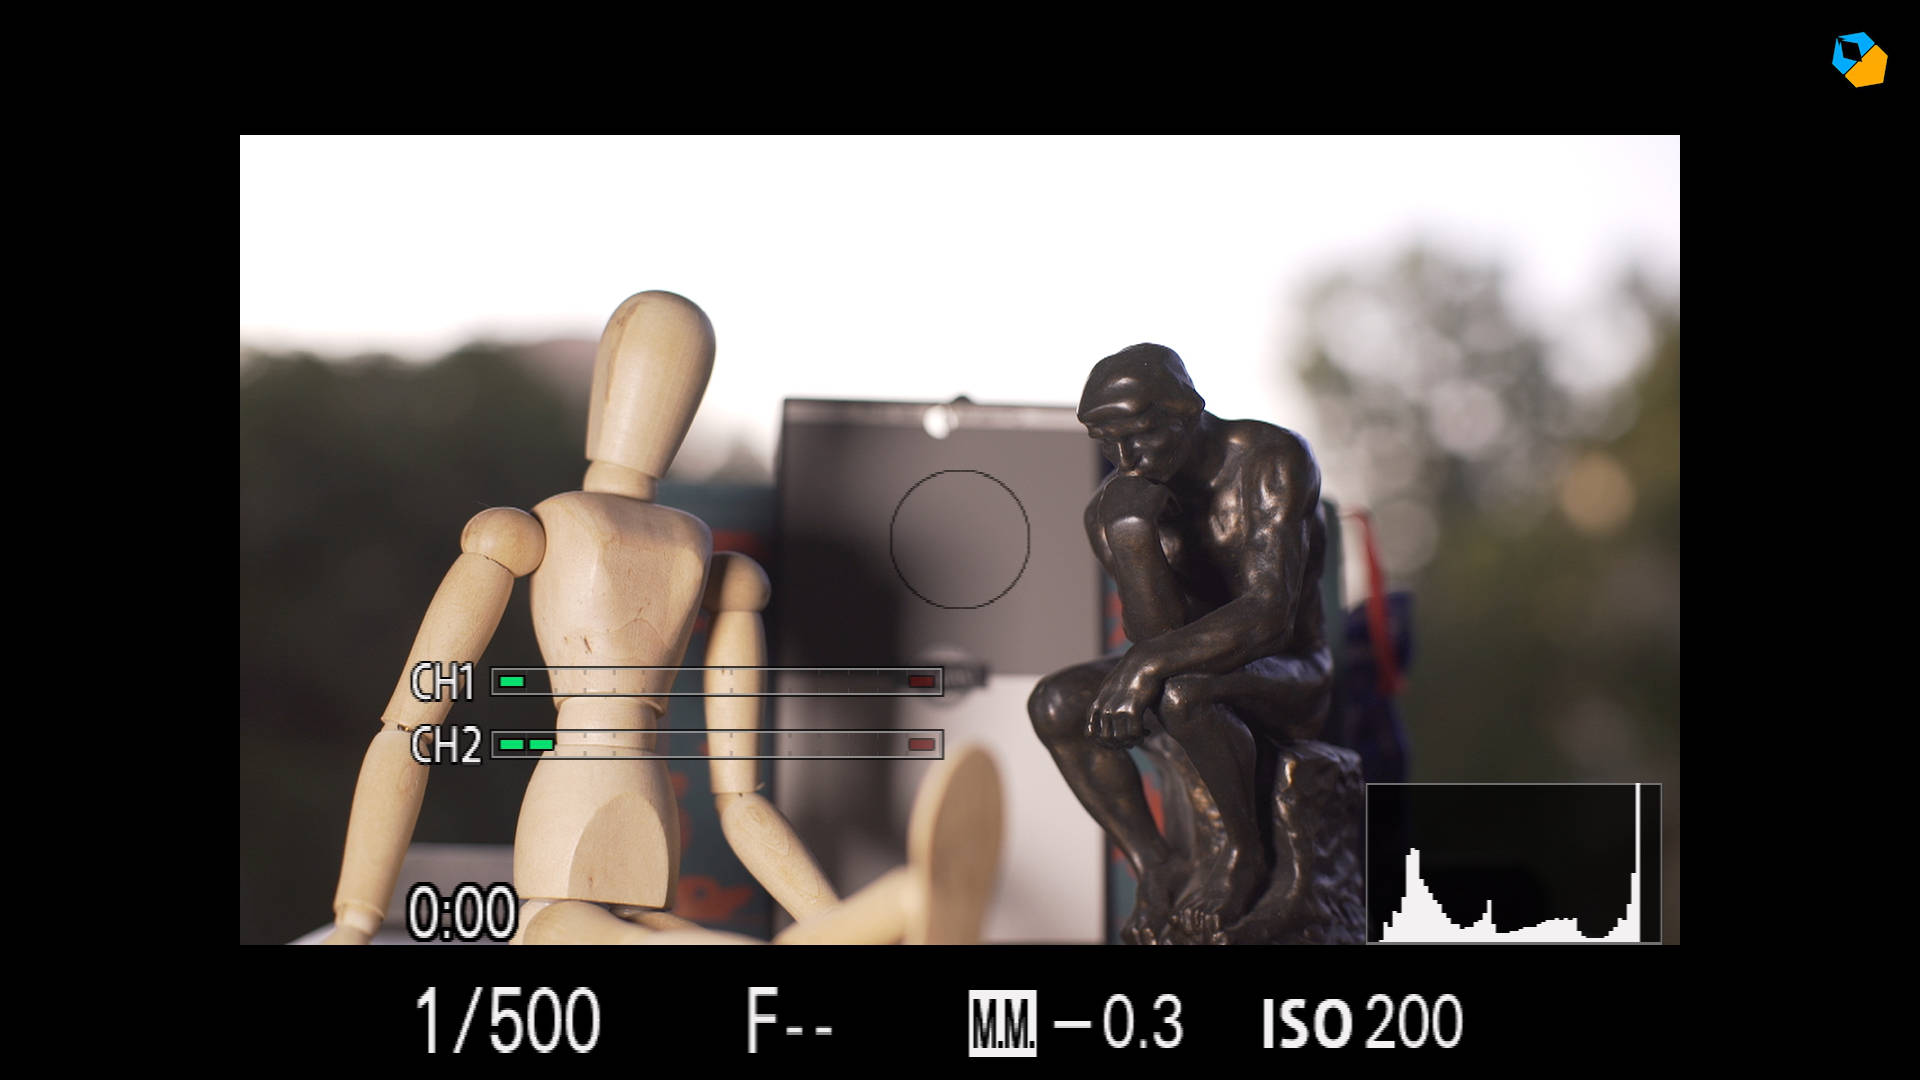
Introducing the spot meter
The spot meter is a circle in the center (typically 5 degrees for cheaper cameras and 1 degree for expensive ones). The camera only calculates exposure for whatever’s inside it:
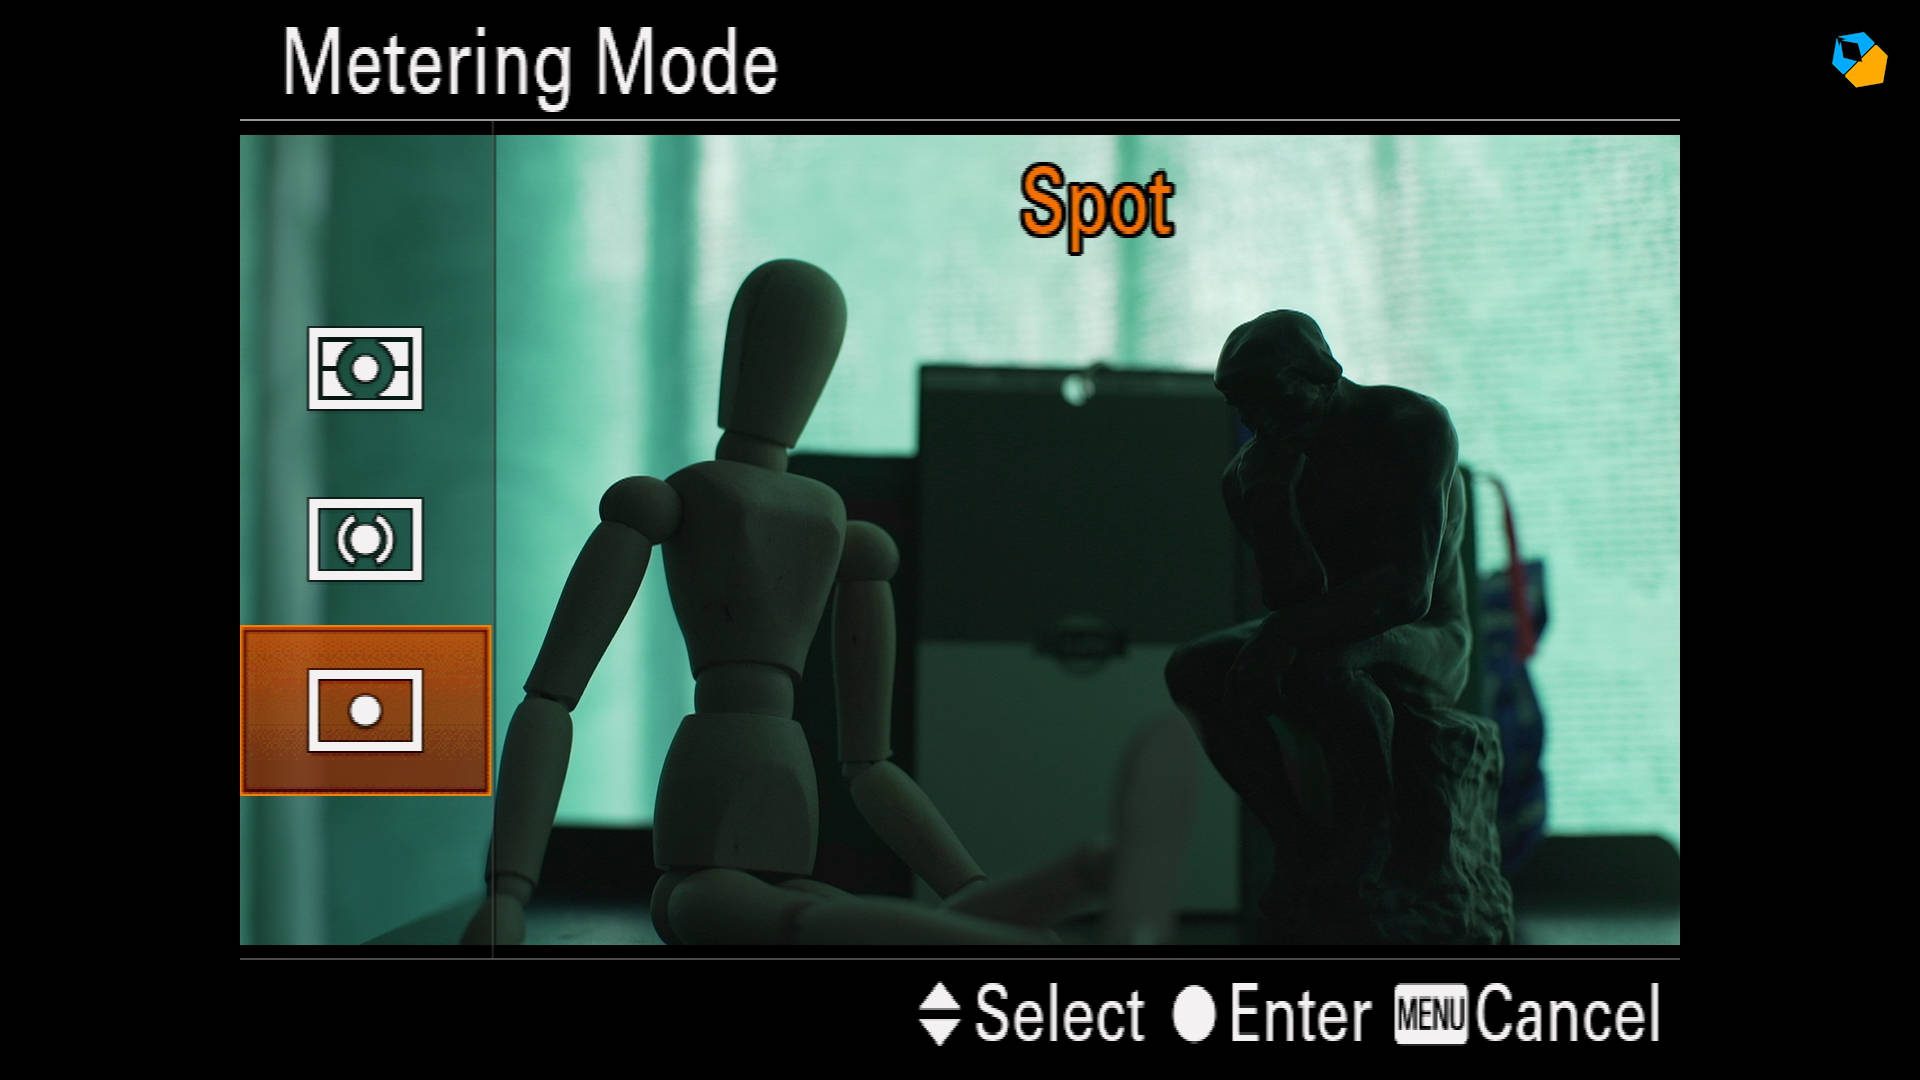
It’s your job to point the circle in the right place. Otherwise you’ll get something like this:


No good. Where exactly do you put this spot?
The grey card
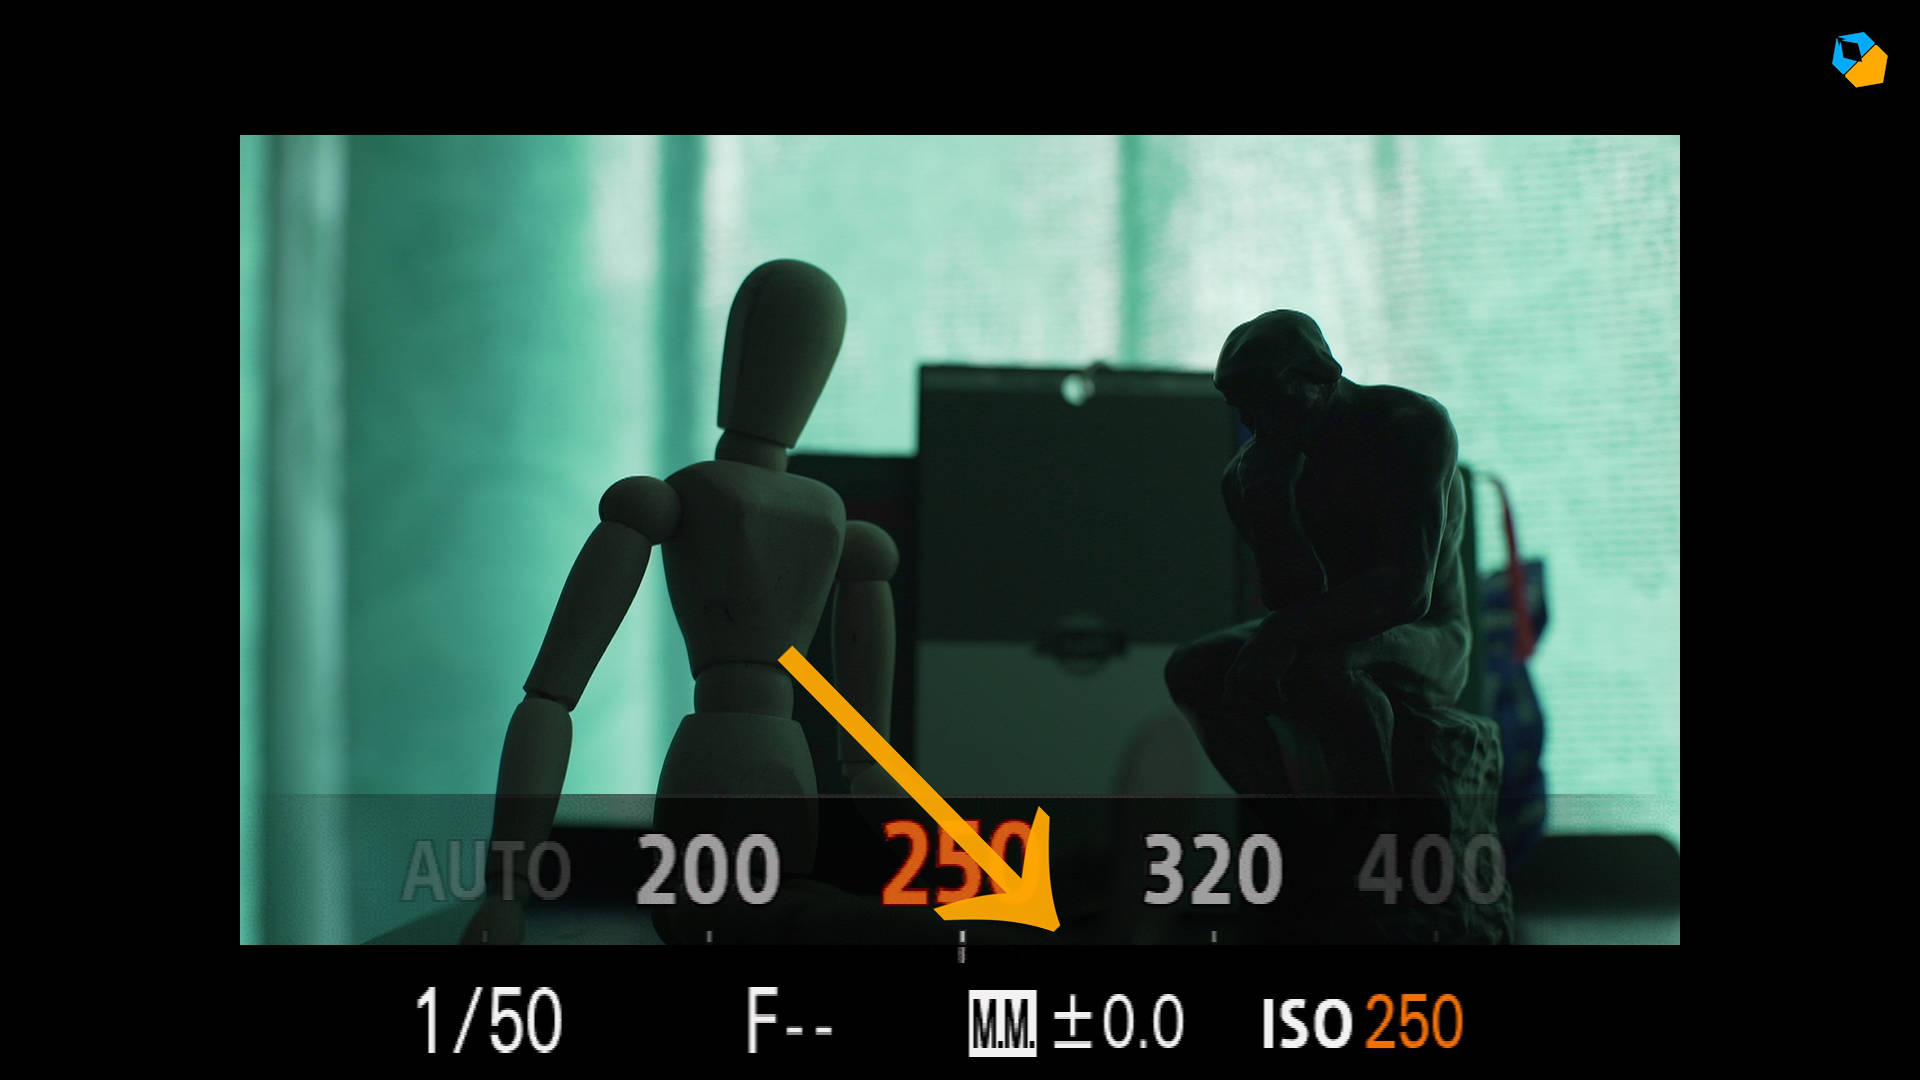
To wag the dog we have what is called a Grey Card (Amazon, B&H). I’m using the DSC Labs OneShot. Grey cards are not cheap, but like everything in life, you can make cheap ones work.
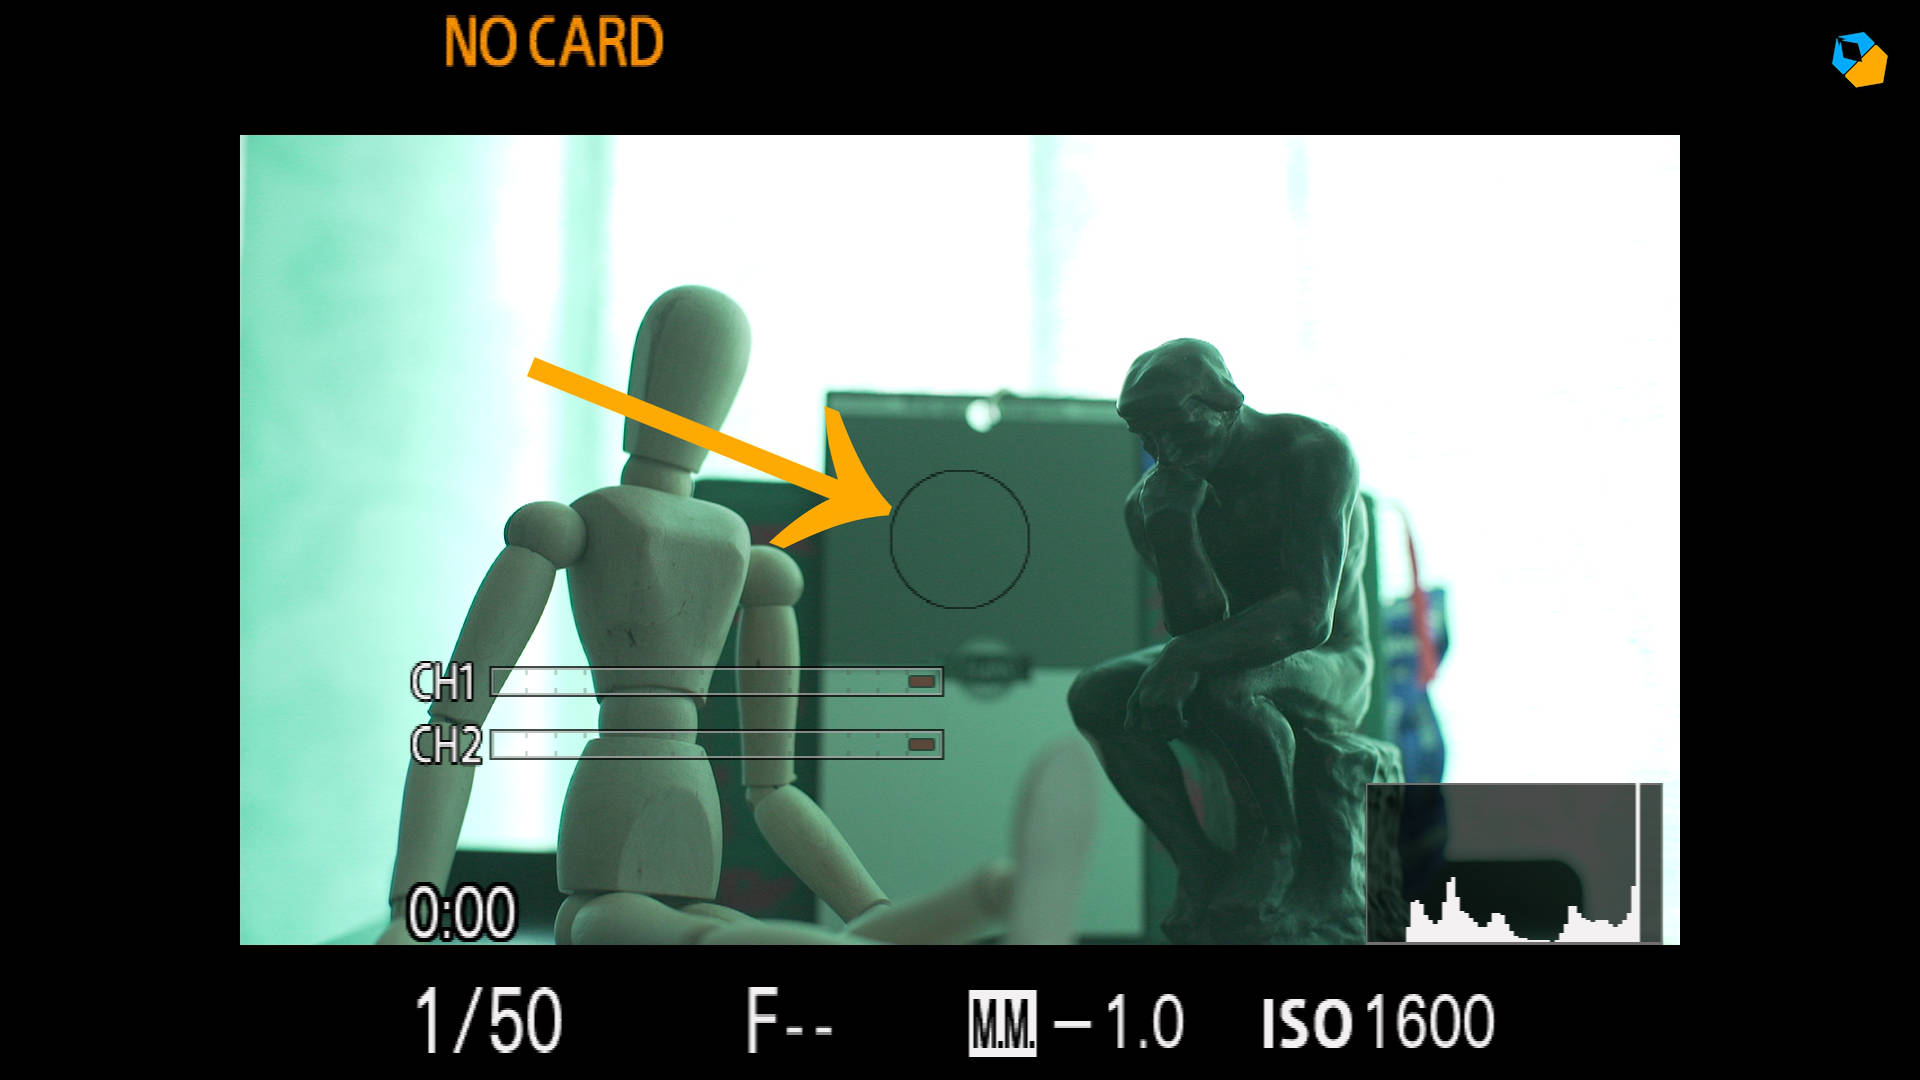
You place the grey card in the center, and put the circle inside it. When the meter reads zero, it is supposed to be correctly exposed. People call it middle grey.
Does the above scene look correctly exposed to you?
If you’re confused, it’s not your fault.
The light meter
A light meter measures light. You place the light meter in the same light, and you dial in the same settings and take an aperture reading. This is what we get:
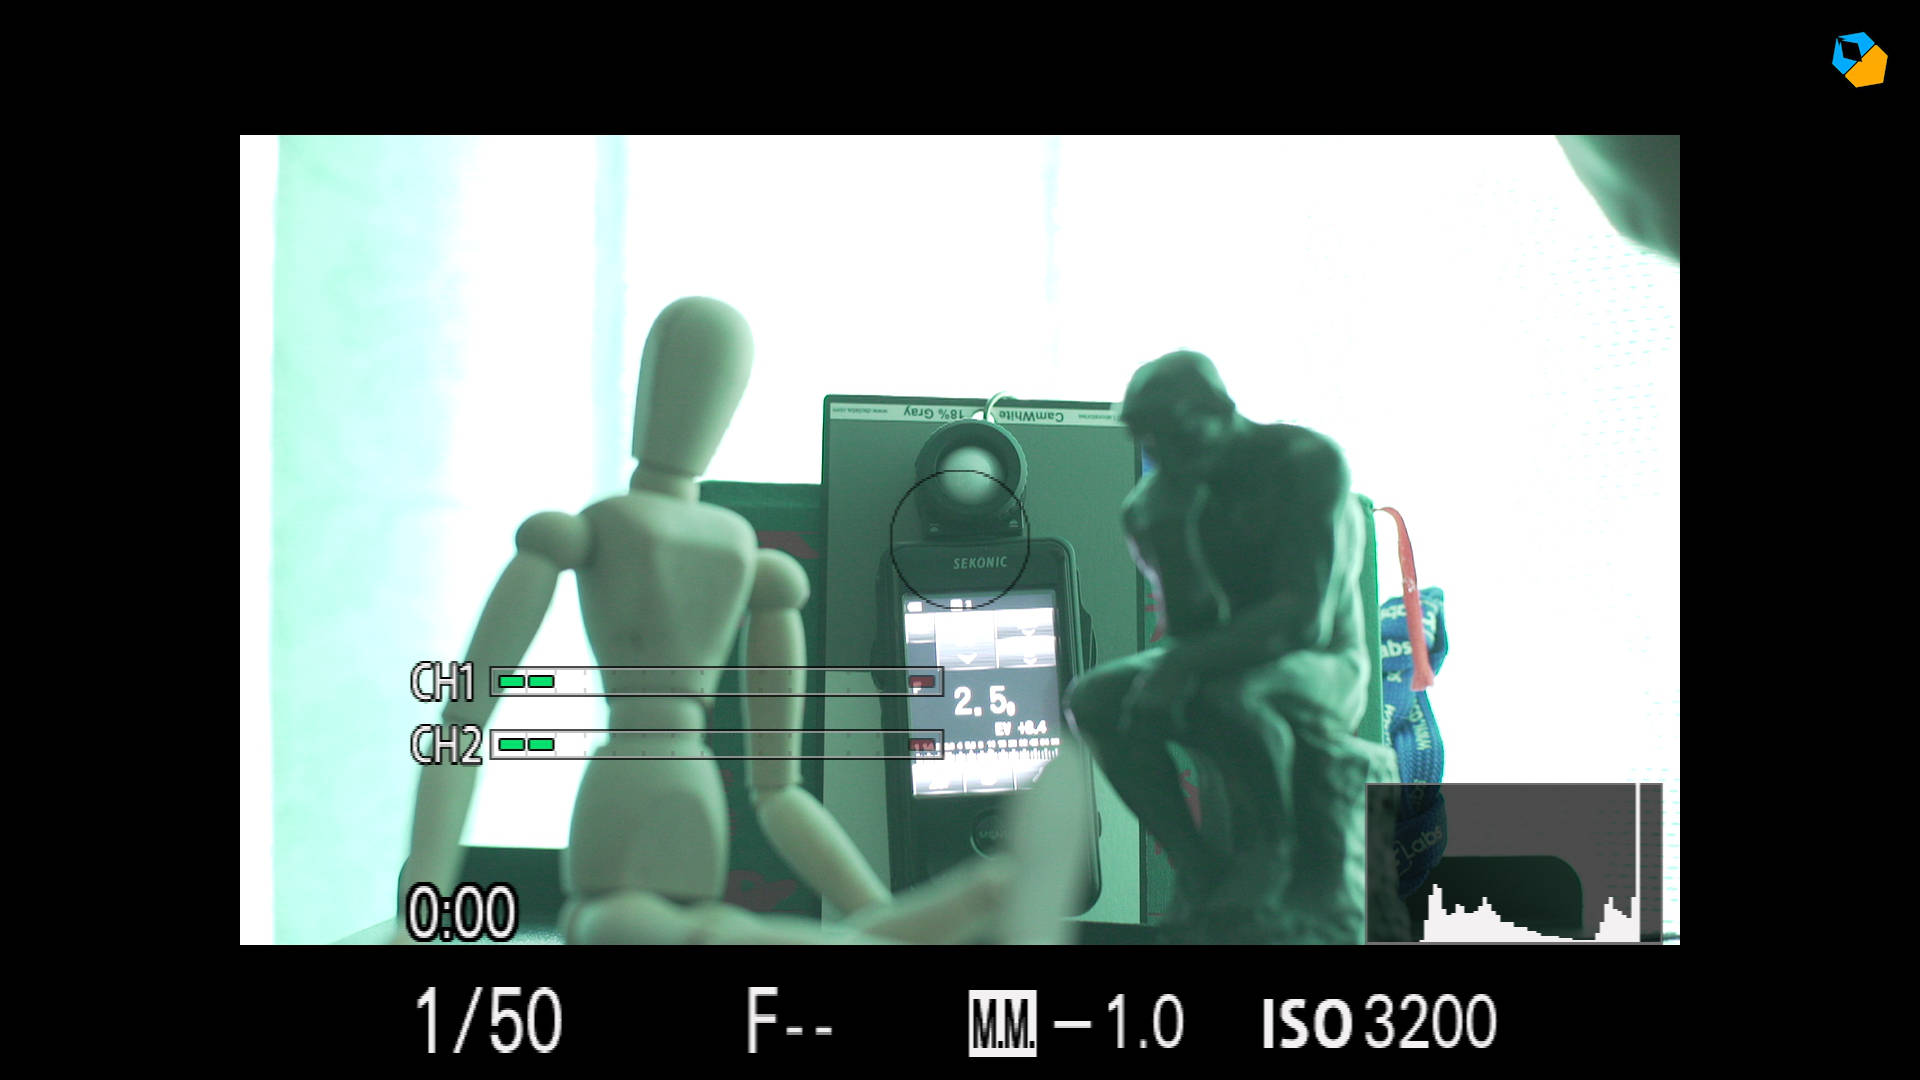
The lens is at an f/2.8, and the meter reads f/2.5. Close enough, really.
Most expensive light meters (Amazon, B&H) have spot meters as well. Some cinematographers prefer spot meters, others just the incident meter, many use both.
Which one do you pick?
Light meter vs spot meter
The spot meter reads light reflected off a surface. If grey reflects light, that’s one value. If a white background reflects the same light, the reading changes. In that respect, spot meters are great, because they take into account what’s in the scene.
But, it only works well if you know where to point it.
Incident light meters read light falling on them. They don’t know or care what’s in the scene. It treats everything democratically, which in this case basically means blindly. The only time you really need incident light meters is if you don’t have access to the camera, and you need to light a set quickly. It’s a fast and accurate way to light and work. In all other situations, you don’t need an incident light meter.
Many cinematographers who used light meters in the past are giving them a miss nowadays. It’s a dying system as cameras get better and better.
The waveform monitor
The waveform tells you at a glance what parts of the scene are light and what are dark, and by how much exactly. In this scene the mannequin is brighter, and the thinker is not.
It is the only exposure tool that tells you everything you need to know in one glance:
- Exposure of all the elements in the scene.
- Exact exposure in numbers of all the elements in the scene.
- A spacial representation of the frame as a whole and how it falls within the capabilities of the camera.
- Exact clipping points of highlights and shadows.
- It accurately accounts for flare and backlight. In short, it tells you what the camera records.
Clearly what was looking okay-ish before doesn’t work anymore. To make things worse, what you see also depends on the camera. Some cameras have great dynamic range, others don’t. You can see how it changes the perceivable difference between the brightest and darkest parts of the image:


How to perfectly expose your camera every time
If you’re the sort of person who insists on correct exposure, then a grey card is your best bet.
If you expose for middle grey, you’ll always be accurate. Pair it with a waveform monitor, and you’ll be good for any camera, any setting, any challenge.
That’s it. If this is all you want, stop reading.
Of, if this isn’t your idea of cinematography, keep reading.
How cinematographers expose the camera
In real world filmmaking situations, the grey card is next to useless.
You have to always place the card in the light you want to expose. What if you have a scene with both light and shadow? Where do you put the grey card – in the light or in the shadow? Also, what if you had a scene in a jail cell where one character is near the light but another is in the shadows. Where do you put the grey card?
In a fast-paced production, there are few situations where you can always carry and use a grey card consistently. Productions run out of time, or maybe you’re shooting with long lenses and the scene is too far away; or like I just showed you, the grey card doesn’t always give you the right results even when everything is nice and calm.
And this is why you’ll rarely see a grey card on set in any behind the scenes footage.
Cinematographers think about exposure differently. They know all this stuff, and yet, they decide to rely on their own experience instead of a grey card.
Make no mistake, they do a lot of testing. Even cinematographers who have worked for decades still test at the beginning of every movie. Today it is even more important, because there are so many different kinds of cameras and formats. Good cinematographers always test, and the grey card is great for testing and understanding.
The cinematographer’s main weapon is the deeper understanding of light.
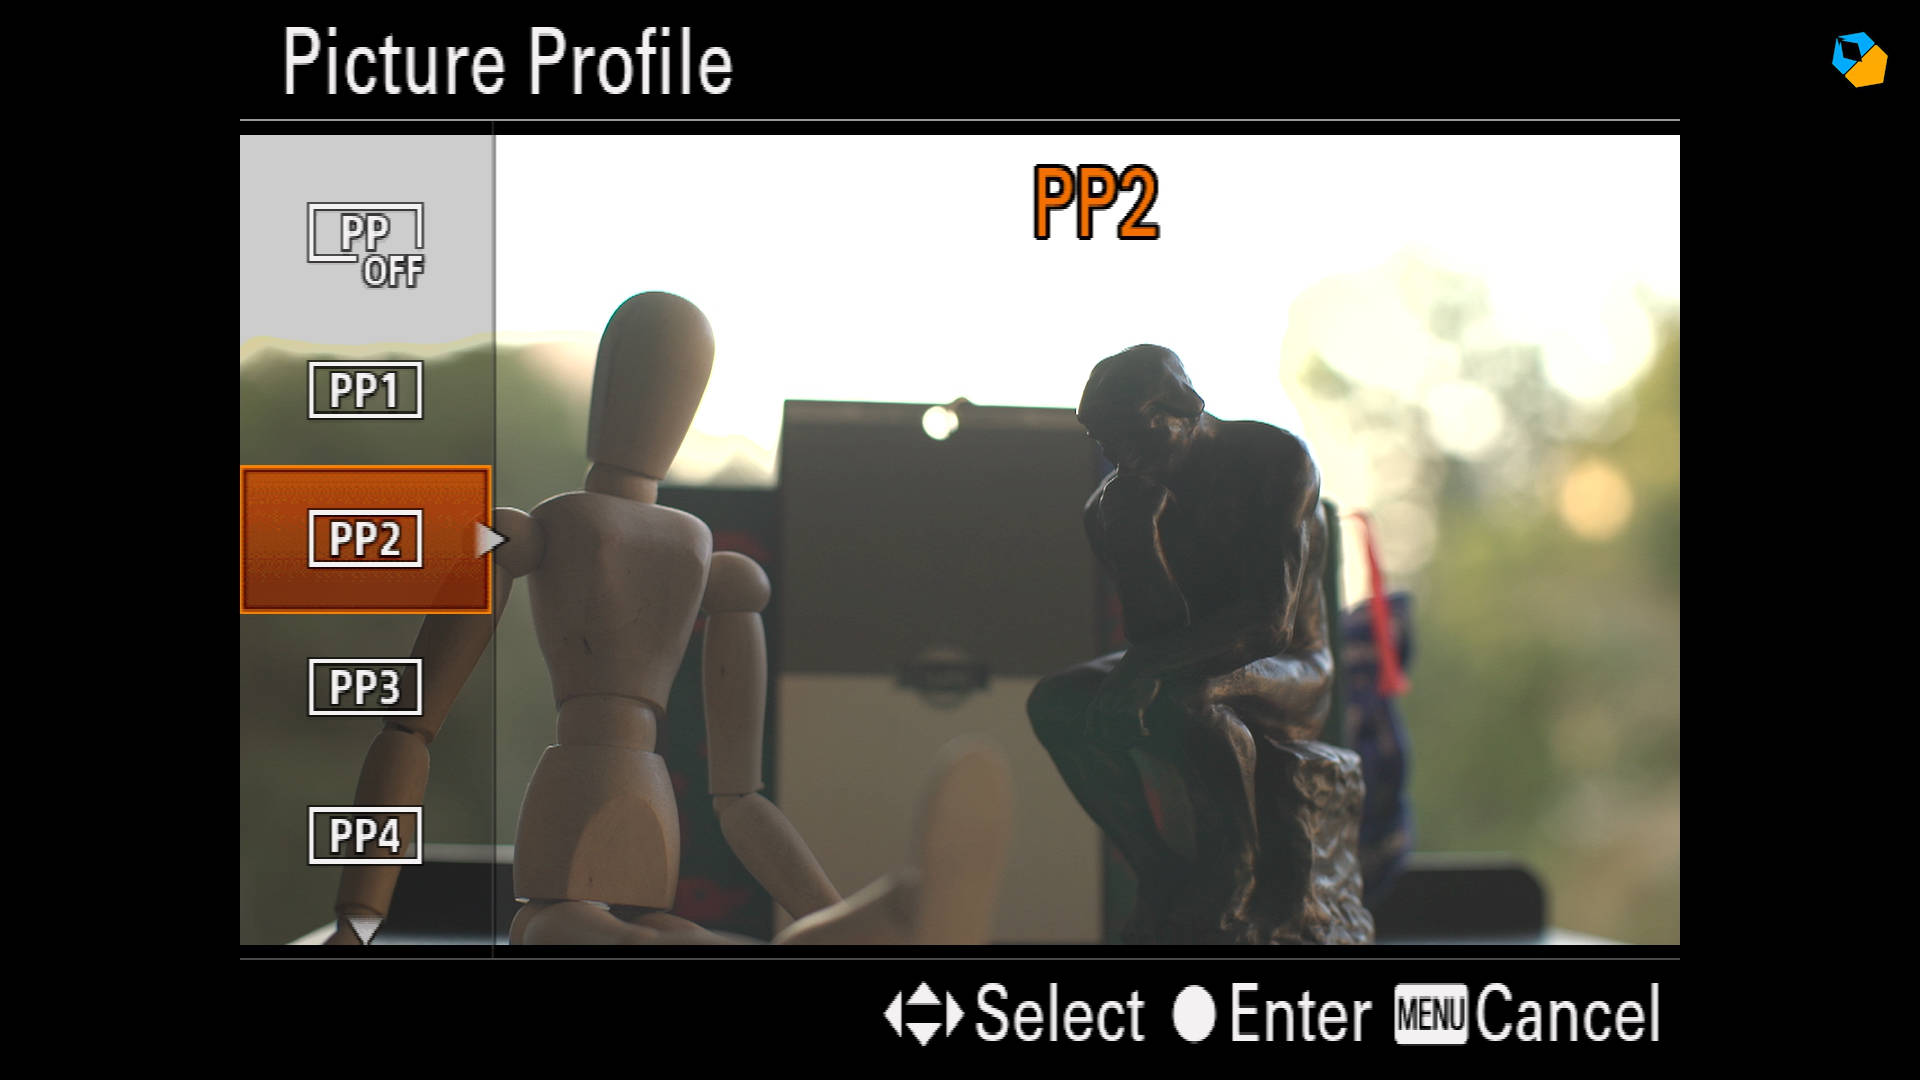
Here’s the same scene, lit:
When you learn to control light you control exposure. It doesn’t control you. You don’t always need lights. In other videos I’ve shown how you can use light to your advantage even without having expensive lights or any lights at all.
By shining light or controlling available light a cinematographer achieves two objectives. He or she gains complete control over exposure, and, he or she can also direct the aesthetic look of a frame. You can paint with light, and create images that would have been impossible otherwise.
So if you want to think like a cinematographer do three things.
Step 1: Treat middle grey as a starting point
Think of exposure as going to meet your friend in a different city. You book your ticket for the city, not your friend’s home. That’s what middle grey is for.
No matter how you choose to expose for middle grey – in-camera meter, light meter or waveform monitor – remember it’s only a starting point.
The objective of middle grey is to get you close. That’s it.
Even if the train breaks down outside the station, or the plane force lands in a nearby city, you’ll still find your way.
Once you reach the city, now it’s your turn to fine tune the exposure to reach your friend’s house. How you get there is your business.
Correct exposure is just a way to please your teacher or boss. Cinematic exposure is one extra step, one which you must take alone.
Tip: You can move away from middle grey to underexpose or overexpose, or play with all the lighting tools to achieve complex looks.
So, if you look at the above image, the grey card reads zero on the meter. But I’m not satisfied. I change the exposure until I get this:
Now the meter is underexposed by a third of a stop. So what? This is what I like – and that’s all that matters.
Step 2: Rent a monitor
Rent a monitor for one day, and test a camera inside out. Even if you don’t have money.
This is what I do with my camera guides. I always test, which is why it becomes easier in the field to take that leap of faith and expose the way I want it.
I let the light inspire my exposure, not the camera. And certainly not a grey card.
And what if you can’t find inspiration? Fake it. That’s my third tip.
Step 3: Inspire your light
Whatever the subject in front of you, create a story around it that will then show you the way. If you don’t feel anything for the scene or person in front of you, any exposure is correct, because nothing is.
This is why there are few good cinematographers. It takes courage and self-belief to push that extra step and expose the way you want it. That’s all the only way you’ll create something interesting and different.
For everybody else, there’s the grey card (Amazon, B&H) and the waveform monitor.
I hope you found this useful.
Good day Sareesh. I have been educating my understanding of filmmaking through YouTube and I find that there is alot of good & helpful information to get me where I want to be as a filmmaker/Cinematographer. Your tutorials are very informative, inspiring but most of all easy to understand (for a dummy filmmaker like myself).
For a while ( about 3 yrs) I would call what I was doing with my “film journey” was trying to better understand the art of this craft. I hadn’t really completed any work up until this quarantine period. Most of what I shot was more to understand my gear than to complete a film. However, I have done 2 shorts. Both of which I’ve learned i am a long way from where I like to be.
As you mentioned, manipulating available light is where I want to be. But I have to say
“It is easier said than done”
I’ve spent hours trying to get my lighting right. Its not easy. Especially when you are a one man band. I shoot with the BMD Ursa (V1) because of what I learned from you and another YouTube (T.Santos); and its really a task. I know alot of people using the newer versions of what BMD has put out. But with all the cons of filmmaking with this Ursa I don’t think I should invest in another camera until I’ve mastered what I have.
Thank you for always giving me good information. If I could put out a special request could you please give us some guidance on filming with limited glass. I only have vintage PL lenses. So they aren’t fast and I can’t seem to afford wider lenses. I believe they are, 58mm, 85mm, and 250mm. I haven’t done any outdoor shoots only within my small home (so it’s not easy).
Thank you for the kind words. I’ll see what I can do.
Excellent stuff. was great to restart using my beeninabox Minoltas for years metres. reassuring somehow. and effective.
(though older color TEMP metres not good for LED)
Thank you!