
For filmmakers on a tight (or close to zero) budget, professional lighting equipment is a no-go. You need tools that fill many shoes and go a long way.
It’s easy to fall into marketing traps that make you buy unnecessary lighting and grip gear. When it’s too late, you realize what you bought isn’t giving you the results you expected.
In this article, we explore ten practical and budget-friendly lighting and grip tools to help you achieve high-quality lighting for your short films or feature films. Not only are these tools really low budget, but they’re also extremely versatile and will serve you for years to come.
Let’s get started.

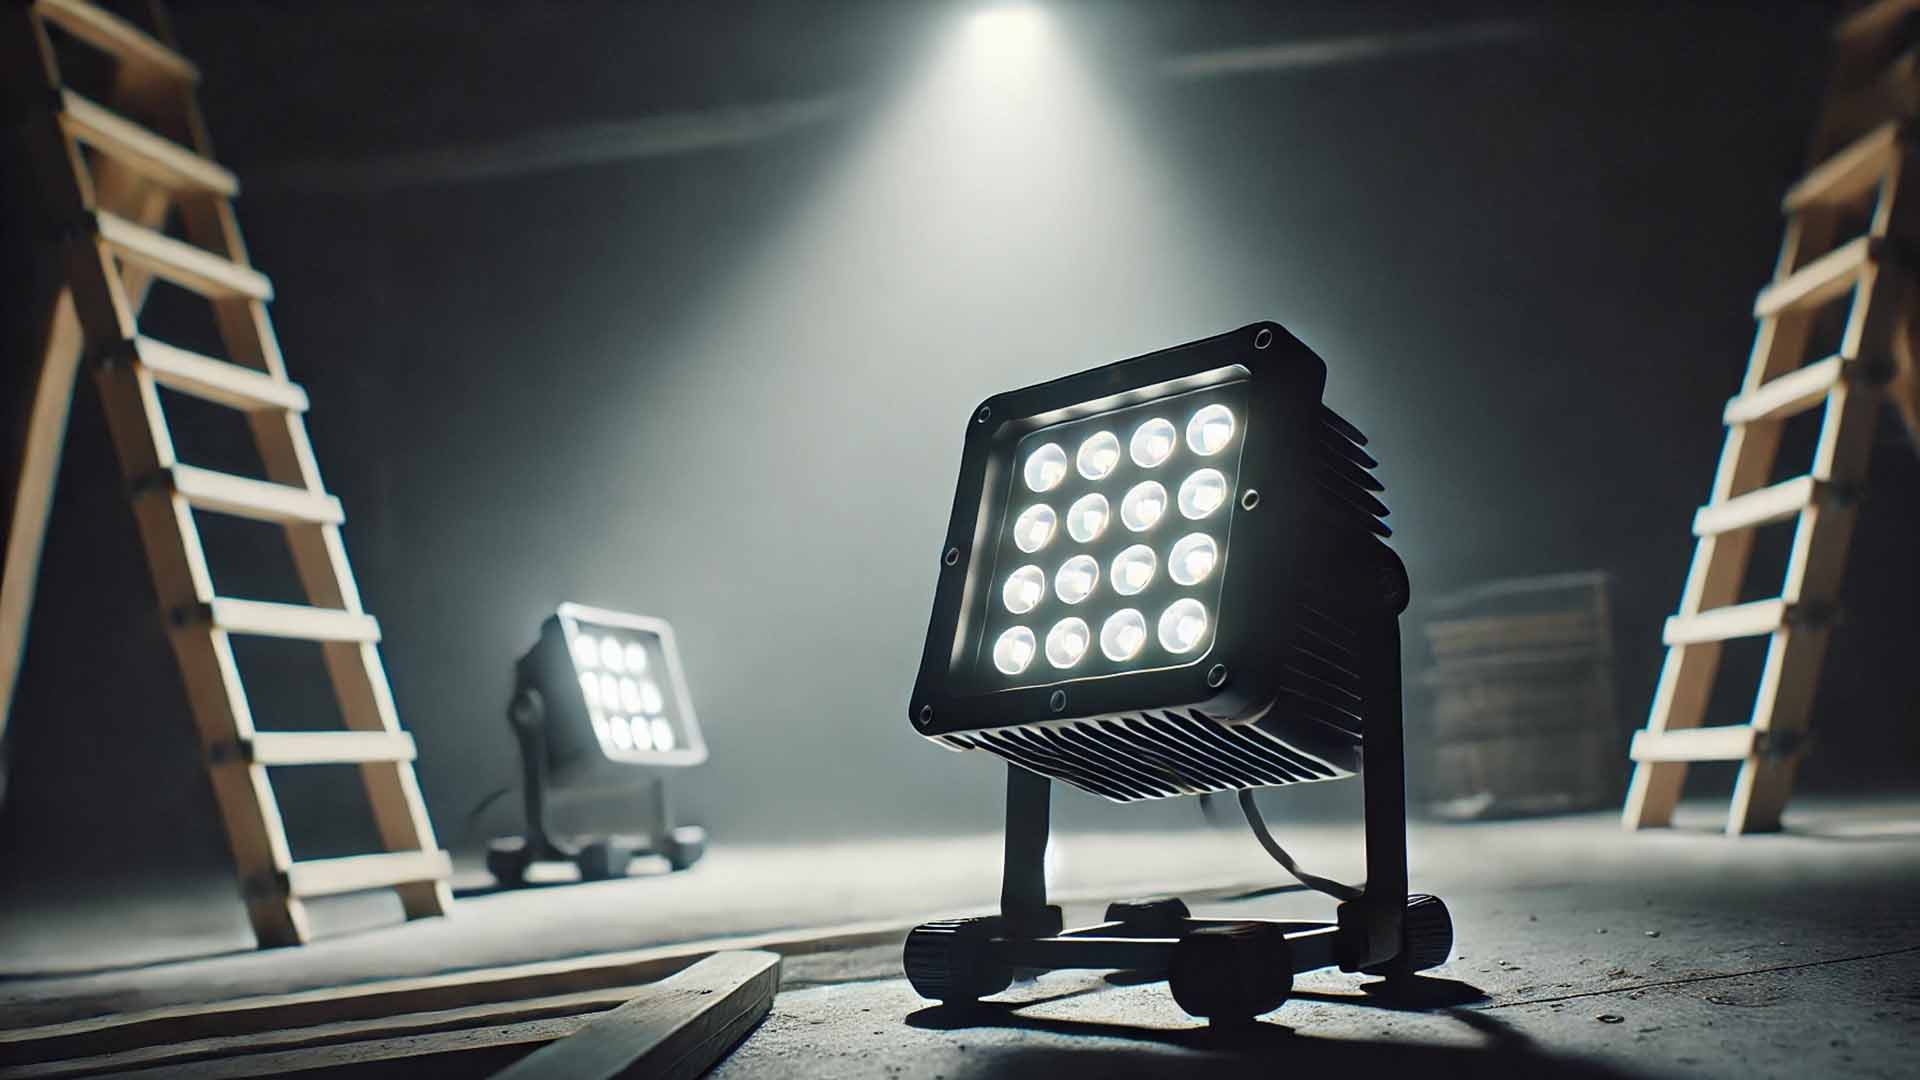
1. Shop or Work Lights
Shop or work lights are portable lighting fixtures designed to provide intense, focused illumination in work environments like construction sites, tunnels, etc.
They are typically mounted on stands or clamps, or can come with their own stands.
Types of work lights and which one should you get
There are two main types of shop lights commonly used:
- Halogen Work Lights: Great color but 3200K or so. Cannot be dimmed without changing color temperature. Gets very hot in front, and not power efficient.
- LED Work Lights: More energy-efficient and with less heat output than halogen lights. You might not be able to dim LED work lights, and the color reproduction is not going to be that great. Even if they could be dimmed, the color will probably not stay consistent. Minus Green filters can alleviate some of the green color casts you might get with LED work lights.
I would get LED Work Lights without stands, because you might need to place your light at different heights. You also get a lot more firepower for the wattage.
Try to get 100 Watts or higher.
What can you do with work lights?
While shop or work lights are not specifically designed for filmmaking, they are versatile!
One of the challenges with shop lights is their harsh, direct light. To soften this light, you can use diffusion materials such as white bed sheets, shower curtains, baking paper. By placing these materials between the light and the subject, you can create a more flattering and even illumination.
You can use them in these ways:
As key light
A key light is the main source of illumination for your subject. You can shine a light directly or bounce it to illuminate a large or small area, as you see fit.
Fill lighting or background lighting
Shop lights can also be used to fill in shadows. The simplest way to do this is to bounce the light on the ceiling (assuming it’s white or off-white). You can also bounce it off white bed sheets.
You can also use work lights to illuminate the background.
Back light
If you’re able to place a work light high up it can be a backlight. You can even simulate moon light with this setup.
Click here to shop for LED Work Lights on Amazon

2. LED Fresnels
A fresnel lens (as seen in the above image) is a lens that focuses the light beam forward, thereby getting parallel light rays.
LED Fresnel lights are known for their focusable beam and control over the light’s spread. A good fresnel will also allow you to spot or flood the light.
These lights are going to be the most expensive in your kit, but they are indispensable. They can do things work lights or spot lights just can’t do.
What kind of LED fresnel should you get?
There are two basic kinds of LED lights – white and bicolor. There are also RGB lights but let’s assume that’s outside your budget.
I would stick to white (Daylight) LED lights, just to keep the budget low. If you want to warm it up you can always add in a small CTO gel.
Try to get an LED fresnel that’s 60 Watts or higher.
What can you do with fresnels?
The Fresnel light has glass that diffuses the light in such a way that it is even across the beam. That’s 50% of what makes it so special.
The other half is that, by narrowing the beam, you also get a lot more light output for the power drawn. And, LED fresnels also allow you to spot (narrow the beam) or flood (broaden the beam) the light.
Use it as a spotlight, either on actors or on particular parts of the scene. You can use the hard light to create patterns. It’s also great for bouncing or as a back light, hair light or slasher.
Shop for LED Fresnel Lights on Amazon or B&H

3. Paper Lanterns
Paper lanterns, also called Chinese lanterns or China Balls, are made of paper (typically white). You can hang a bulb in the center to create soft, diffused light. They are inexpensive and can be easily found in various sizes.
Get paper lanterns, not those made of fabric. The lighter it is, the easier it is to tape or pin it somewhere in the ceiling.
What can you do with paper lanterns?
Hang lanterns from above to create a soft, even overhead light. This light can be a fill light, key light, eye light, whatever you want it to be.
You can attach it to a boom pole or rod and follow a moving actor to get consistent lighting.
String a few of these paper lanterns and they create a soft light over an even area.
I would get LED bulbs, but tungsten works as well if you want warm, 3200K lighting. Try to get LED bulbs that can be dimmed, and the versatility increases a lot. You could also use cinefoil or black paper to block light form certain areas.
Shop for Paper Lanterns (China Balls) on Amazon or B&H

4. Bed Sheets
Bed sheets are a simple and cost-effective solution for bouncing light. You can get soft light, either key or fill, by bouncing off bedsheets.
Try to get white bed sheets or slightly off-white sheets. Bleached muslin is also a great alternative.
Hang a bed sheet in front of a light source to bounce the light back to your subject. You can hang it over the grip arm of a C-stand.
Click here to shop for White Bed Sheets on Amazon
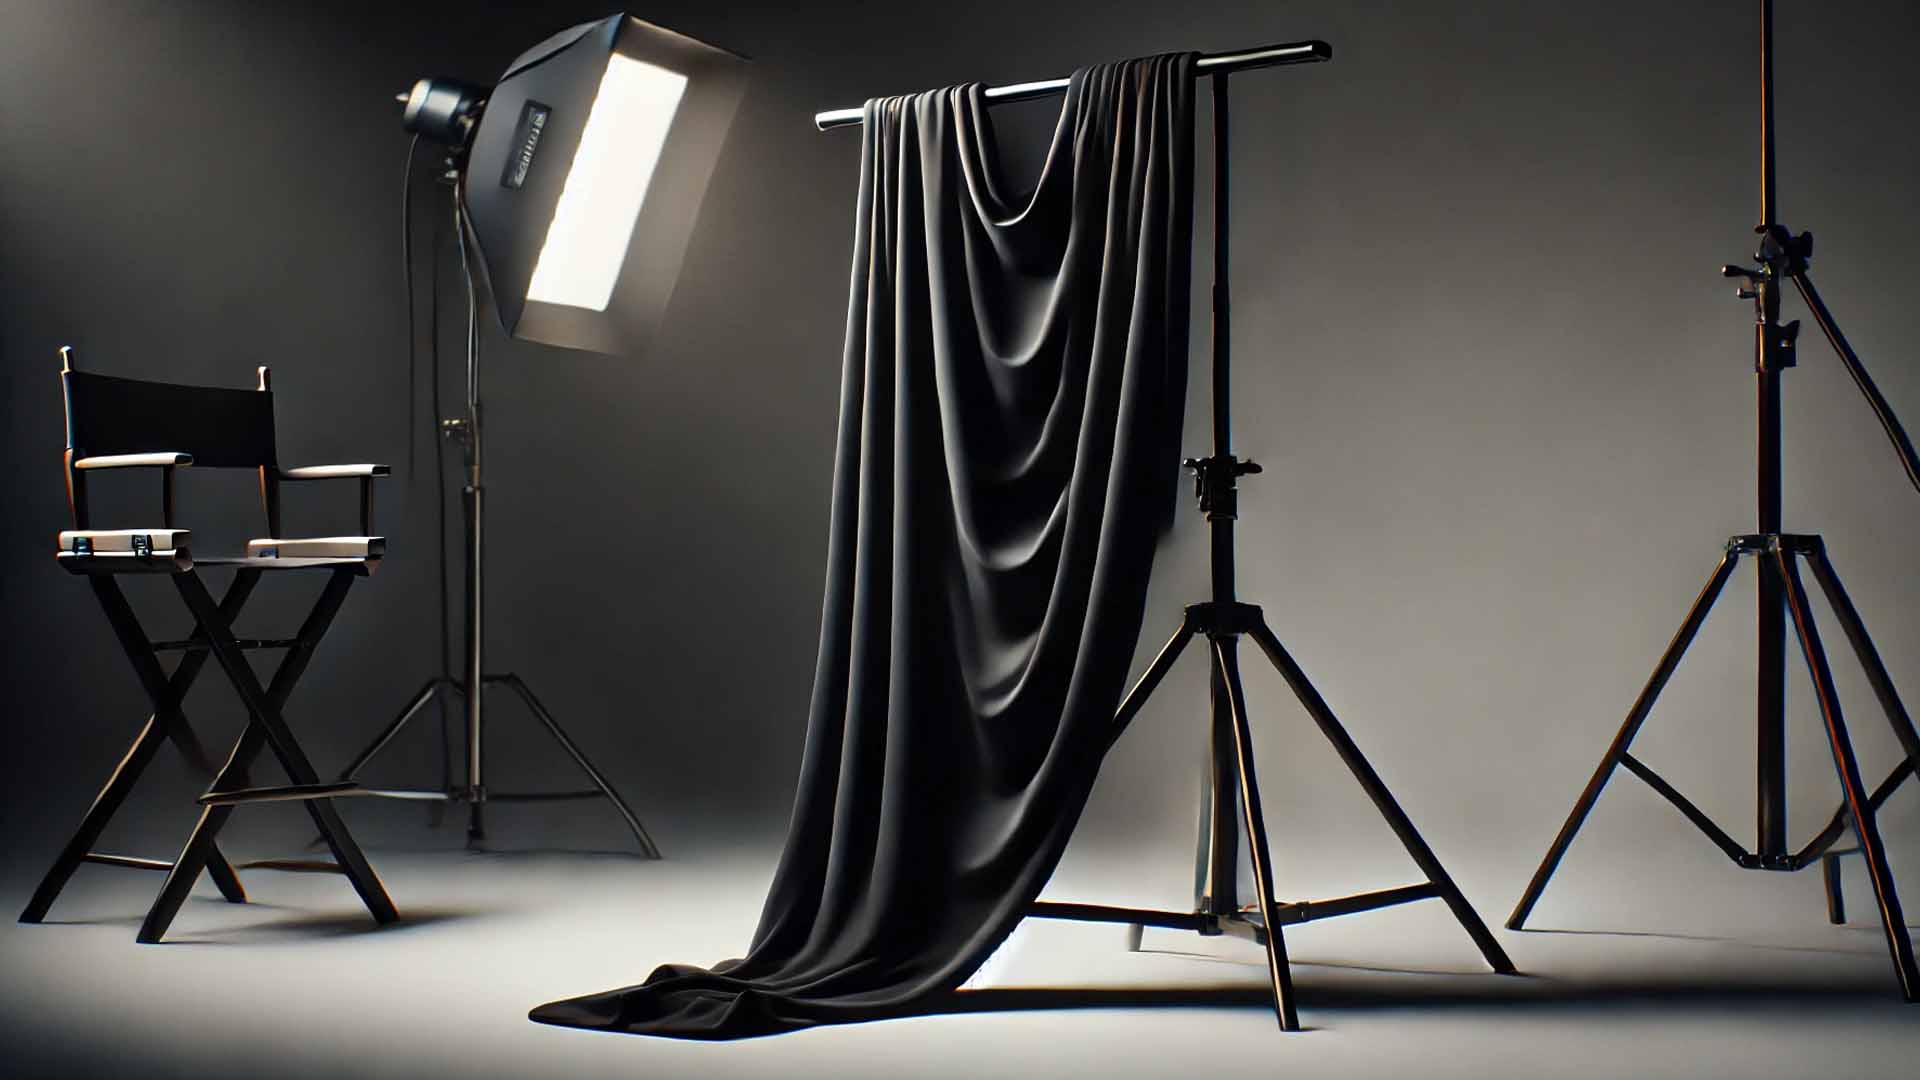
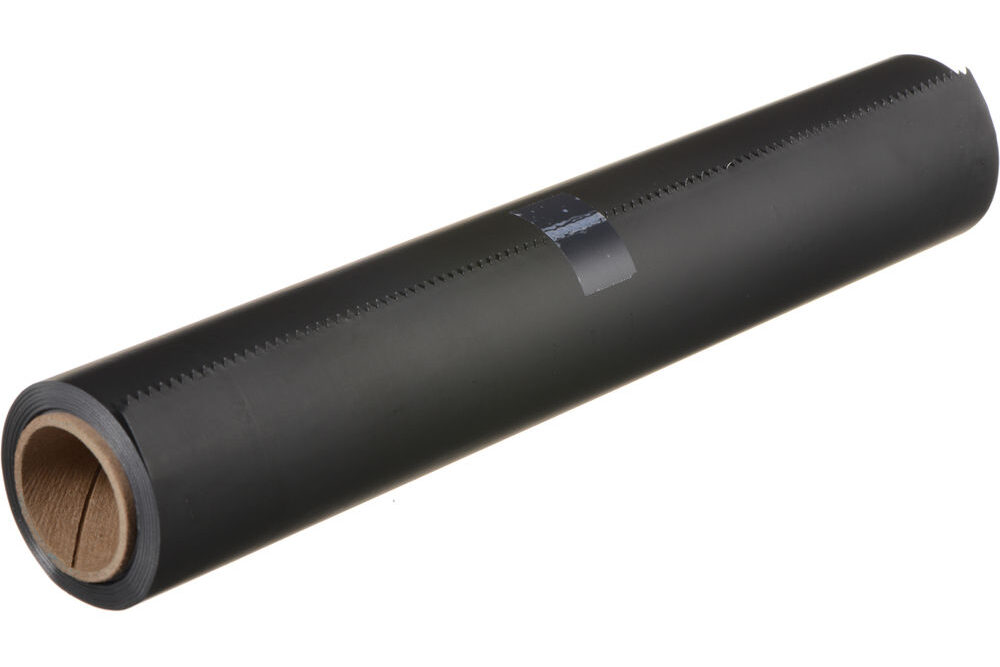
5. Black Cloth
Black cloth, plastic or Duvetyne is essential for controlling unwanted light and creating negative fill.
Types:
- Duvetyne: A popular choice for its light-absorbing properties, but is possibly more expensive.
- Black plastic: You should look for rolls that are more durable than trash bags. It can also block light. The disadvantage is, the shiny side will reflect light.
- What you should not get: Cheap black cloth, because they will let light through and not block it completely.
Black cloth is indispensable on a film set. If you bounce an LED work light off a wall or white bed sheet the light will spread everywhere. A black cloth hung on a C-stand on the other side will give you the moulding you are looking for.
Black cloth can also be used for flagging large areas. This is to block off unwanted light spills.
Shop for Duvetyne on Amazon or B&H
6. Cinefoil
Cinefoil, also known as black wrap or black foil, is a flexible, heat-resistant material made by Rosco.
It is used to shape and control light, or to block light from hitting unwanted areas.
If your lights don’t come with barn doors, or if you are using paper lanterns, cinefoil is lightweight and indispensable in helping skirt the lights to prevent spill.
The best thing about cinefoil is that it can be reused, but repeated folding and unfolding can weaken it. They are also heat resistant, so is well worth the money.
Shop for Cinefoil on Amazon or B&H
7. Black Paper
Black paper is a low-cost alternative to cinefoil for flagging and controlling light. In fact, if you want to block light but want to hang a “flag” from the ceiling, etc., black paper will hang better than cinefoil.
Get the thickest type you can buy, and they will hang straight. They can be used as flags or cutters, or even to block flare from hitting the lens.
These are disposable items, being paper. So get a roll.
Shop for Black paper rolls on Amazon or B&H

8. C-Stands
C-stands (Century stands) are a must-have for any film set. You need C-stands with grip arms and heads.
Please read this excellent primer on C-stands, if you don’t know about them:
Tips:
- Sandbags: Always use sandbags to stabilize C-stands and prevent tipping.
- Don’t forget to get a grip arm and head along with the C-stand.
- If you really can’t afford C-stands, get photo stands and reflector holders. But be careful!
Shop for C-stands on Amazon or B&H
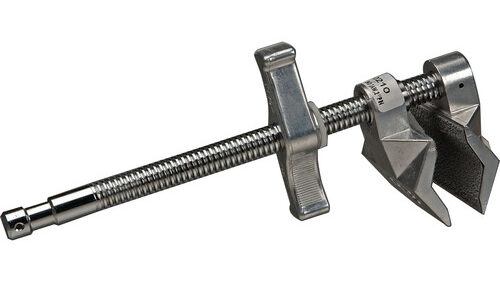
9. Cardellini or Vise Clamp
Cardellini clamps, also known as vise clamps, are robust and versatile tools for mounting lights and equipment in hard-to-reach places.
If you want to hang your light fixture from a ceiling, beam or furniture, these are a must-have.
Types:
- End Jaw Clamps: Ideal for clamping onto flat surfaces and objects.
- Center Jaw Clamps: Designed for clamping onto pipes and irregular shapes.
If you can only afford one, get an end jaw Cardellini clamp.
Shop for Cardellini clamps on Amazon or B&H

10. A-Clamp and Clips
A-clamps are simple yet incredibly useful for securing equipment and materials on set. They typically come in orange, in different sizes.
They are heavy duty enough to clamp on bed sheets, Duvetyne, etc.
In addition to A-clamps, you’ll also need metal clips and C47 clips, and Gaffers Tape. They are all extremely handy on set, and have millions of uses.
Shop for A-clamps on Amazon or B&H
Bonus Item: Gels
I mentioned in the beginning, if you are using work lights, you’ll probably need a minus green gel. This is a piece of plastic that looks pink. A quarter or half green minus green gel is enough. Lee Zircon is a great brand. Rosco is another.
Similarly, if you don’t have bicolor lights, get a CTO gel, which looks orange.
It’s better to get the pack which has the full range of strengths for both.
Shop for Minus Green Gel on Amazon or B&H
Shop for CTO Gel on Amazon or B&H
Here’s an older video I made with just these lighting and grip tools:
Lighting on a low budget requires creativity and resourcefulness.
By incorporating these 10 tools— work lights, LED Fresnels, paper lanterns, bed sheets, black cloth, cinefoil, black paper, C-stands, Cardellini clamps, and A-clamps and cips — you can achieve professional-quality lighting without breaking the bank.
With the right approach and a bit of ingenuity, you can get some great looking shots.
Read this article next to learn how to put together an inexpensive lighting kit: