
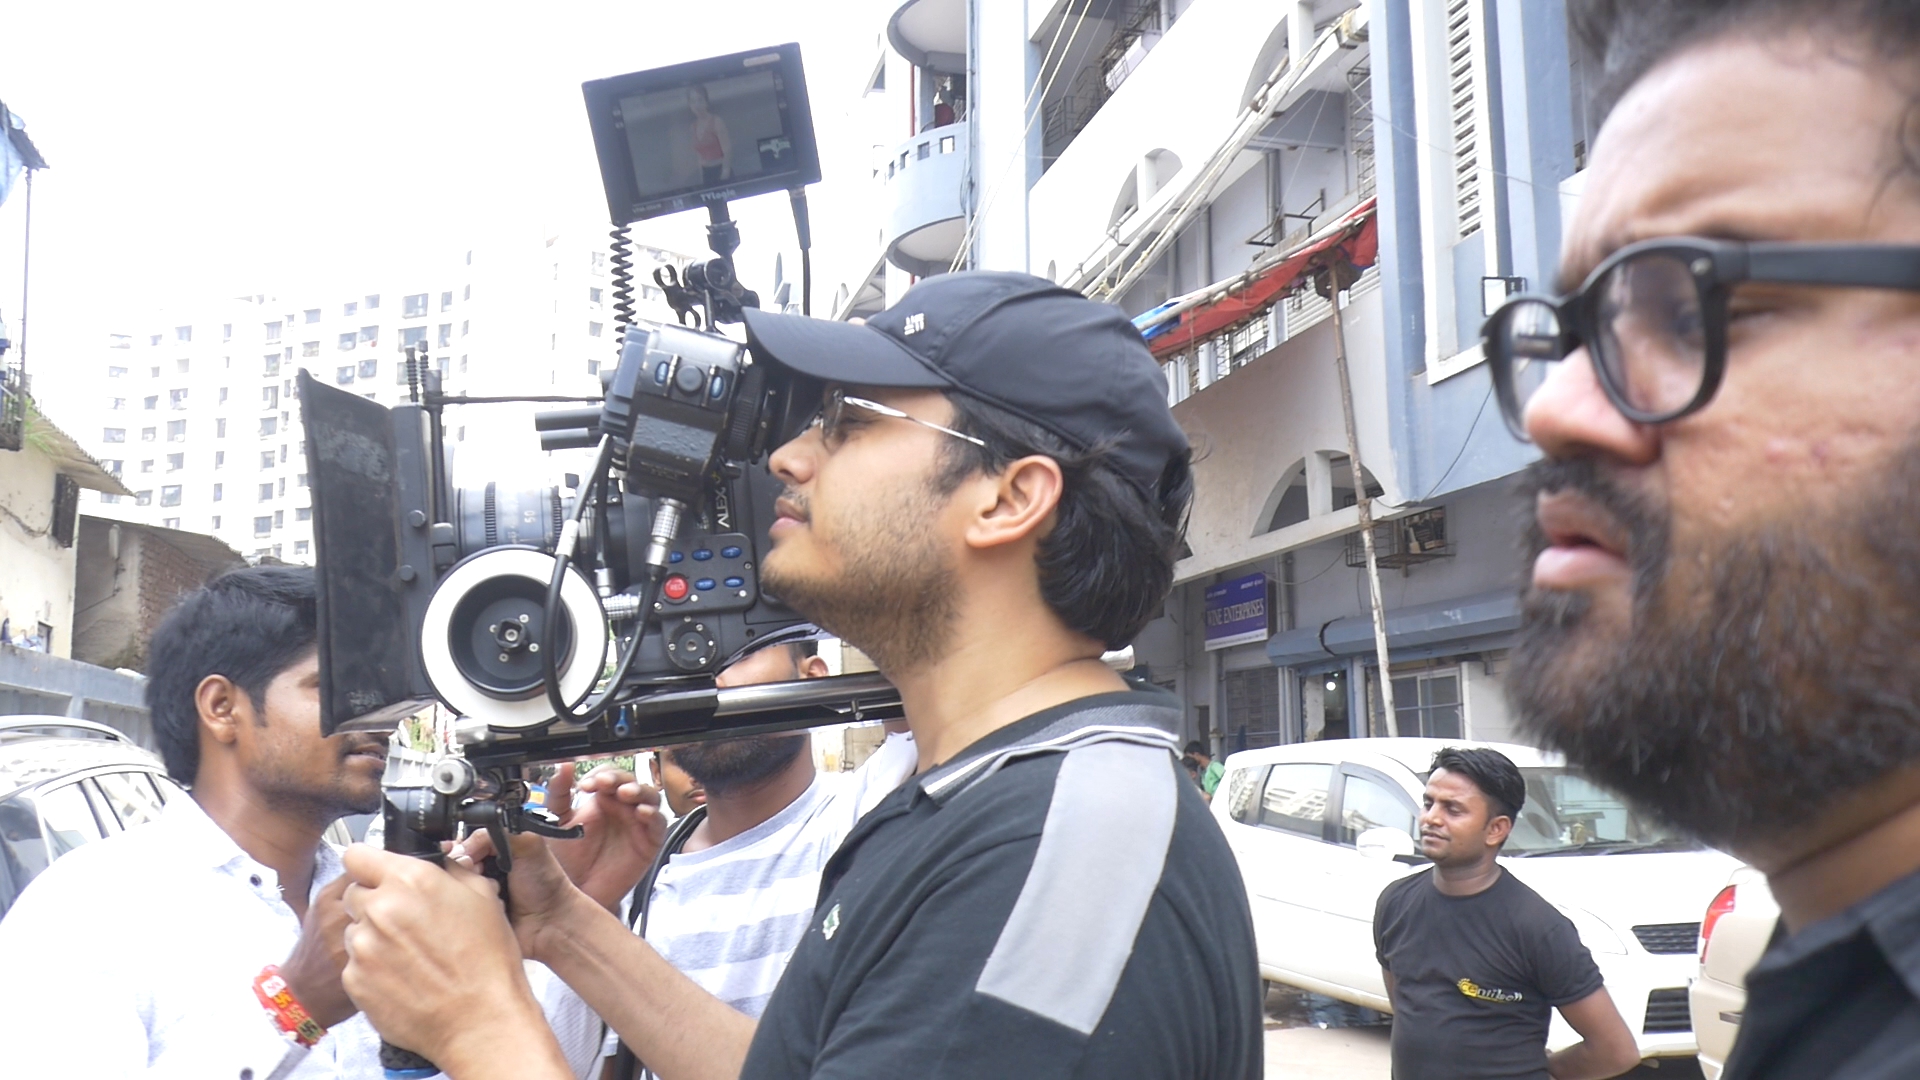
When a camera operator wants to move the camera, there are many tools available, including dollies, cranes, and sliders. However, for a fully mobile, operator-carried shot, the choices narrow down to four main options:
- Put it on a shoulder or hold it in their hands,
- Carry it like a briefcase or duffel bag,
- Put it on a Steadicam, or
- Put it on a 3-axis gimbal.
Carrying a camera by the top handle results in micro-jitters and a pendulum effect that rarely looks professional unless a specific, chaotic look is desired. So let’s leave briefcase and duffel bag shots out because its limitations are pretty much self-evident.
That leaves us with three options. To a newcomer, all three systems pretty much seem to do the same thing, so when do you pick which? That’s what this guide is going to help you answer.
You should care about the differences because a different setup gives you a different shot. It is not just about stabilization. It is about the emotional context the movement imparts to a scene.
A handheld shot feels subjective and immediate, while a Steadicam shot feels objective and observant. Choosing the wrong tool does not just make the shot shaky. It can fundamentally alter the story you are trying to tell. With that in mind, let’s get started.

Range of motion
Do all three rigs give you the same range of motion? Not really:
| Motion | 3-axis Gimbal | Steadicam | Shoulder-mount |
| Vertical | 1 | 1 | 1 |
| Rotate Sideways | 2 | 2 | 2 |
| Rotate Forwards or Backwards | 2 | 2 | 2 |
| Walking forward | 1 | 2 | 1 |
| Walking Backward | 0 | 2 | 0 |
| Spin 360° | 2 | 2 | 2 |
| Low mode | 1 | 2 | 1 |
What I’ve done is basically score from 0 to 2:
- 0 means it’s dangerous – though with another person’s help still doable.
- 1 means it’s doable, but not desirable.
- 2 means it’s perfect.
A Steadicam (Amazon, B&H) actually scores the best overall, and has some features that are really important:
- You can walk backwards with it (actually you walk forwards but you can do a “backwards” shot). This allows the operator to move safely at speed while the camera looks back at a subject following them.
- You can take it low to the ground. By flipping the gimbal handle or the Steadicam sled into “low mode,” you can skim the floor, which creates a dynamic sense of speed that handheld rigs simply cannot replicate without breaking the operator’s back.
- You get the most stable motion walking forwards.
This last bit is the most important distinction. By the way, when I use the word Steadicam I’m referring to the specific brand as well as all the similar other brands. There isn’t a better universal word for it.
With a shoulder rig, obviously, your walk and motion reflects in the shot. The horizon might sway, and each footstep sends a jolt through the frame. You can’t hold the camera steady for long because your arm and other supporting muscles are doing all the work.
With a gimbal (Amazon, B&H) a major disadvantage (which is still an issue even after a decade of improvements) is the vertical walking motion is translated to the gimbal and is very obvious in the footage.
This vertical translation occurs because a 3-axis gimbal stabilizes pitch, yaw, and roll, but it does not stabilize the Z-axis (the up and down movement of the operator’s hips). As you walk, your body naturally bobs up and down. A motorized gimbal is rigid in the vertical axis, so the camera bobs right along with you. This results in the infamous “floating head” look where the camera glides smoothly but bounces rhythmically.
A mechanical arm on a Steadicam absorbs this bob, so it is better for forward walking motion.
None of the systems – handheld, Steadicam or gimbal – are good at moving the camera vertically up or down in a straight line. That’s what jibs and dollies are for.
What all three systems allow you to do is follow the action, so the audience feels they are part of the drama unfolding in front of them.
However, It would be wrong to assume the shoulder-mounted rig is the worst solution or whatever, just because it doesn’t score well in the table. There are other important factors to consider as well.
Advantages of the Shoulder Rig
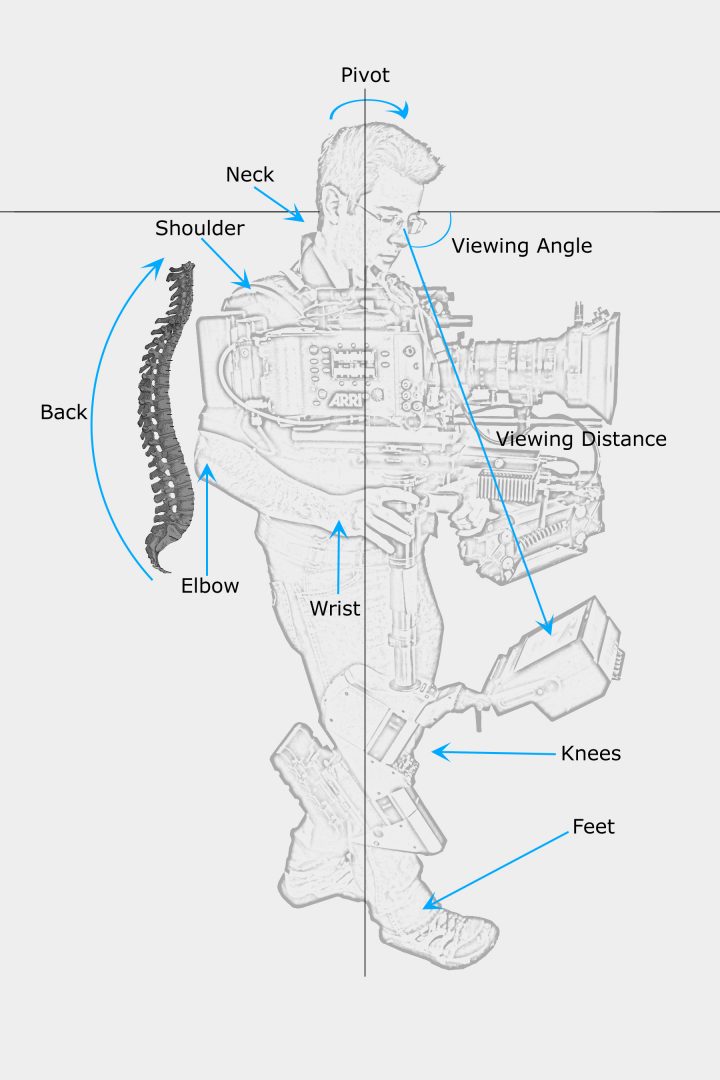
A shoulder rig is the safest for your body and back over the long term, but only if the rig is perfectly balanced.
A well-balanced shoulder rig sits on the bone structure of the operator, with the center of gravity directly over the shoulder. This minimizes the muscular effort required to keep the camera level.
- You can have one eye on the viewfinder to focus on the shot. This point of contact adds a third point of stability (shoulder, hands, eye) which makes the footage feel more organic and grounded than simply holding a camera in front of you.
- You can move accessories around the rig without needing to rebalance all the time (within reason!). Unlike a gimbal which requires precise re-balancing if you so much as remove a lens cap, a shoulder rig is forgiving. You can slap on a heavier battery or change a lens, and as long as it is roughly balanced, you can keep shooting.
- You have one hand free to focus, change the iris or zoom. This tactile control allows for split-second artistic decisions that electronic follow-focus systems sometimes delay.
- Maintenance is easy. Once it’s setup you can pack it as-is and shoot on the go. This reliability makes it the standard for news gathering and documentary work where capturing the moment is more important than perfect smoothness.
- With a top handle you can immediately move to “briefcase mode”.
- With a tripod plate you can easily move it on to a tripod.
- The parts of the rig are not expensive to replace. If something fails you can still keep shooting most times. A loose screw or a broken handle on a shoulder rig is an annoyance. A broken motor on a gimbal is a showstopper.
- There’s no learning curve. Put it on your shoulder and start shooting! The motion of a handheld camera is intuitive. It mimics the human head. When we look around, our vision has a natural, slight sway. Handheld footage taps into this human physiology, making the audience feel like a participant in the scene.
However, when you’re not using a shoulder rig, and are filming like the camera is a photography camera with it stuck out in front of you – your arms will get tired – and you’d better hope the internal stabilization system (sensor and/or lens) is good enough to do the job.

Advantages and disadvantages of the 3-axis gimbal
Advantages
- Except for the vertical bump while walking, it can eliminate pretty much any movement. The brushless motors react instantly to angular displacement, keeping the horizon locked even during aggressive maneuvers.
- Over time, technology has improved, and performance has improved as well. However, no matter how well it improves, it won’t have the real-time performance of the Steadicam or shoulder rig. That’s immediate tactile feedback.
- It’s easy to operate. Once the gimbal is balanced, even absolute newcomers can get steady shots (for a few minutes at least!).
- You can fix the gimbal to booms, jibs, cranes, and even drones. This versatility means a gimbal is not just a handheld tool. It is a remote head that can be mounted anywhere. You could marry a Steadicam with a 3-axis gimbal, and get something like an Arri Trinity System.
- You can move a gimbal form platform to platform to achieve complex shots not possible otherwise. You can pass a gimbal through a car window to a second operator, or hand it off over a wall. This “handoff” capability allows for continuous long takes that traverse obstacles a Steadicam operator could not walk through.
Disadvantages
- If the electronics fail, or if you run out of batteries, the 3-axis gimbal is totally useless. It becomes dead weight. There is no “manual mode” on a motorized gimbal.
- The vertical bump while walking is a major reason it’s not completely replaced the Steadicam. To mitigate this, operators have to do a “ninja walk” or “duck walk,” bending their knees deeply and rolling their feet to minimize the bob. This is physically exhausting to maintain for long shooting days. I know many productions that force their gimbal operators to work this way – their health be damned.
- Designs are changing all the time, so a few years from now you’ll need to buy a completely new system and parts might not be interchangeable. The rapid obsolescence of electronic gear is a hidden cost. A mechanical Steadicam arm from 20 years ago still works today. A gimbal from 3 years ago may no longer be supported by the manufacturer’s app, or via firmware updates.
- Setup and balancing is often a pain. You need an app to setup some gimbals, and it’s just too complex for newcomers. PID tuning (Proportional, Integral, Derivative values) often requires a deep understanding of physics and software to get right. If the settings are off, the gimbal might vibrate or drift.
- You can’t overload the gimbal at all. The motors have a maximum torque rating. Exceeding this causes the motors to shut down to protect themselves.
- You can’t have odd-shaped cameras and accessories without having major balancing and fitting issues.
- You need batteries! This adds a logistical layer to the production. You must manage charging cycles, bring spare batteries, and ensure they are kept warm in cold conditions to prevent voltage drop.
- A gimbal is really bad for your back. Itl is usually held out in front of the body with outstretched arms. The leverage places immense strain on the lower back and shoulders – and arms.
Here are a couple of articles to help you understand more:
Advantages and disadvantages of the Steadicam
Advantages
- It has the most stable movement possible, once it’s balanced correctly. The isolation provided by the iso-elastic arm and the mechanical gimbal is superior because it is purely physics-based. It does not suffer from the micro-jitter or digital correction artifacts that can sometimes plague electronic gimbals and IBIS systems.
- It is fully manual, no batteries necessary. This makes it incredibly reliable in extreme environments, from freezing cold to scorching heat, where electronics might fail or overheat.
- Parts are easy to get since systems are mature. The ecosystem of standard vest connectors, arm posts, and sled diameters means you can mix and match components from different manufacturers to suit your needs.
- It’s been around for a long time and has proven its worth over countless productions.
- Some parts can be fixed yourself in the field, and you can still make something work (within reason). A Steadicam is a mechanical device. With a set of hex keys and some gaffers tape, an operator can often perform field surgery to keep the rig running.
Disadvantages
- It’s hard to learn. It takes a few days just to get going; and weeks and months of practice to become proficient. Mastering the Steadicam is akin to learning a musical instrument. It requires developing muscle memory, fine touch sensitivity, and an understanding of dynamic balance. The operator must learn to walk without transmitting energy to the rig and must control the camera’s pan and tilt with a feather-light touch.
- It’s not cheap! A professional Steadicam system (Vest, Arm, and Sled) (Amazon, B&H) is a significant investment, often costing as much as a car. While cheaper variants exist, the quality of the arm (and its ability to isolate vertical movement) drops off significantly at lower price points.
The killer features
Look for the killer features of each system and you’ll know when to pick which:
- Steadicam: Most stable, totally manual and has proven its worth. It provides that classic “flying” camera look that audiences associate with high-budget cinema. It separates the camera from the operator’s footsteps entirely.
- 3-axis Gimbal: Easy to learn and operate and you can attach it to jibs, cranes and boom arms, etc. You can achieve complex shots not possible otherwise. It excels in tight spaces where a Steadicam cannot fit. It allows for movements that defy gravity, especially when transitioning between high and low angles rapidly.
- Shoulder-rig: You can use the viewfinder and a free hand to focus, change the aperture or zoom. It’s fast and easy to take it low to the ground or put it on a tripod. It provides a “subjective” viewpoint. It is the best choice when the camera needs to react instantly to unscripted action, such as in documentaries or reality TV. Think about this – a camera on a fluid head is somewhat slow due to friction, even at the minimal setting. The Steadicam is slower, and the gimbal is slowest. But handheld is as fast as you are – with no friction in the way.
Once you know which killer feature you need, you can pick the right system for the job. After that point, you just live with the disadvantages and find workarounds.
That’s why all three systems are still around today. They all do things the others can’t.
That’s it! I hope this guide has helped you understand the differences between a Steadicam, gimbal and shoulder rig. Whatever you do, don’t assume these systems are interchangeable. There are some overlaps, but mostly it’s almost always a different shot. The texture of the movement matters.
A shoulder rig says “this is real, this is happening now.” A Steadicam says “observe this elegance, look at the scale of this world.” A gimbal says “look at this amazing perspective.”
Continue on to this article: