You get an 8-bit 4:2:2 signal via HDMI 1.4, but there are a lot of choices and options to get through first. Here’s a simple video that shows you how to navigate the HDMI settings (for both a7R II and a7S II):
Here’s the text-based version:
HDMI – what’s available?
To access the HDMI option, head over to the menu – Setup > Page 3:

There are two options:
- HDMI Settings – this has all the settings
- HDMI 4K Output – only available when a 4K monitor/recorder is connected. We’ll deal with this in a later lesson. (For a7S II users, this will be on the fourth page)
Select HDMI Settings:

This menu works to output 1080p and 2160p video via HDMI. HDMI output is always ‘on’ by default. When you connect an HDMI monitor and switch it on, the signal automatically transmits over it.
Click on HDMI Resolution. The default is Auto, and this is what you should ideally select unless you’re having trouble. Some devices only support 1080i and not 1080p, so make sure you select the right one. You’ll know, because the monitor won’t display anything if you choose the wrong one!
For 2160p, leave it at Auto or 2160p/1080p, because there’s no interlaced mode in that resolution.
The next item is 24p/60p Output, which is only available if you’re shooting NTSC frame rates. This item doesn’t exist if you’re shooting PAL:

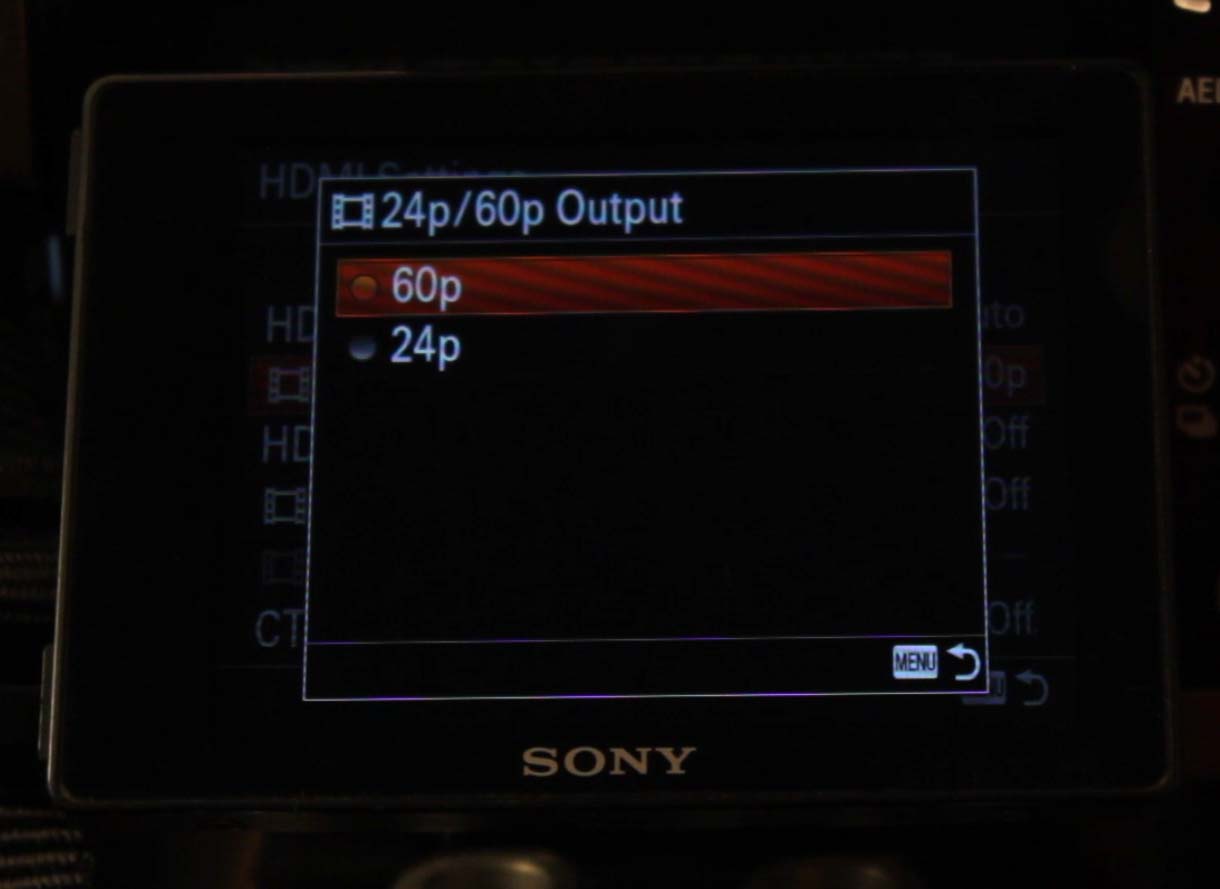
The camera does not transmit 120p or 100p via HDMI, but if you want to monitor at 60p, you can. Choose the one that corresponds to your final output. Usually, it’s 24p. If you’re recording in 60p for a 60p playback, choose 60p. This feature only works if the resolution is 1080p, and not 1080i.
Next, we have HDMI Info. Display:

If you want the menu and LCD aids to be overlaid over HDMI, select On. If you want a clean feed, select Off.
Note: If you select On and the monitor goes off for some reason, you’ll have to disconnect the HDMI cable before you can access the menu on the camera. When you select On, the back of the camera goes blank.
Then you you have the option to output timecode:
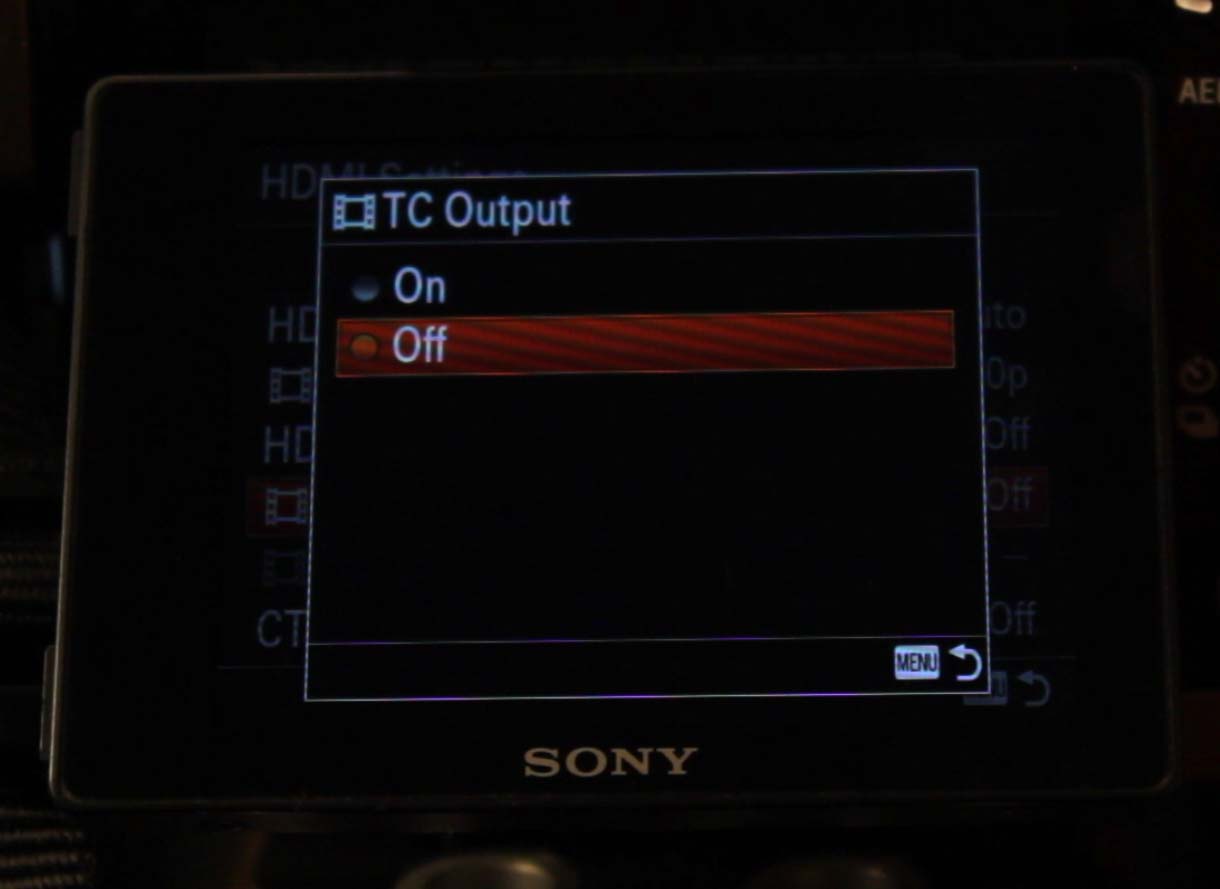
If you’re having trouble getting a signal to your monitor, try switching this off. I’ll cover timecode in a separate lesson.
Timecode is NOT overlaid, only transmitted as digital data along with the signal. This can only be recorded, not displayed. Therefore, it is irrelevant for monitoring purposes.
REC CONTROL is only active if you have an external recorder that can trigger the camera via HDMI. We’ll deal with this in a later lesson.
Finally, you have CTRL FOR HDMI. This is only available with remotes that work with Bravia TVs, so it doesn’t concern us.
Bottom line, there are three ‘states’ to HDMI:
- Standby – HDMI menu or clean – you’re just fiddling around
- Recording – You press the record button
- Playback – You play back a clip that has been recorded.
When you hit record, the camera is recording and you can’t change the menu items anyway. When you playback, the monitor always displays overlays like it does on the camera LCD.
Even if you have HDMI Info. Display Off, if you playback a clip the camera goes back to overlaying the menu and you have to redo the On-Off again. Stupid!
What to do if you can’t get a signal
Here are troubleshooting steps if you can’t get a signal to your monitor:
- Is the battery on the monitor charged? Does the monitor turn on?
- Have you connected the HDMI cable to the camera and the monitor?
- Is the camera switched on? Can you see the menu correctly?
- Change the HDMI Resolution to Auto, if that doesn’t work cycle to 1080i and then 1080p.
- If that doesn’t work, switch off TC Output and HDMI Info. Display
- What are your shoot settings? Resolution and frame rate. Is that supported by the monitor?
- If that doesn’t work either, cycle between 24p/60p, if that’s available.
- Try the same cable on another HDTV monitor. If that works, then it’s not the camera or cable.
- If it doesn’t work on an HDTV, try another cable. If that doesn’t work, it’s the camera.
- If it HDTV works, then it’s the monitor. It is either having a problem or the format is not supported.
- Reset factory defaults on the monitor.
- Choose HDMI input from the menu, if required. Switch on and off.
- Time to contact the manufacturer!
There is nothing special or complicated about the 1080 signal coming out of the camera. I have successfully connected the camera to a 6-year old HDTV and it works. This means the HDMI is compatible to the older 1.3 standard. Your monitor manufacturer can’t claim the signal is ‘different’ or whatever.
What is not available via HDMI?
HDMI does not output the following:
- Focus peaking
- Zebra
- Marker guides
Therefore, for exposure, you’ll have to rely on the tools available on the monitor if you don’t want to use the camera for it. We’ll deal with this in the next lesson.
Some notes about 4K HDMI:
- You can record video in the camera while outputting 4K.
- You can’t display overlays via 4K HDMI, only clean video. For overlays you’ll have to switch to 1080p.
- It only works if the mode dial is set to Movie.
- APS-C is not a 1:1 sensor readout. What you get internally is what you get externally.